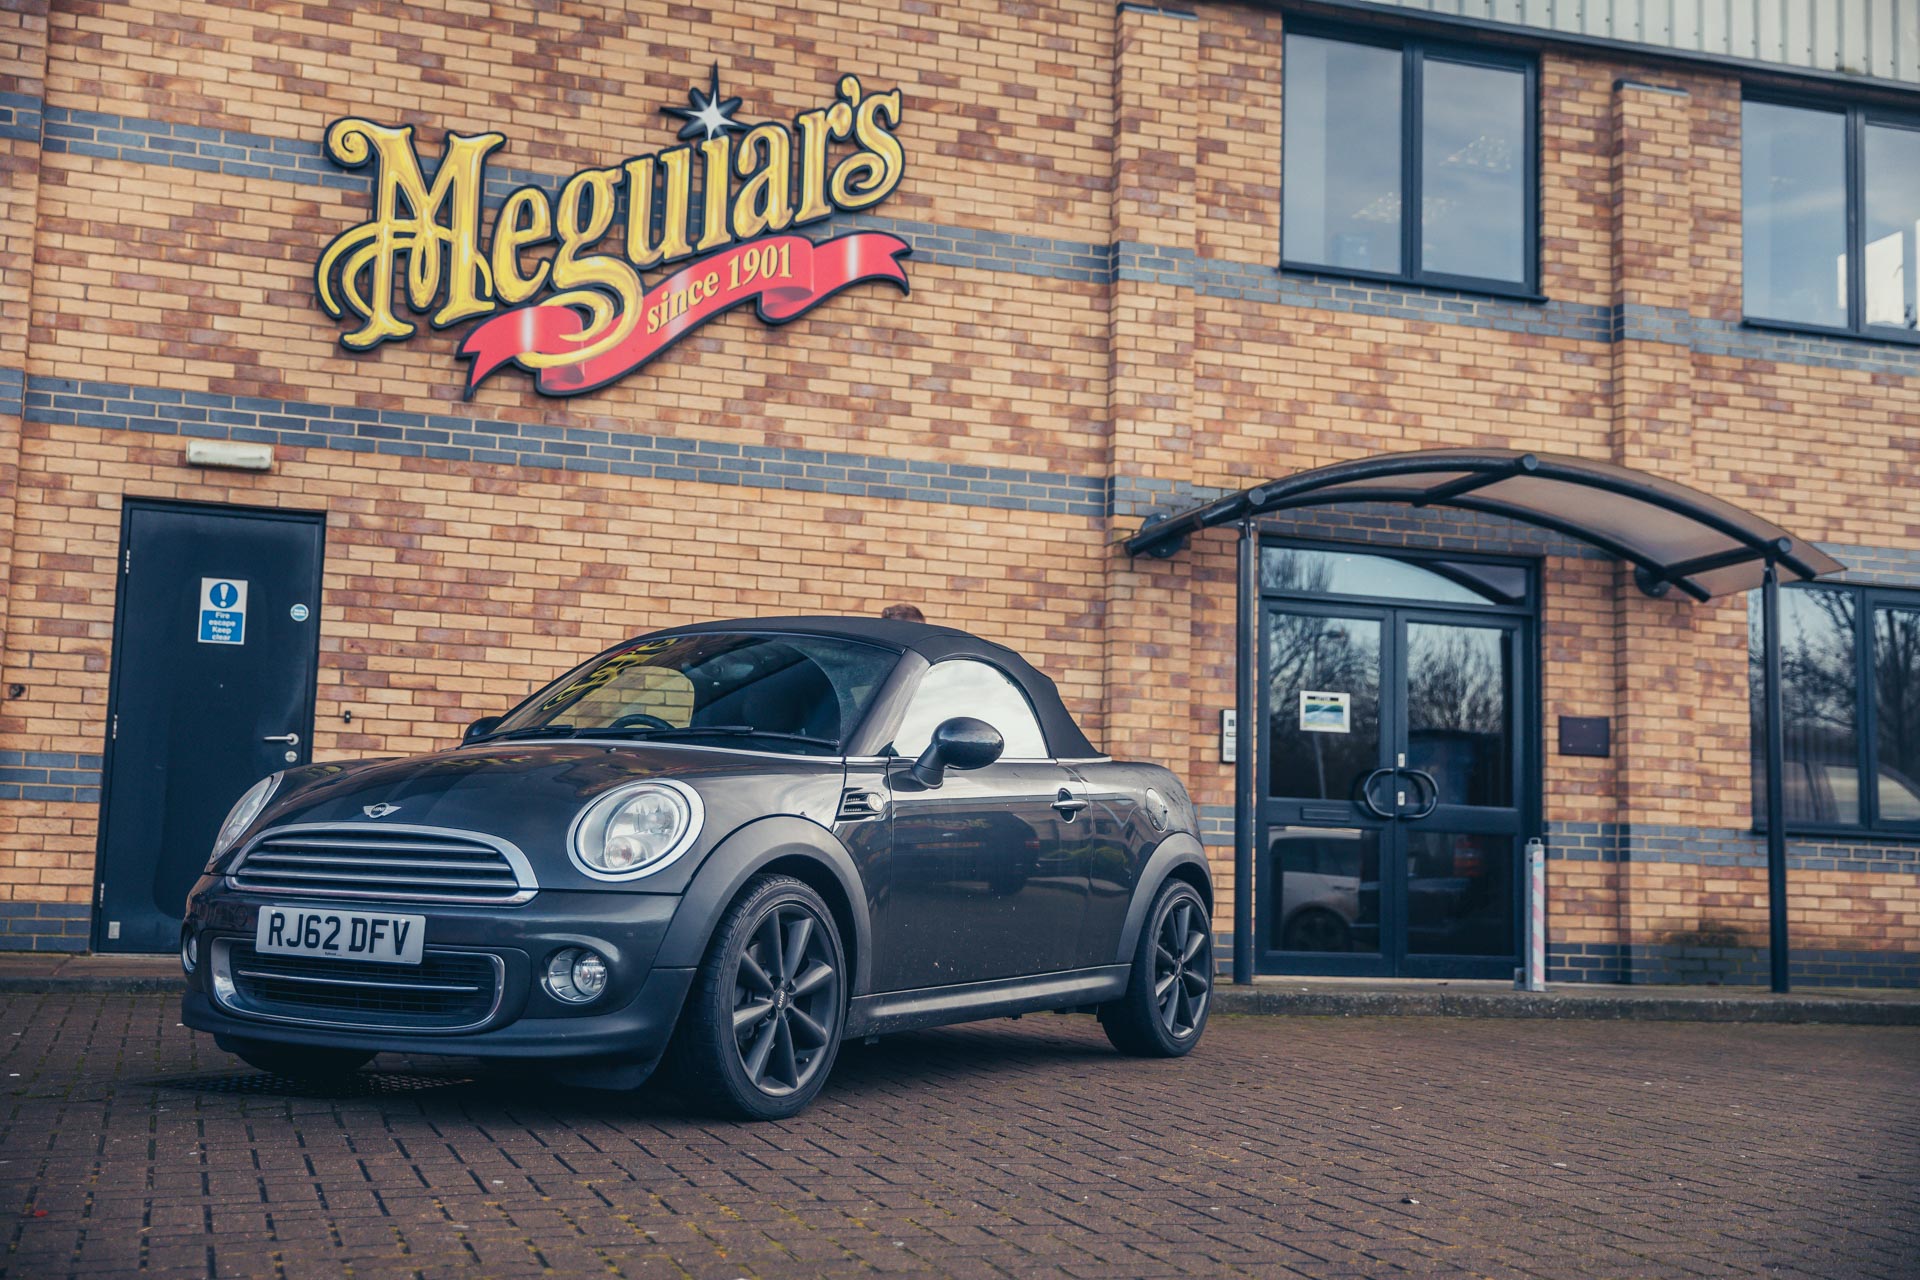
GUIDE: Prepare your car for winter with Meguiar’s
Winter is a tough time of year for all cars on the road, but especially those with a fresh new re-spray or immaculate paint. Aside from the constant drizzle, dirt and contaminants us lucky British also have to deal with the dreaded salt – a concoction feared by any unprotected metal and paintwork!
In an ideal world we’d have lovely weather all year round, or maybe we’d be able to leave our prized possessions locked up in a heated garage as soon as the weather turns. But that’s not entirely feasible for the majority of us, so instead lets focus on protecting our cars during this season with a little know-how from Meguiar’s…
Before getting into the step-by-step guide, we’d like to point out that the following products are perfectly suited to ALL car makes and models, as well as all levels of consumers. You don’t need to be a seasoned detailer to use any of the following Meguiar’s products, just follow our handy step-by-step guide for instant results.
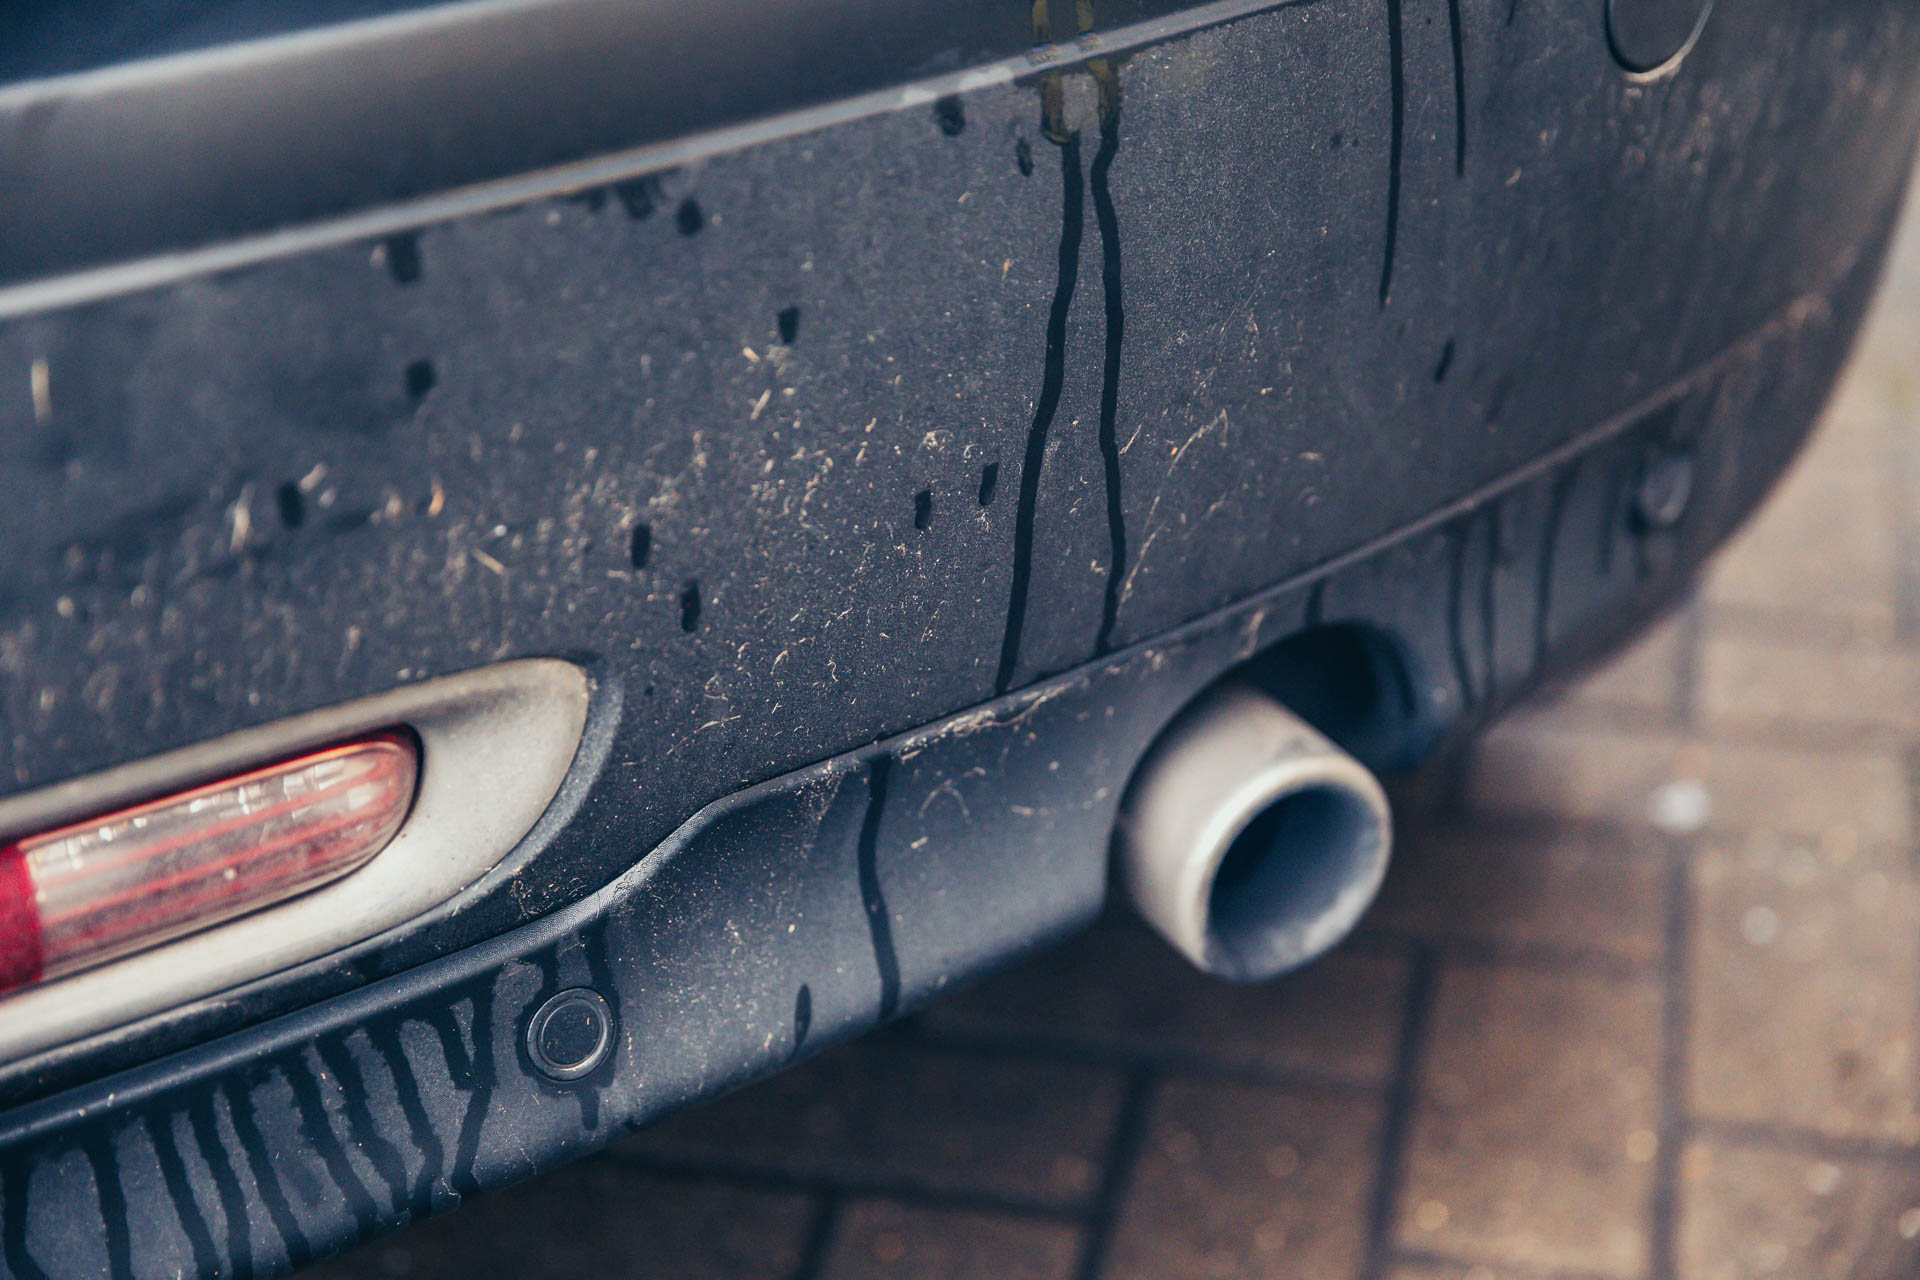
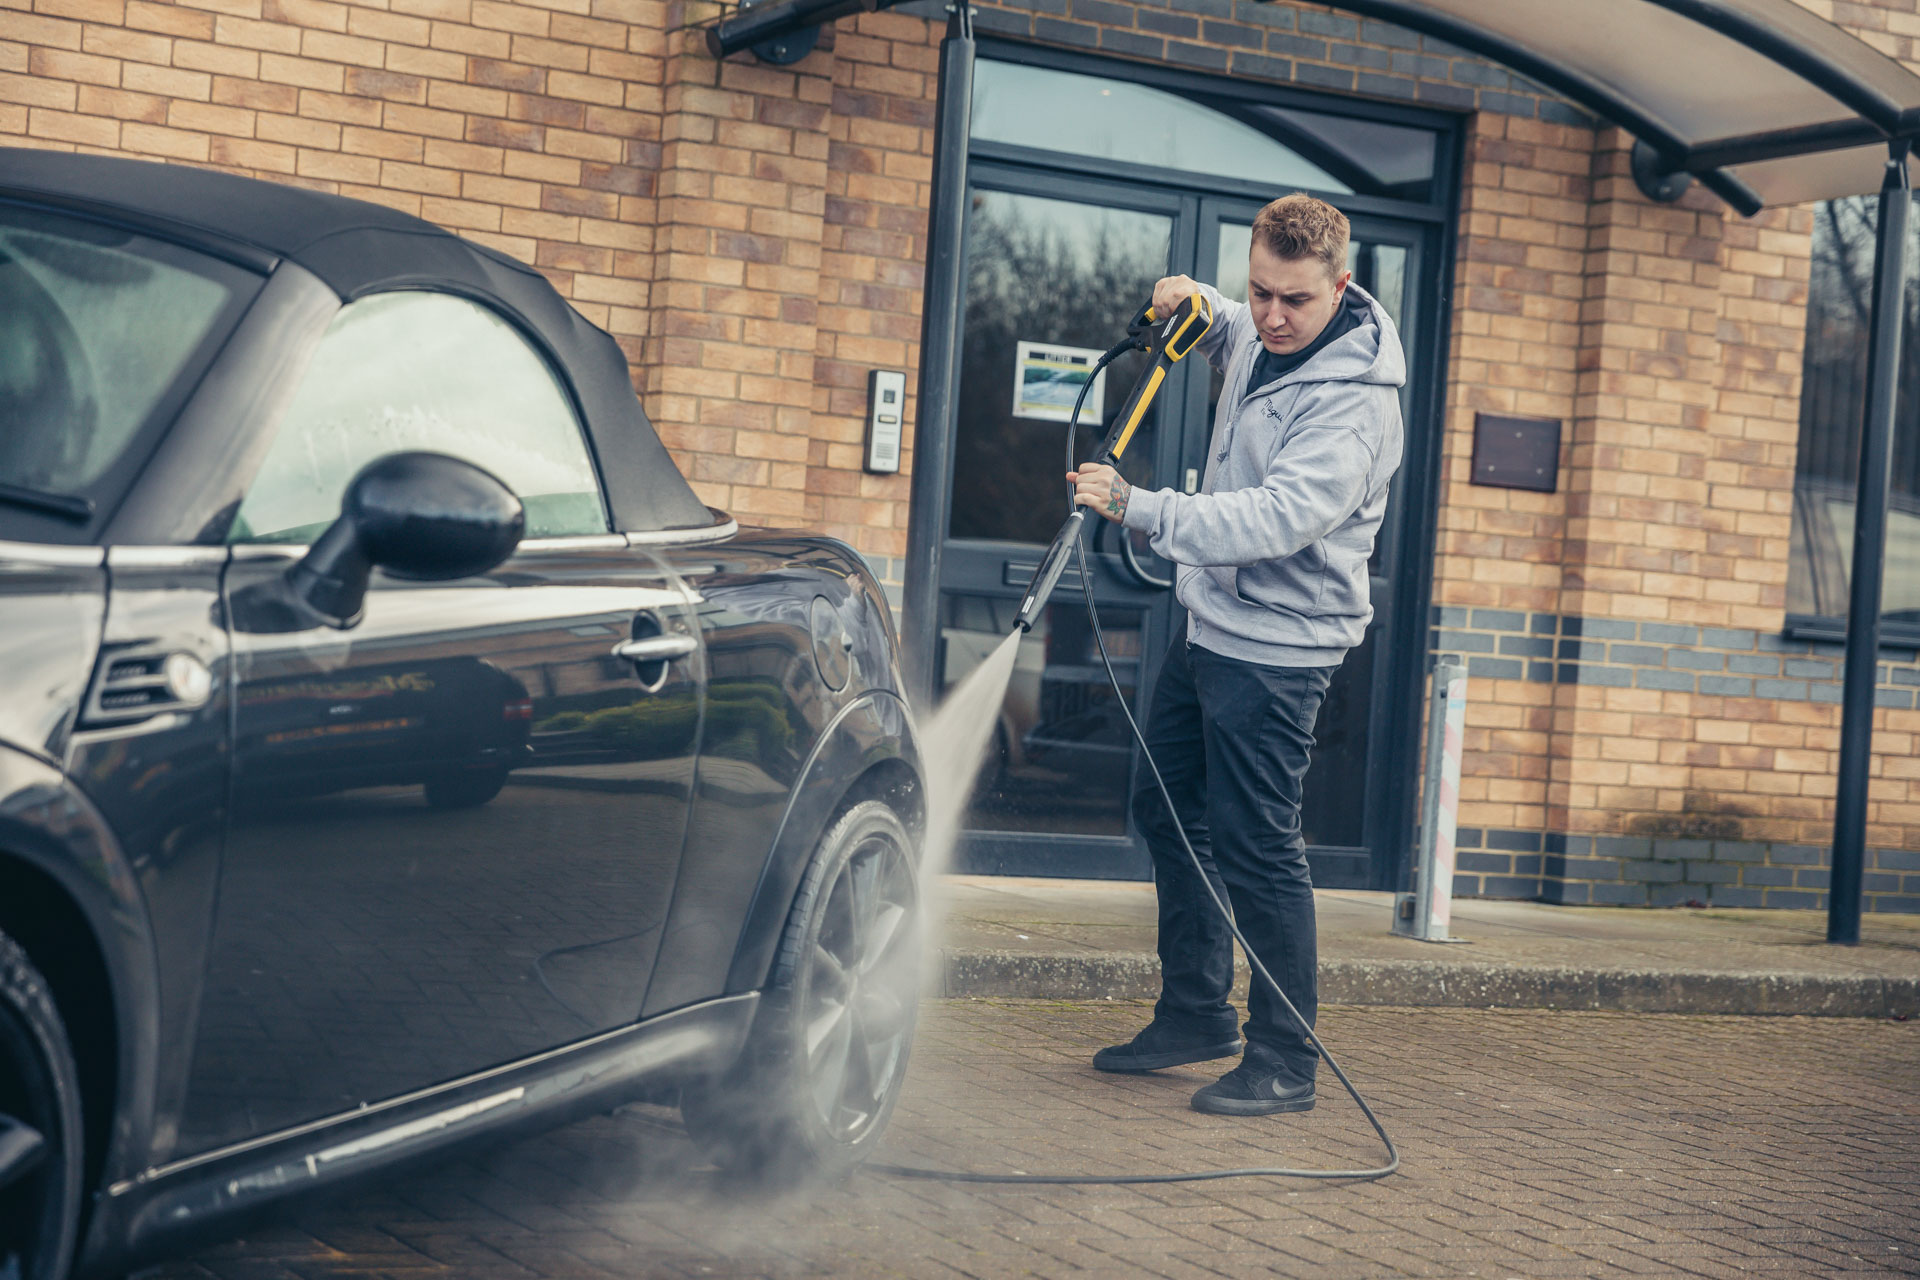
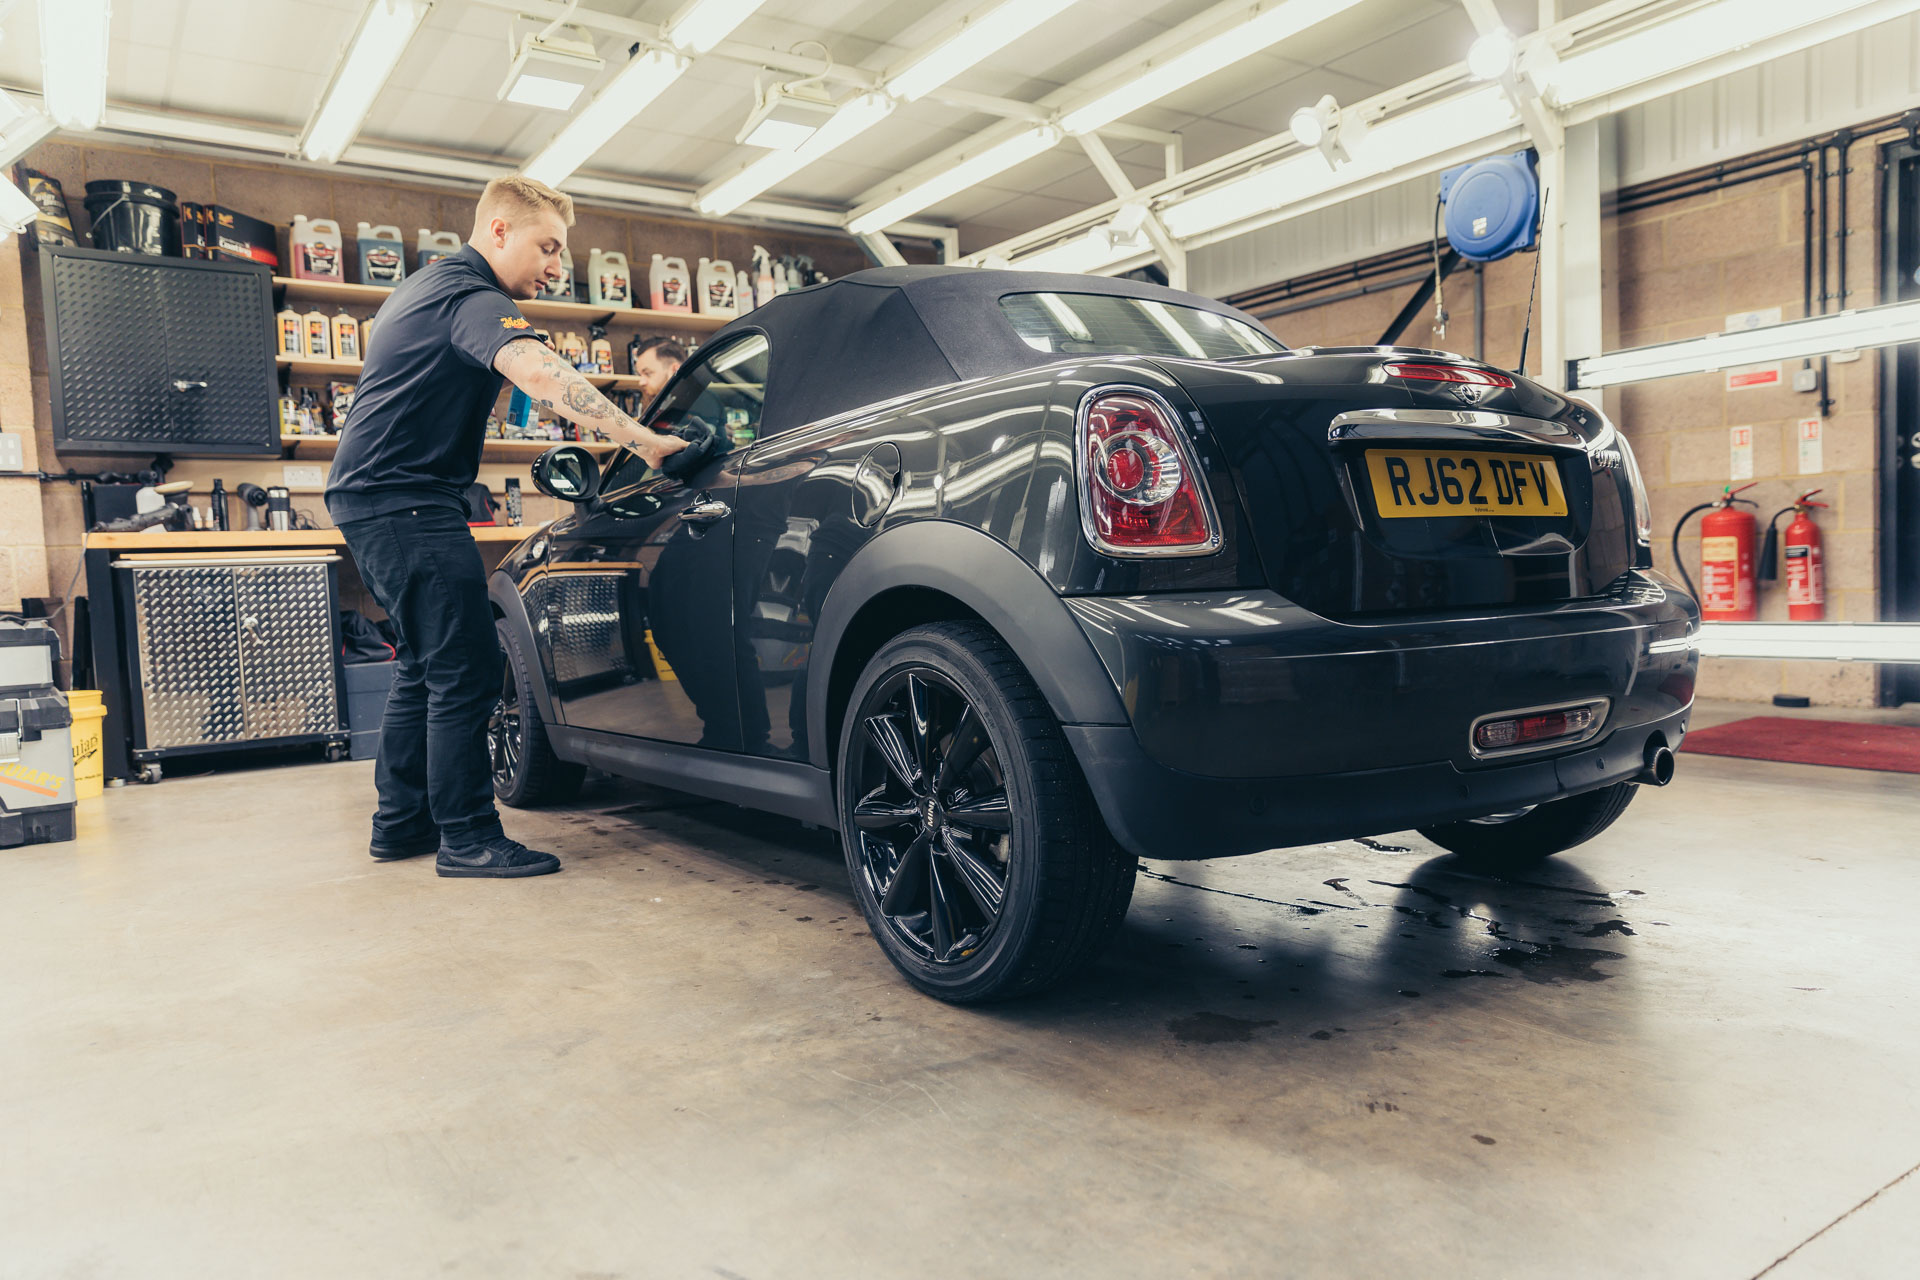
Step 1: The jet wash
Unless you’re cleaning your car every week, chances are there’s going to be a fair amount of dirt and mud stuck to your car’s bodywork. Meguiar’s recommends a high-pressure jet wash to break up and remove the bulk of this.
Step 2: Ultimate Wash & Wax
With the main bulk of dirt removed, Meguiar’s Ultimate Wash & Wax is the secret tool in removing those stubborn areas quickly and easily using hybrid carnauba/polymer wax protection.
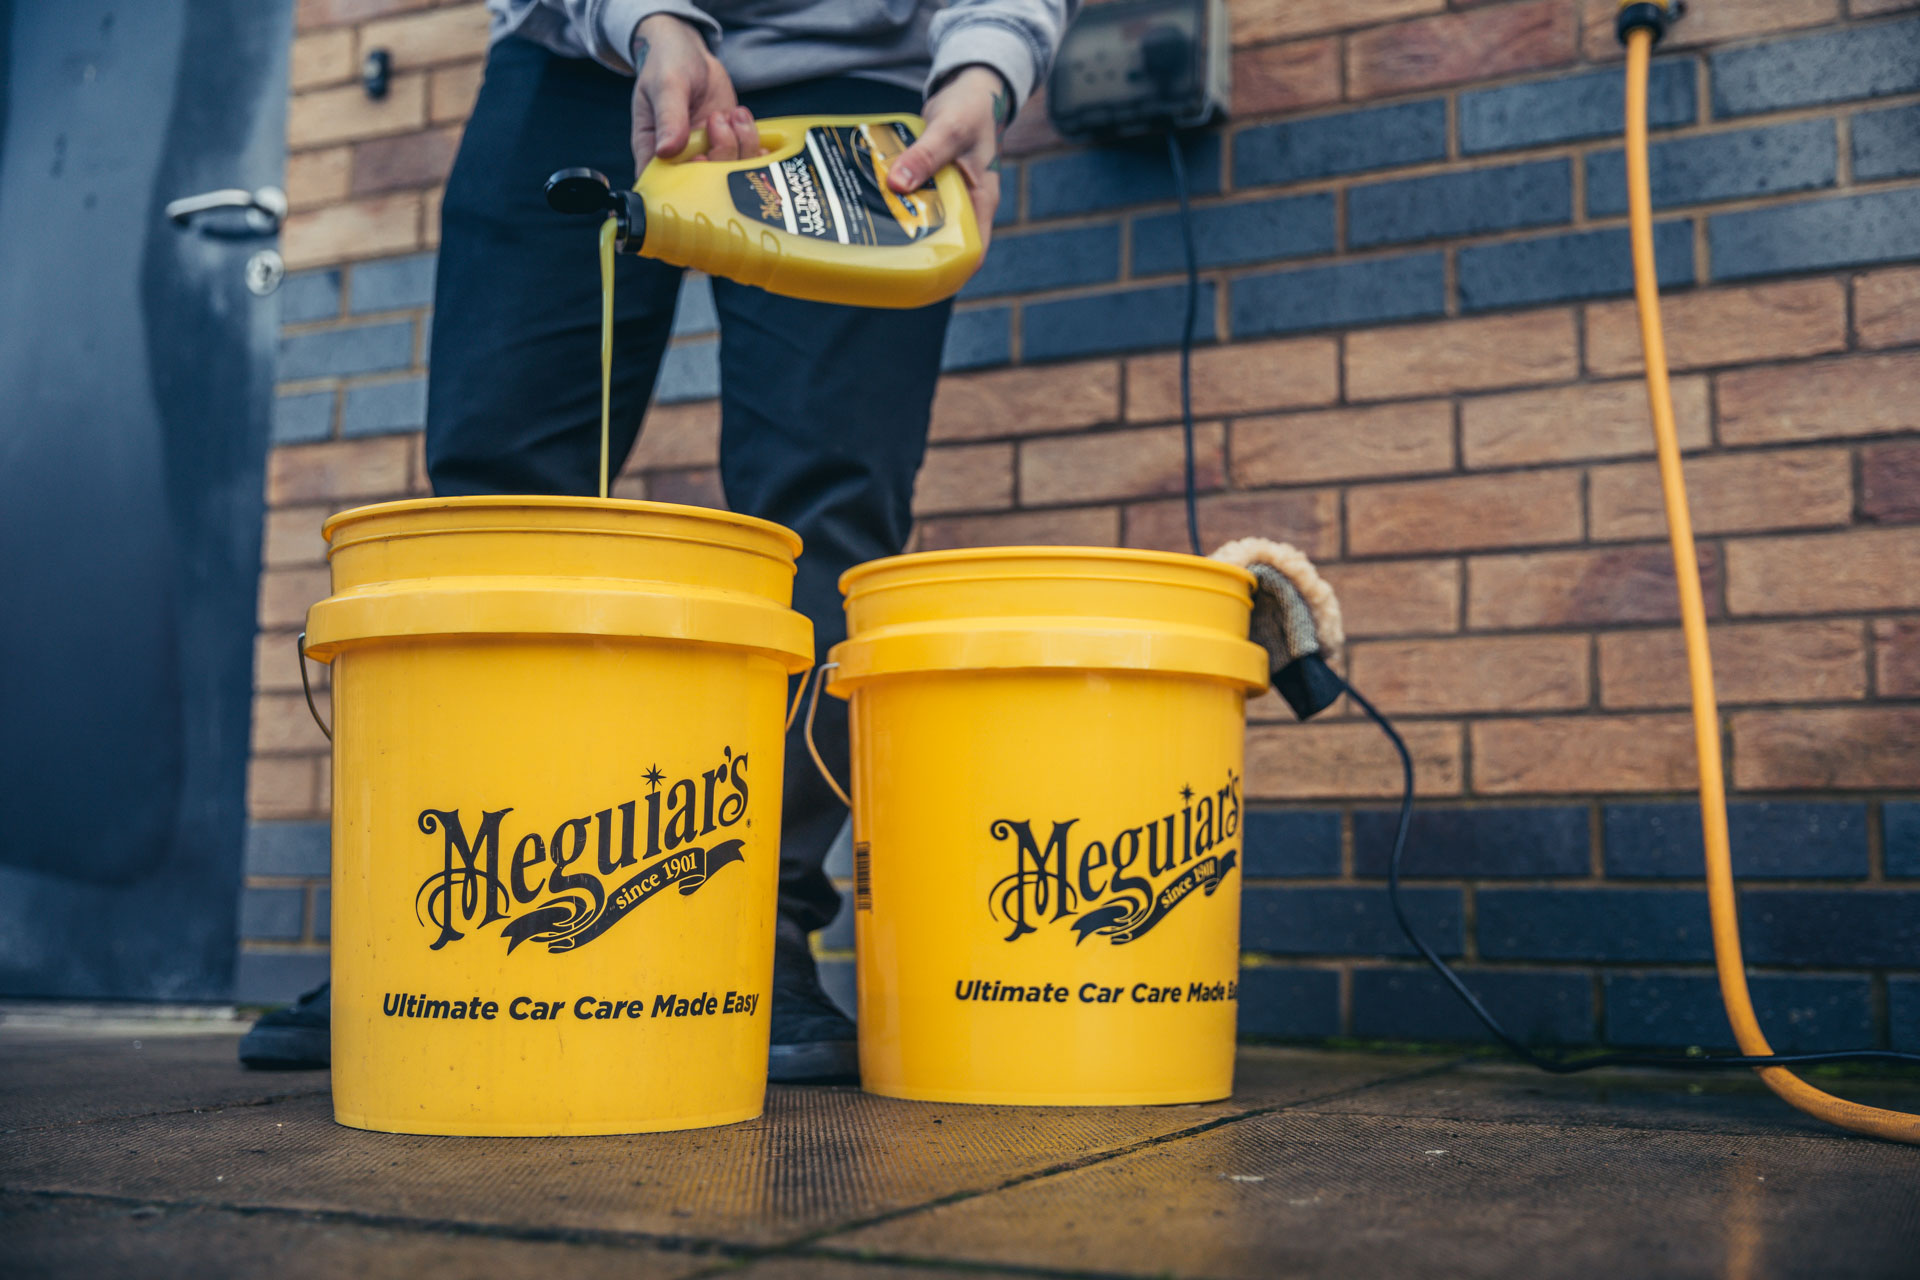
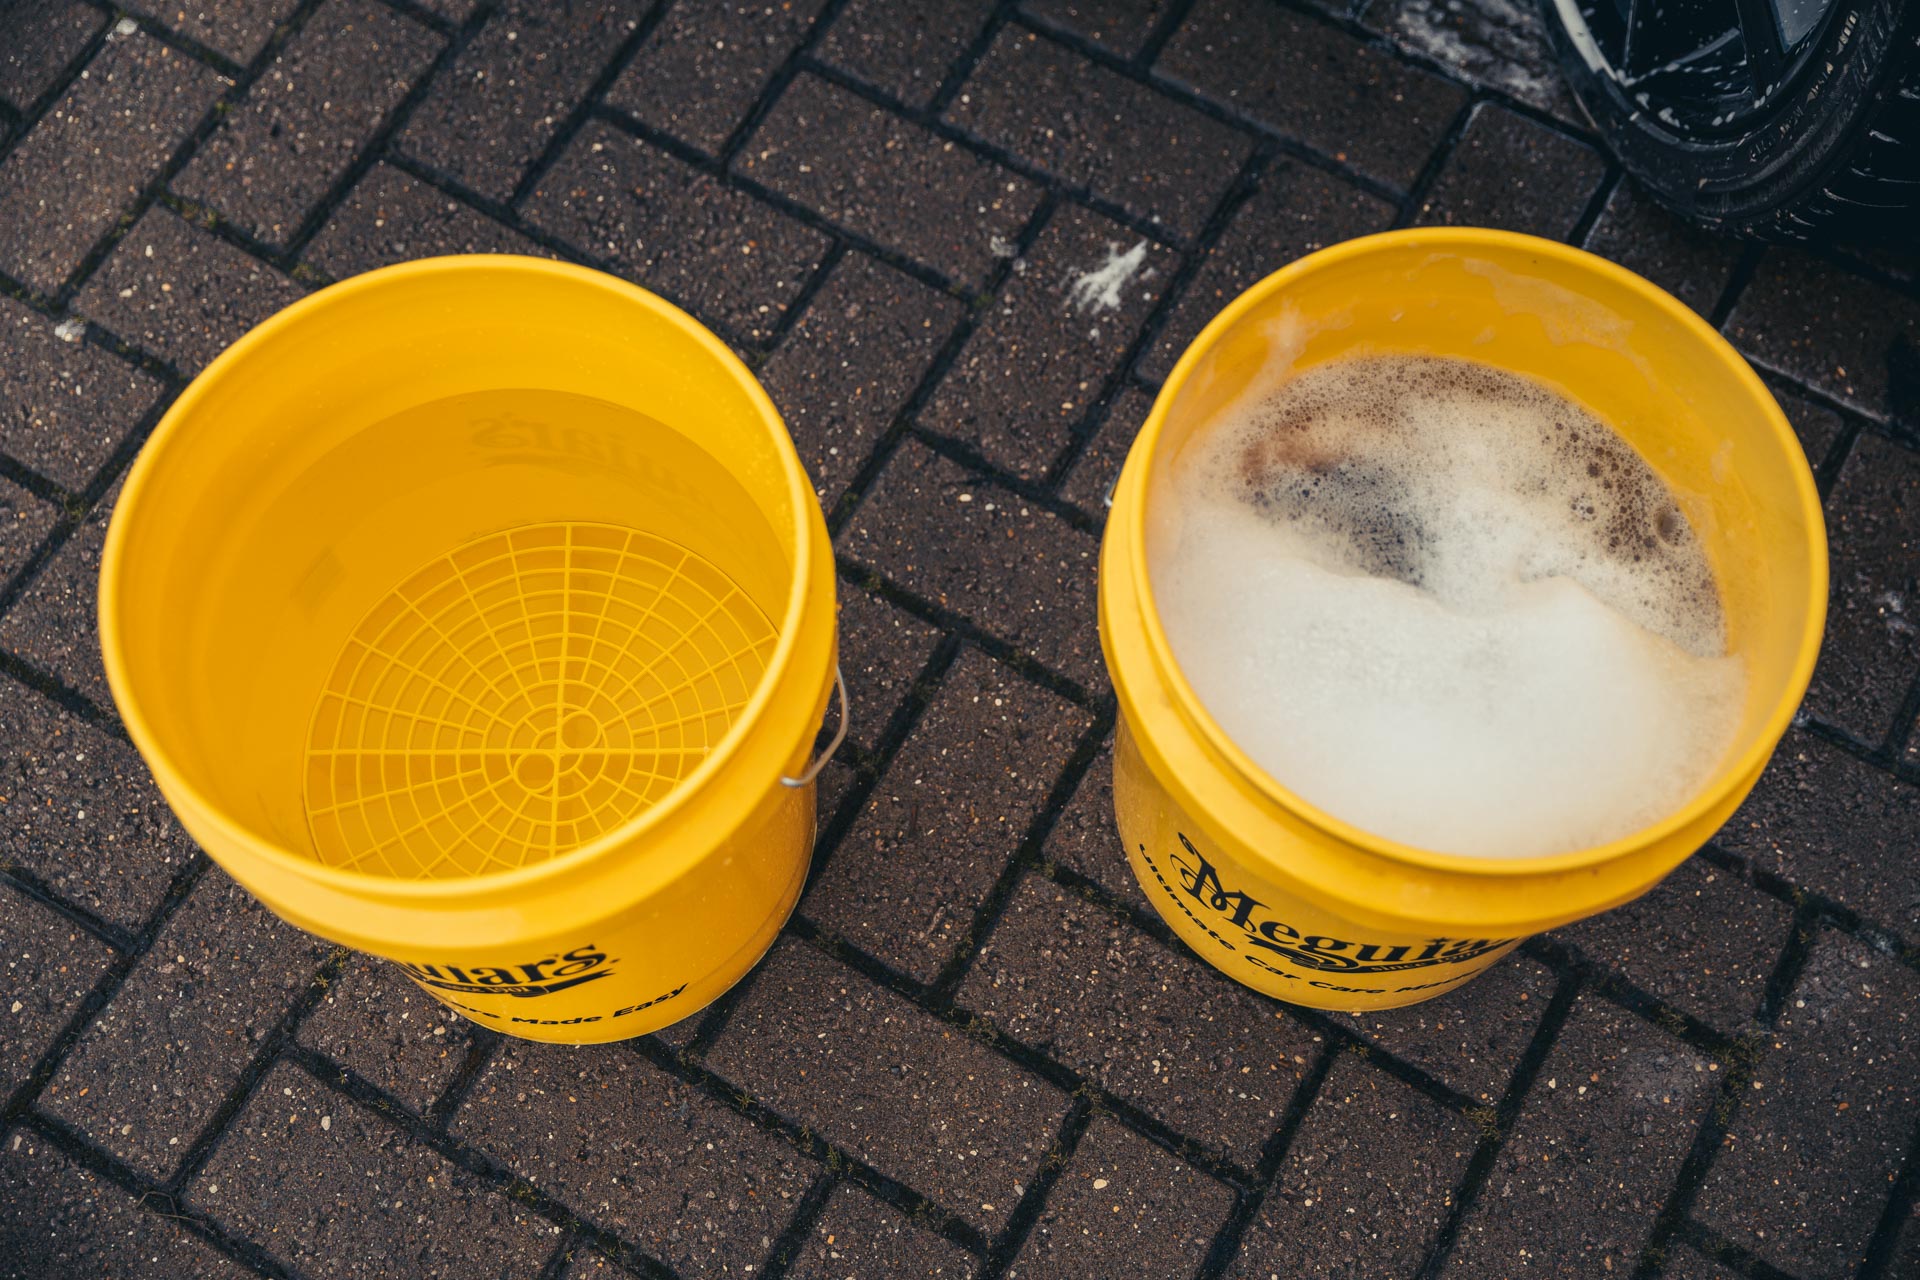
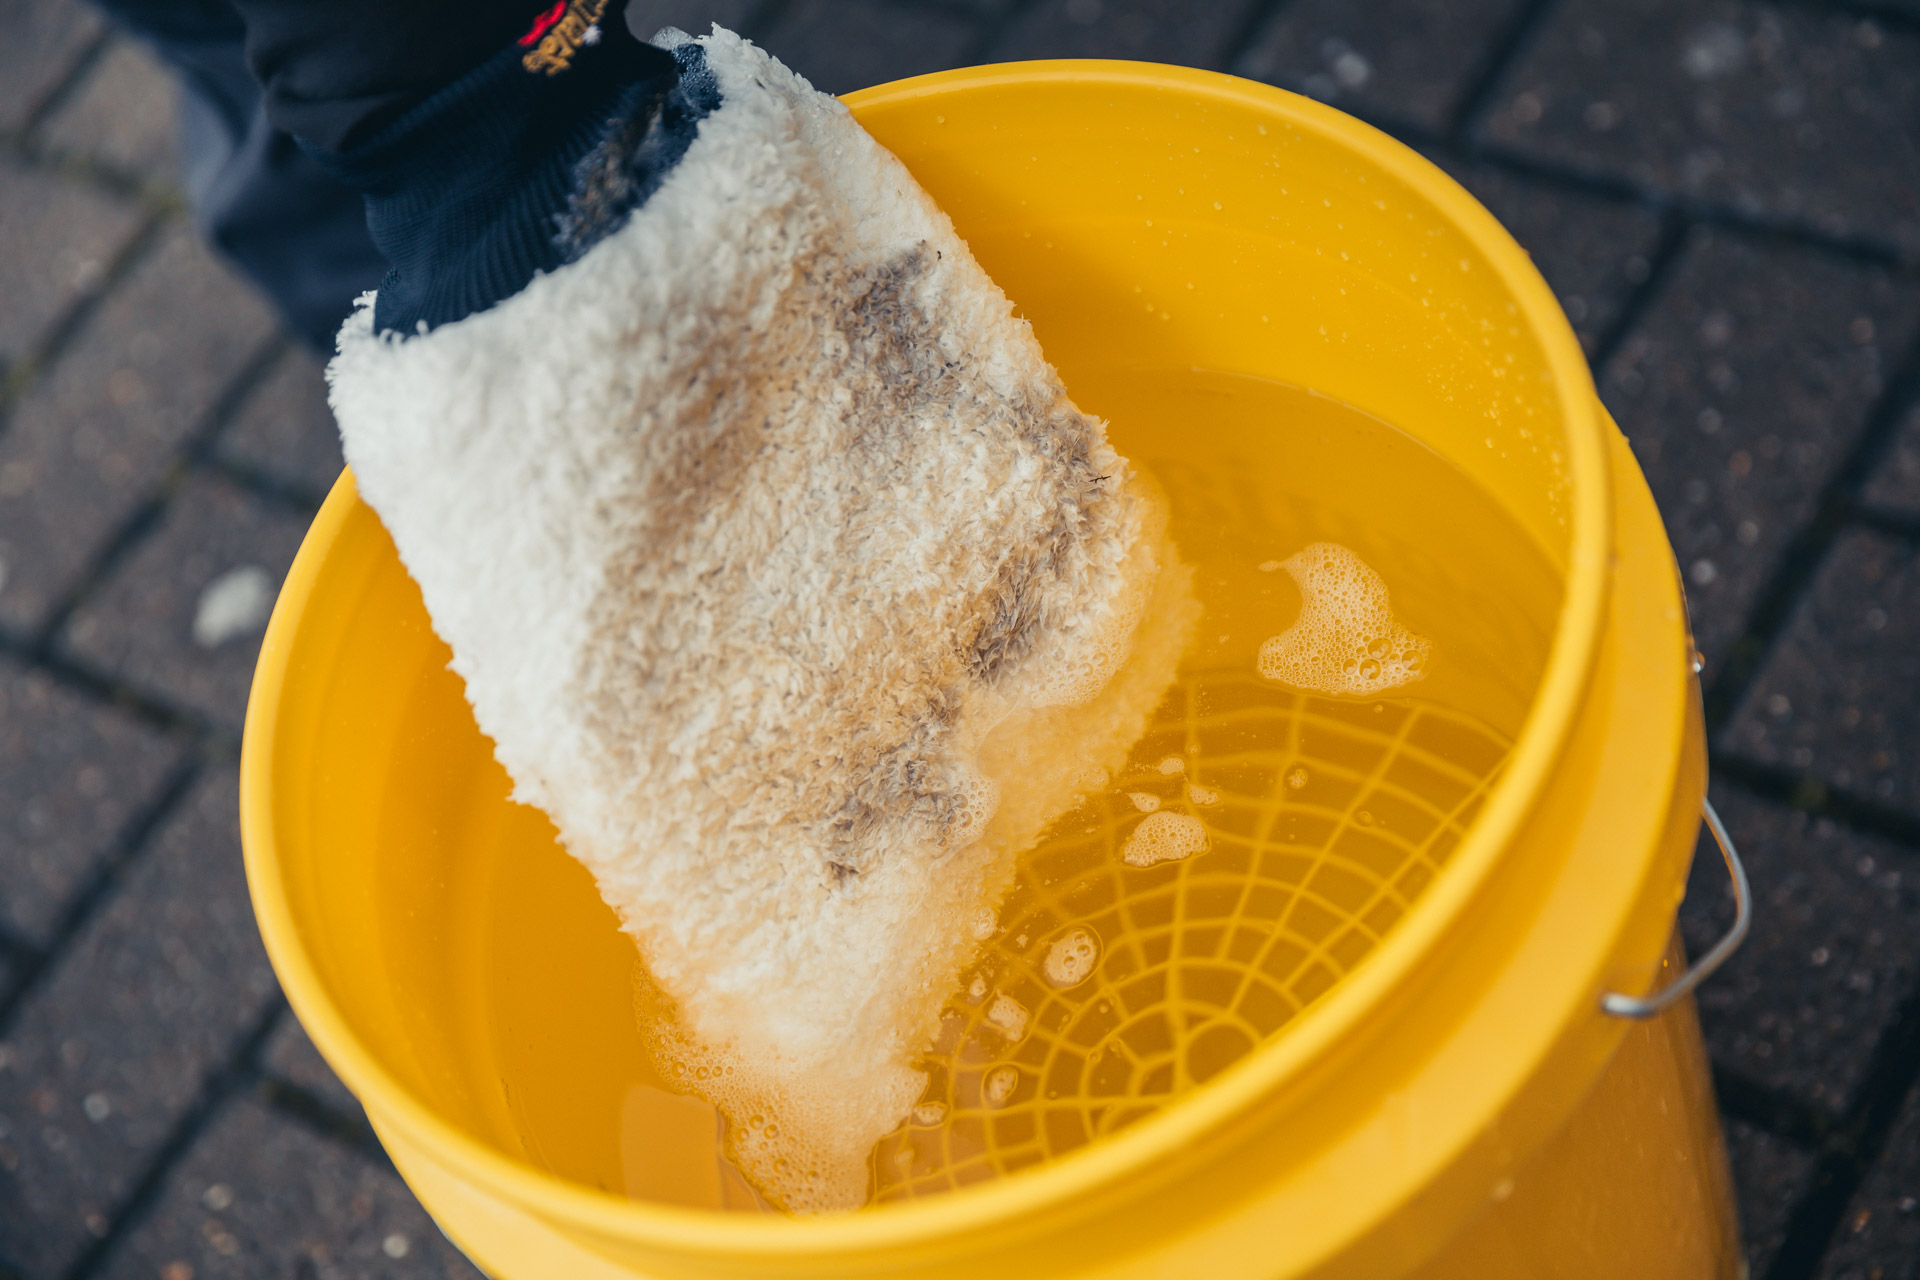
Given the levels of dirt at this time of year, we recommend the two bucket technique: one filled with Ultimate Wash & Wax and the other filled with clean water. Meguiar’s highly recommends a grit guard to protect your paintwork from damage when cleaning.
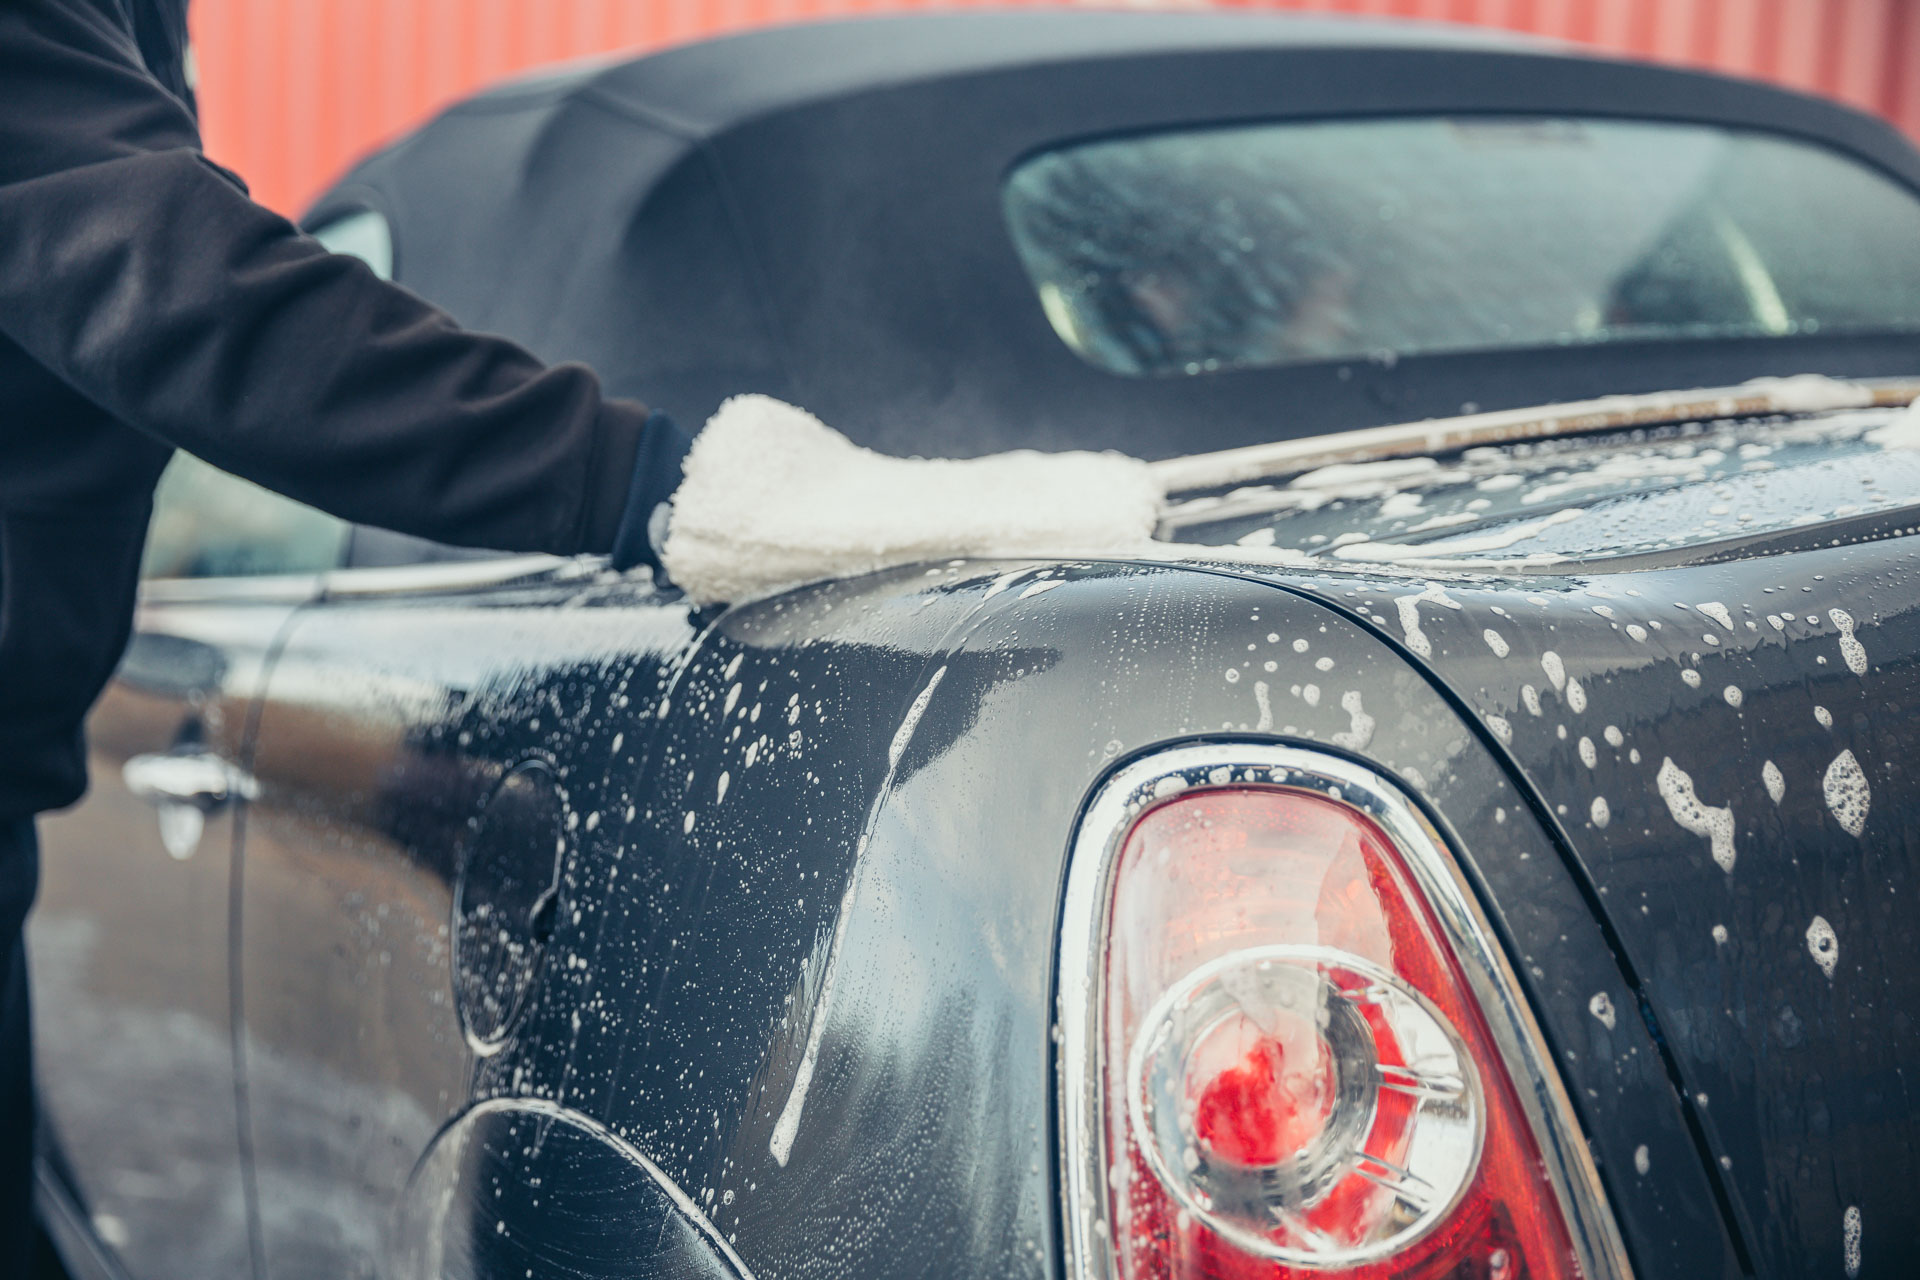
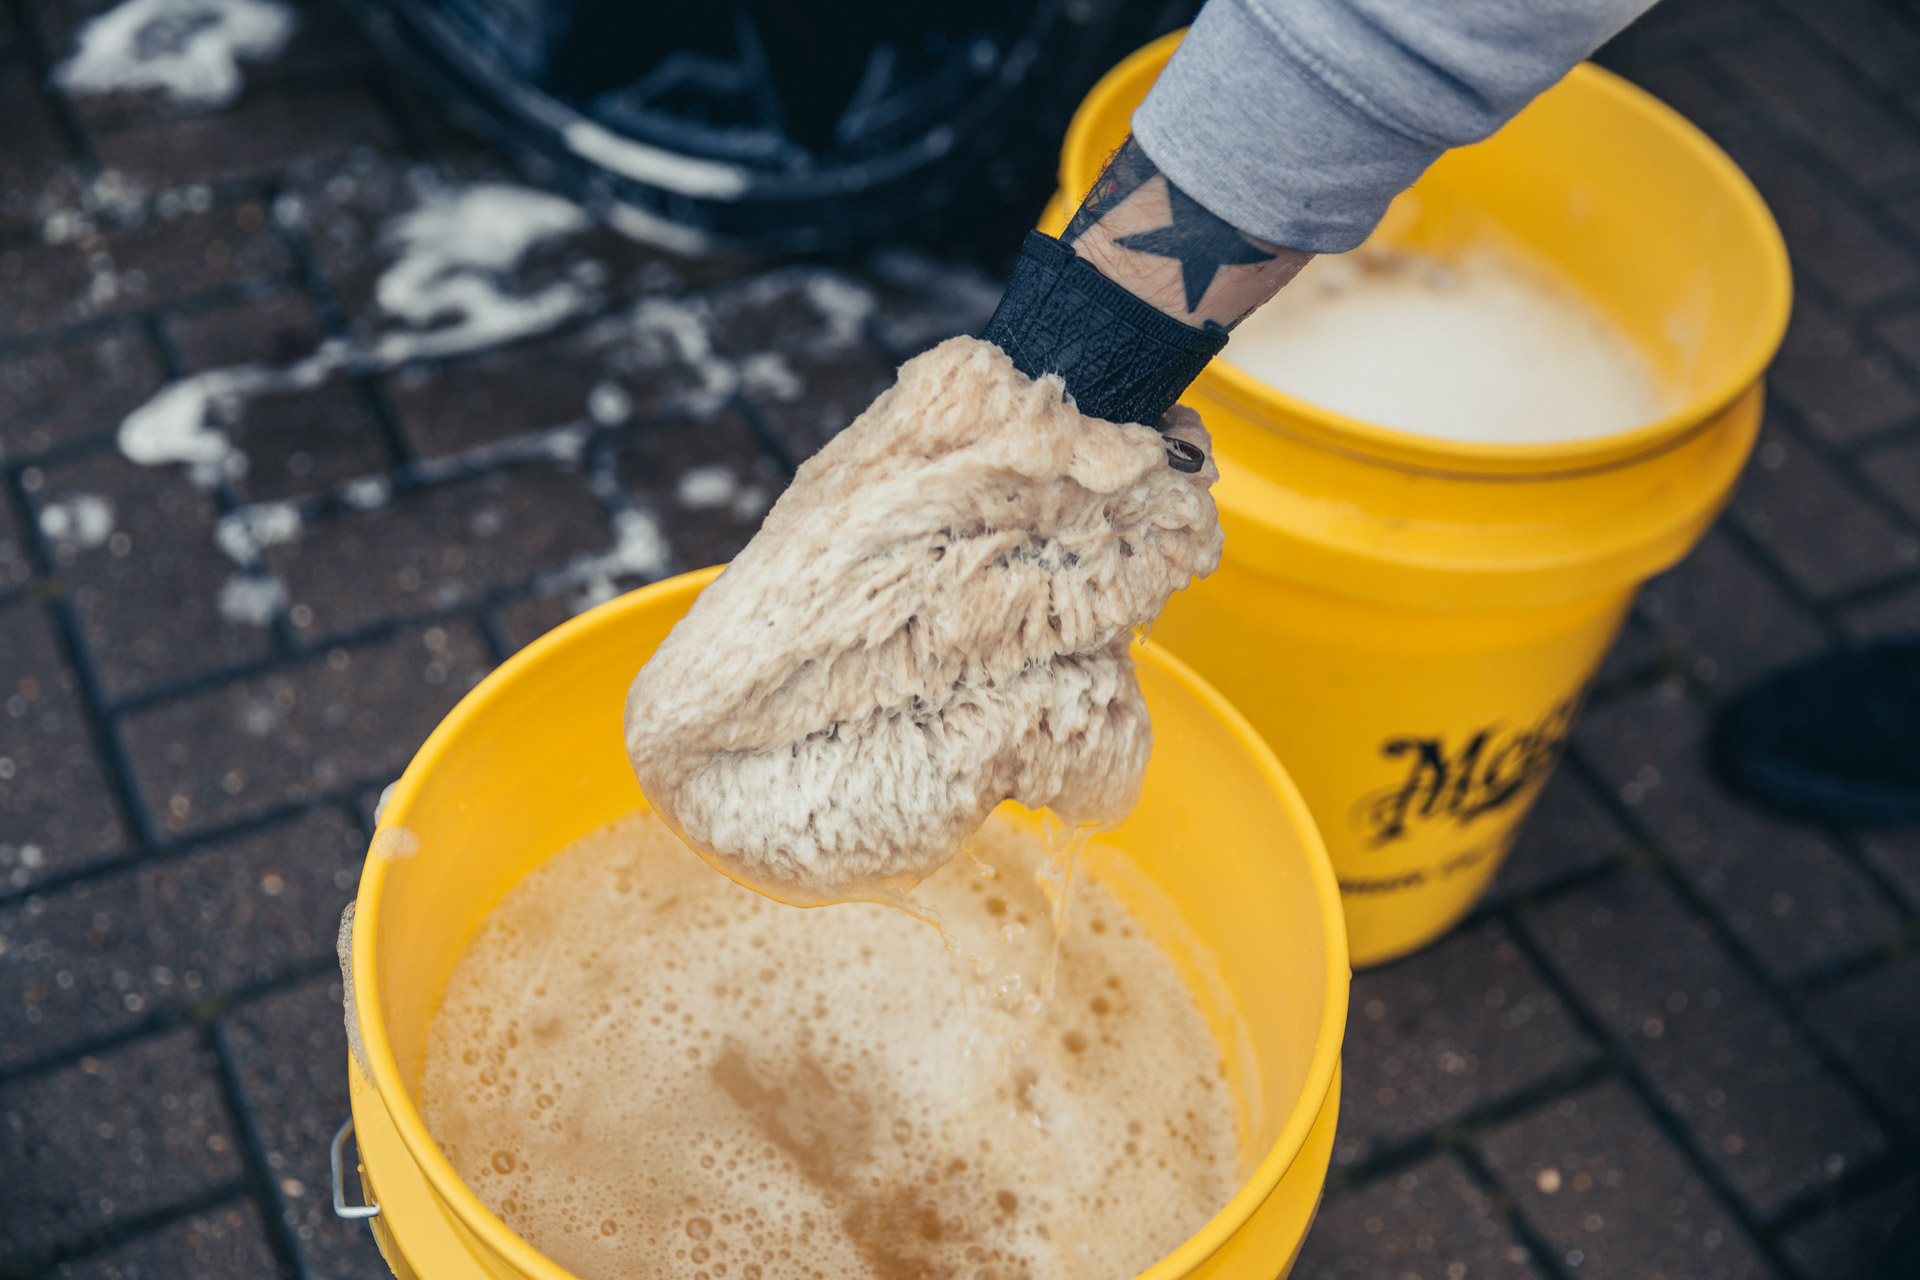
Using either a microfibre or lambs wool mitt, start by applying the Wash & Wax over the bodywork before dunking the dirty mitt into the clean water bucket. This keeps the Wash & Wax mixture as clean as possible ensuring no dirt or contaminants end up back on your paint (causing scratches and damage when worked).

TIP: Meguiar’s lamb’s wool mitt is made from natural material and is softer on paintwork, however it cannot be machine-washed. Meguiar’s microfibre mitt is made of synthetic materials and can be machine-washed between uses.
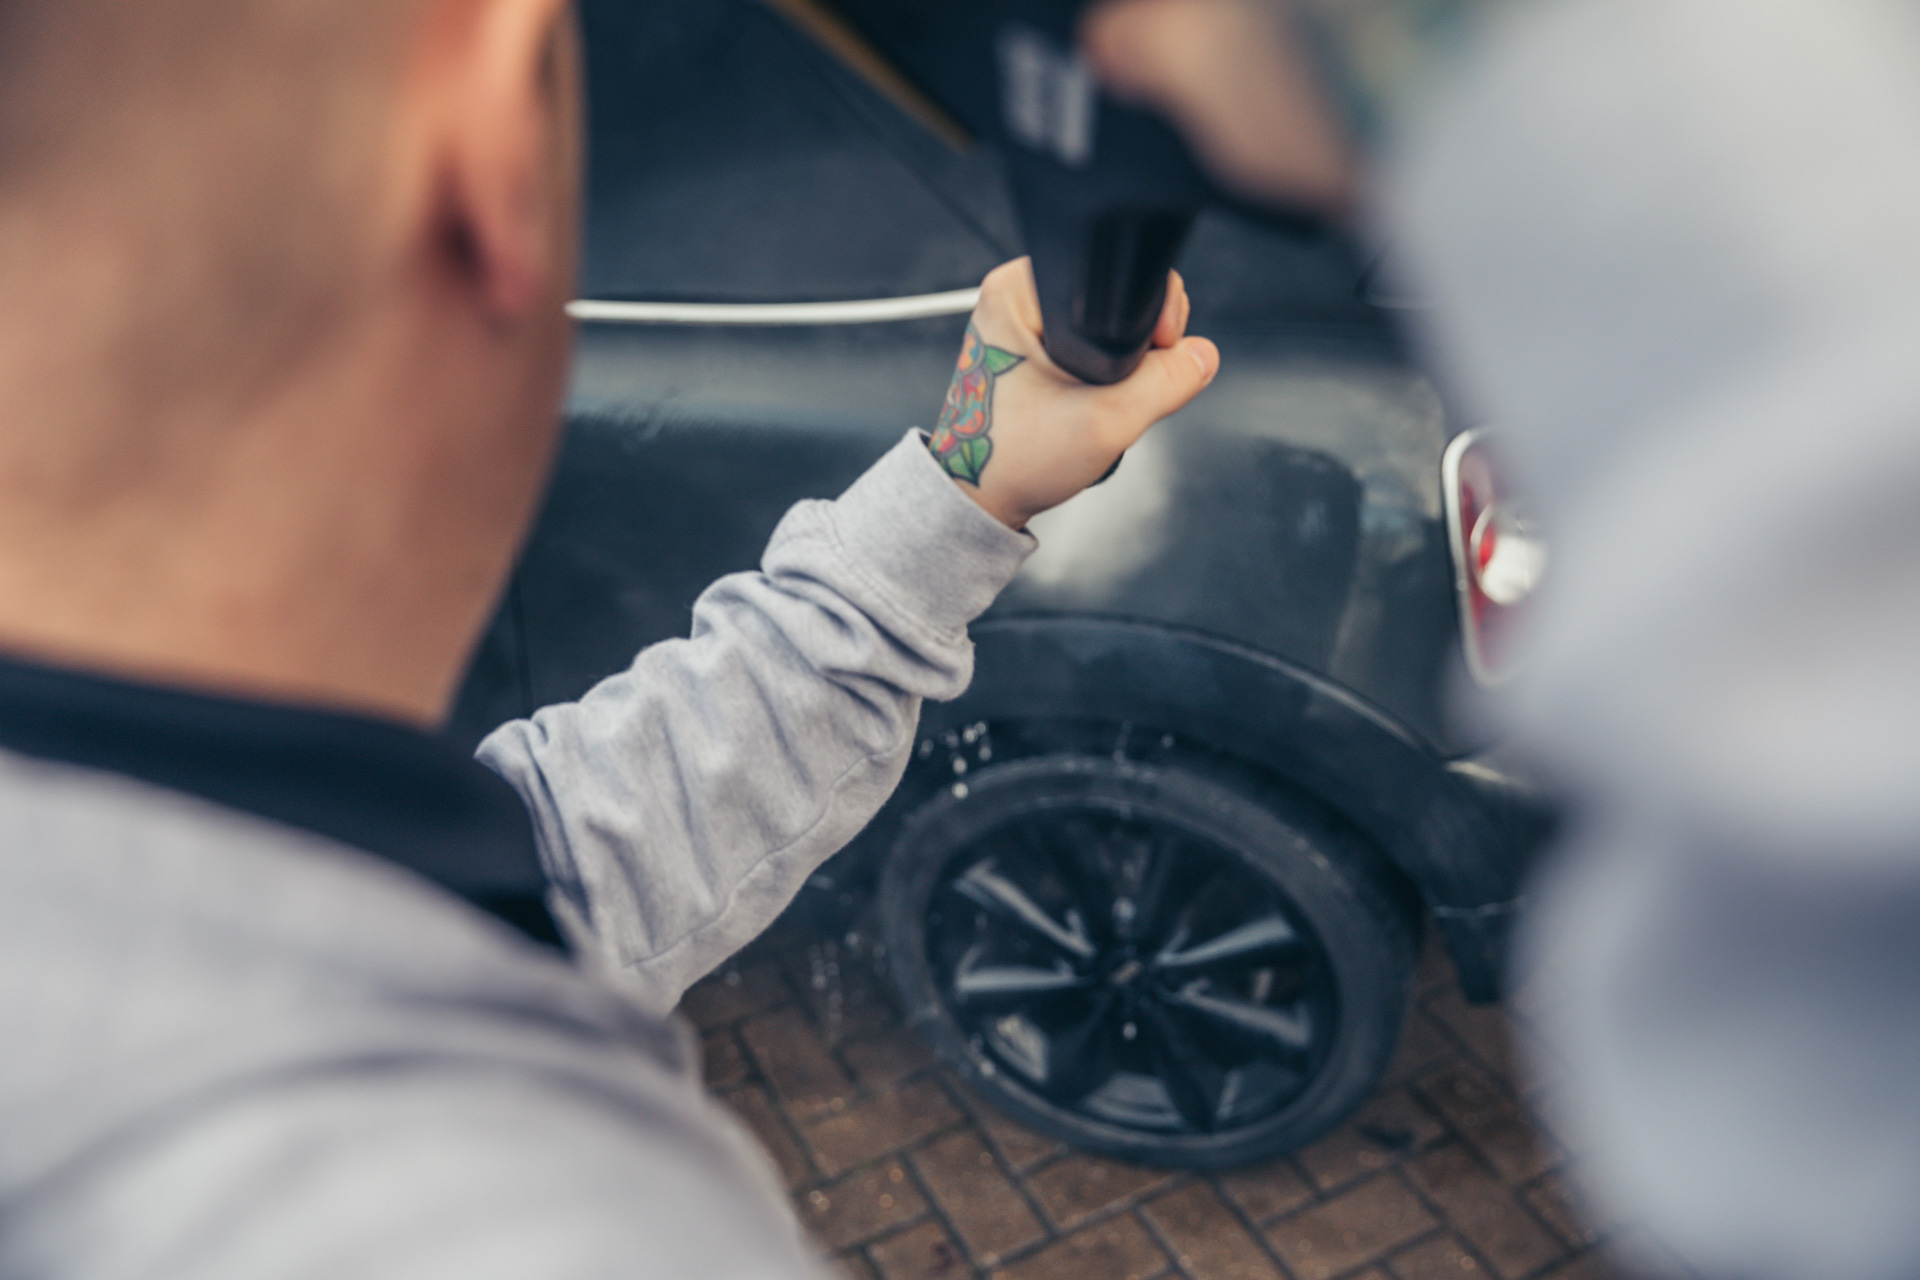
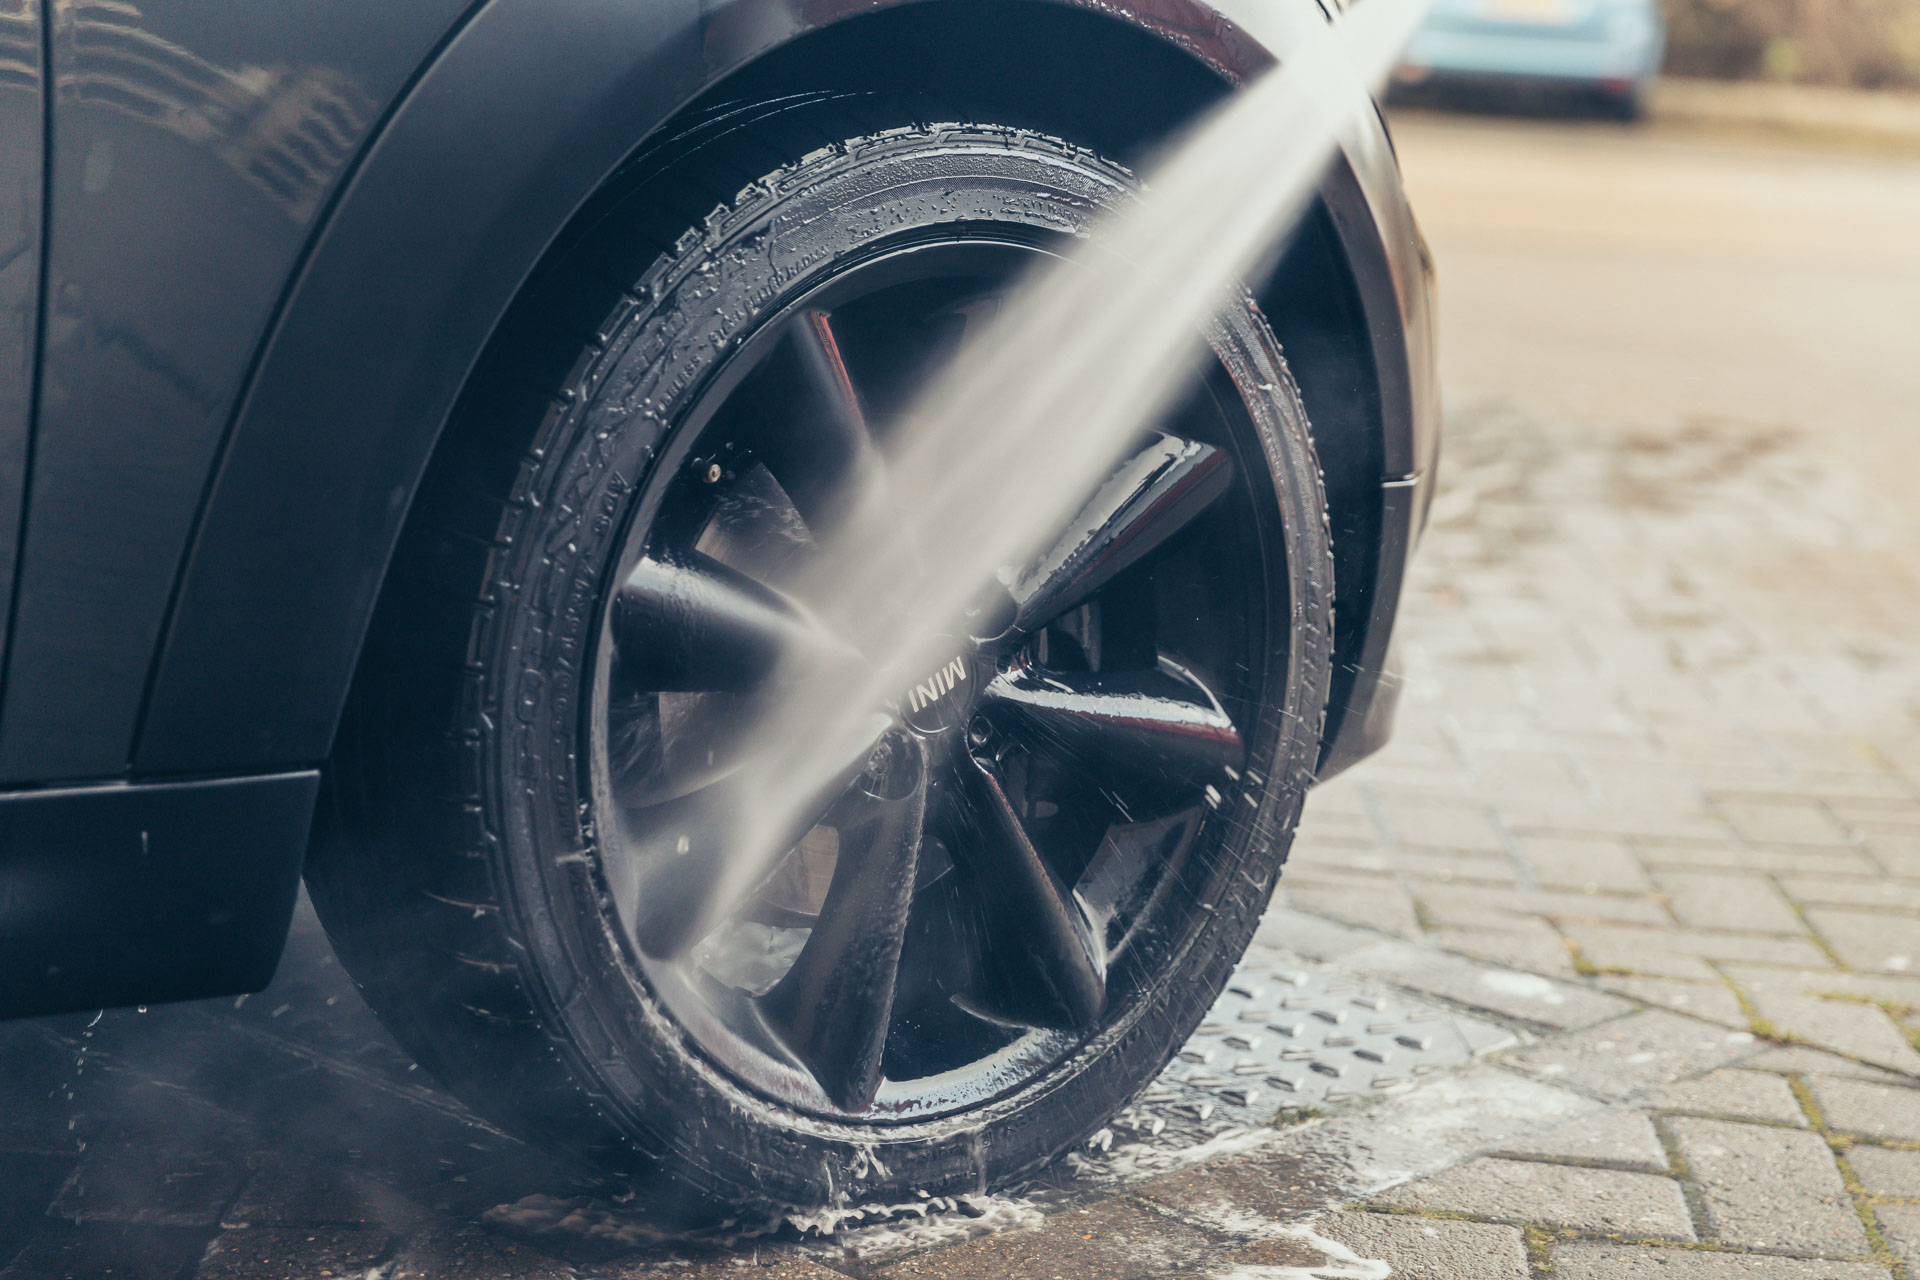
Step 3: Hot Rims Wheel Cleaner

Meguiar’s Hot Rims is PH neutral and can be used on all kinds of wheels and finishes, from traditional alloy through to paint and chrome. Application is straightforward: simply spray a good amount covering the whole wheel before rinsing off with a jet wash.
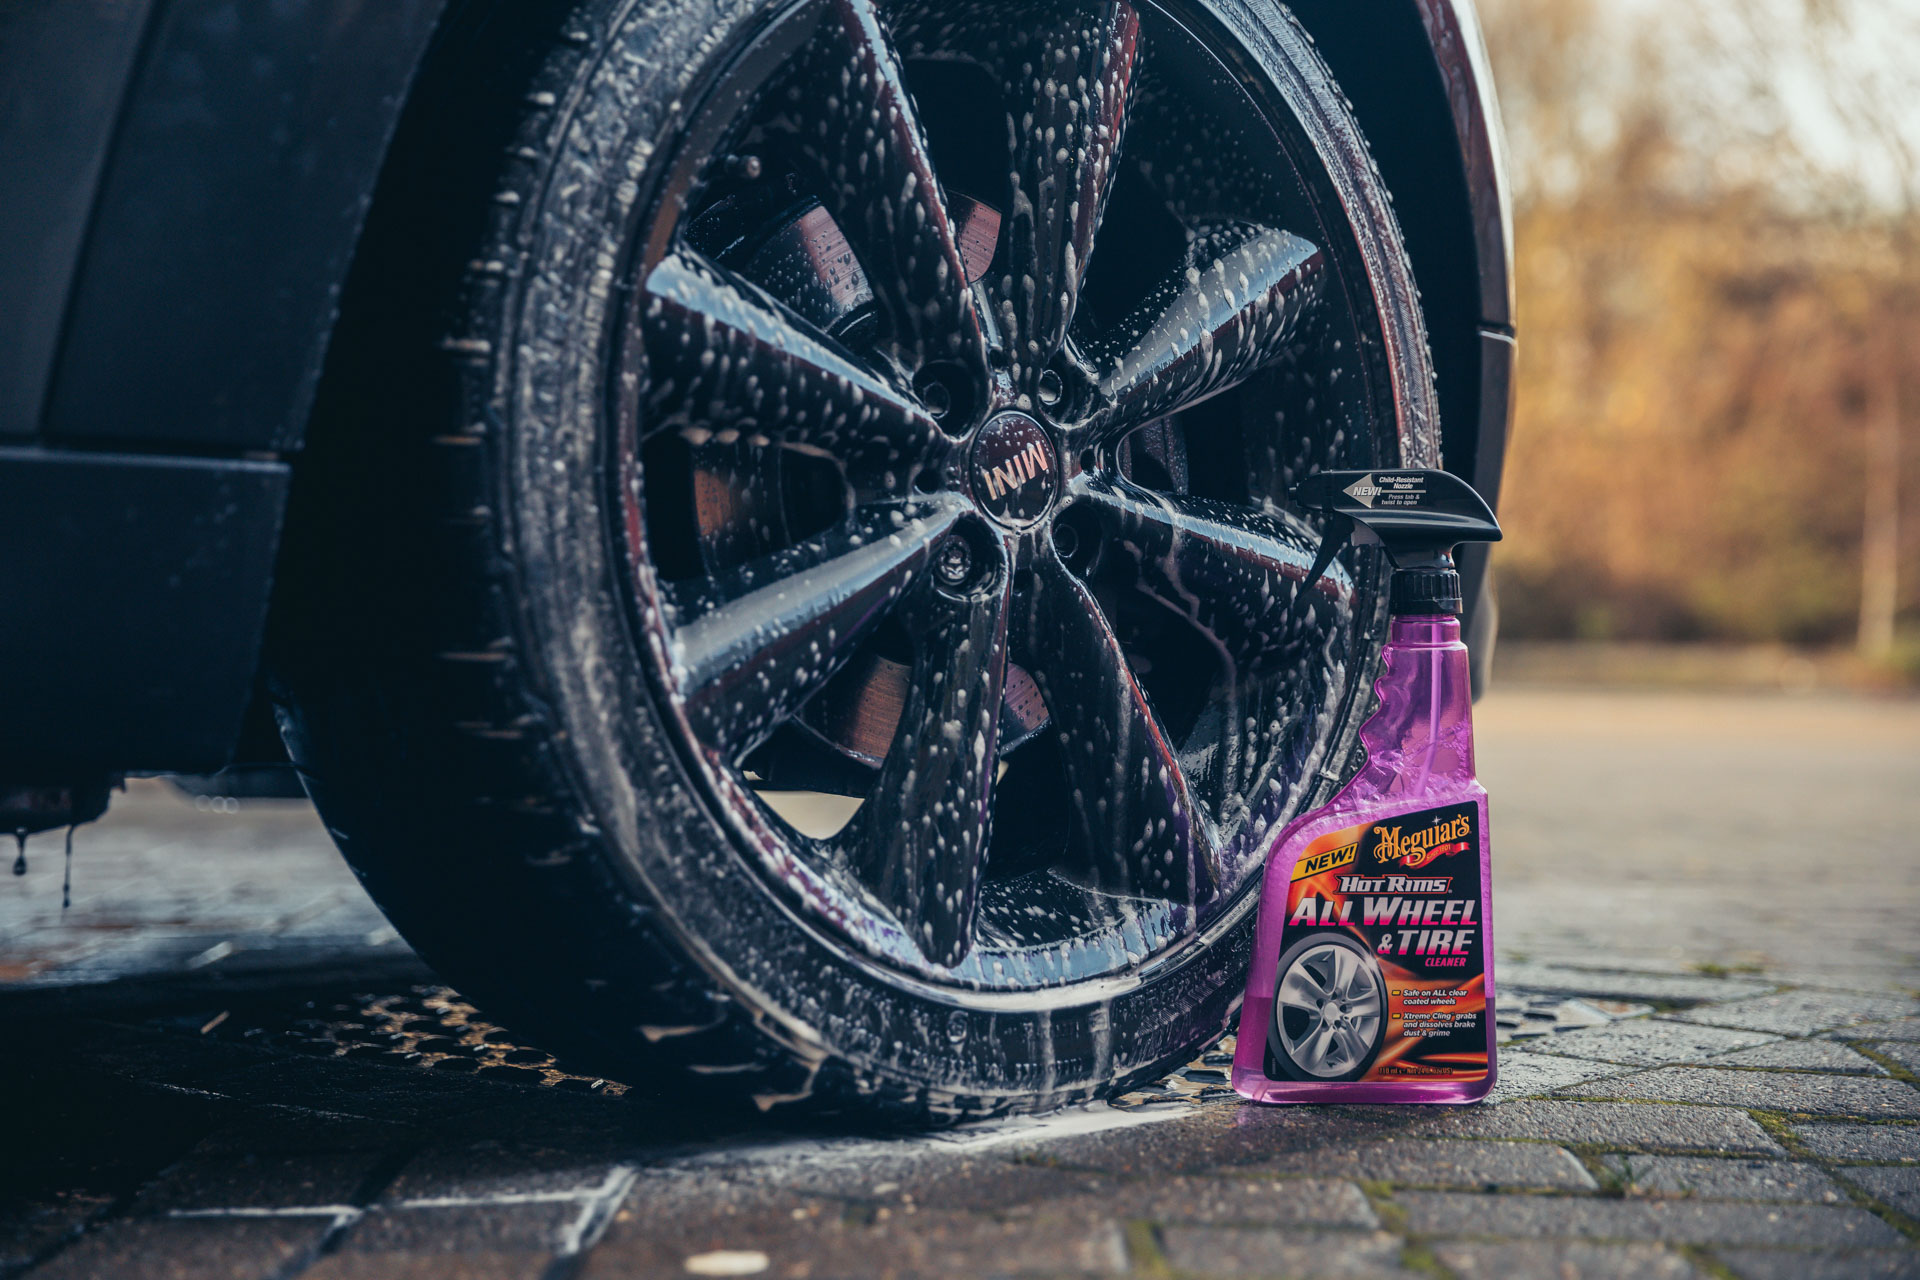
TIP: For extra-stubborn dirt a wheel brush can be used to agitate areas.
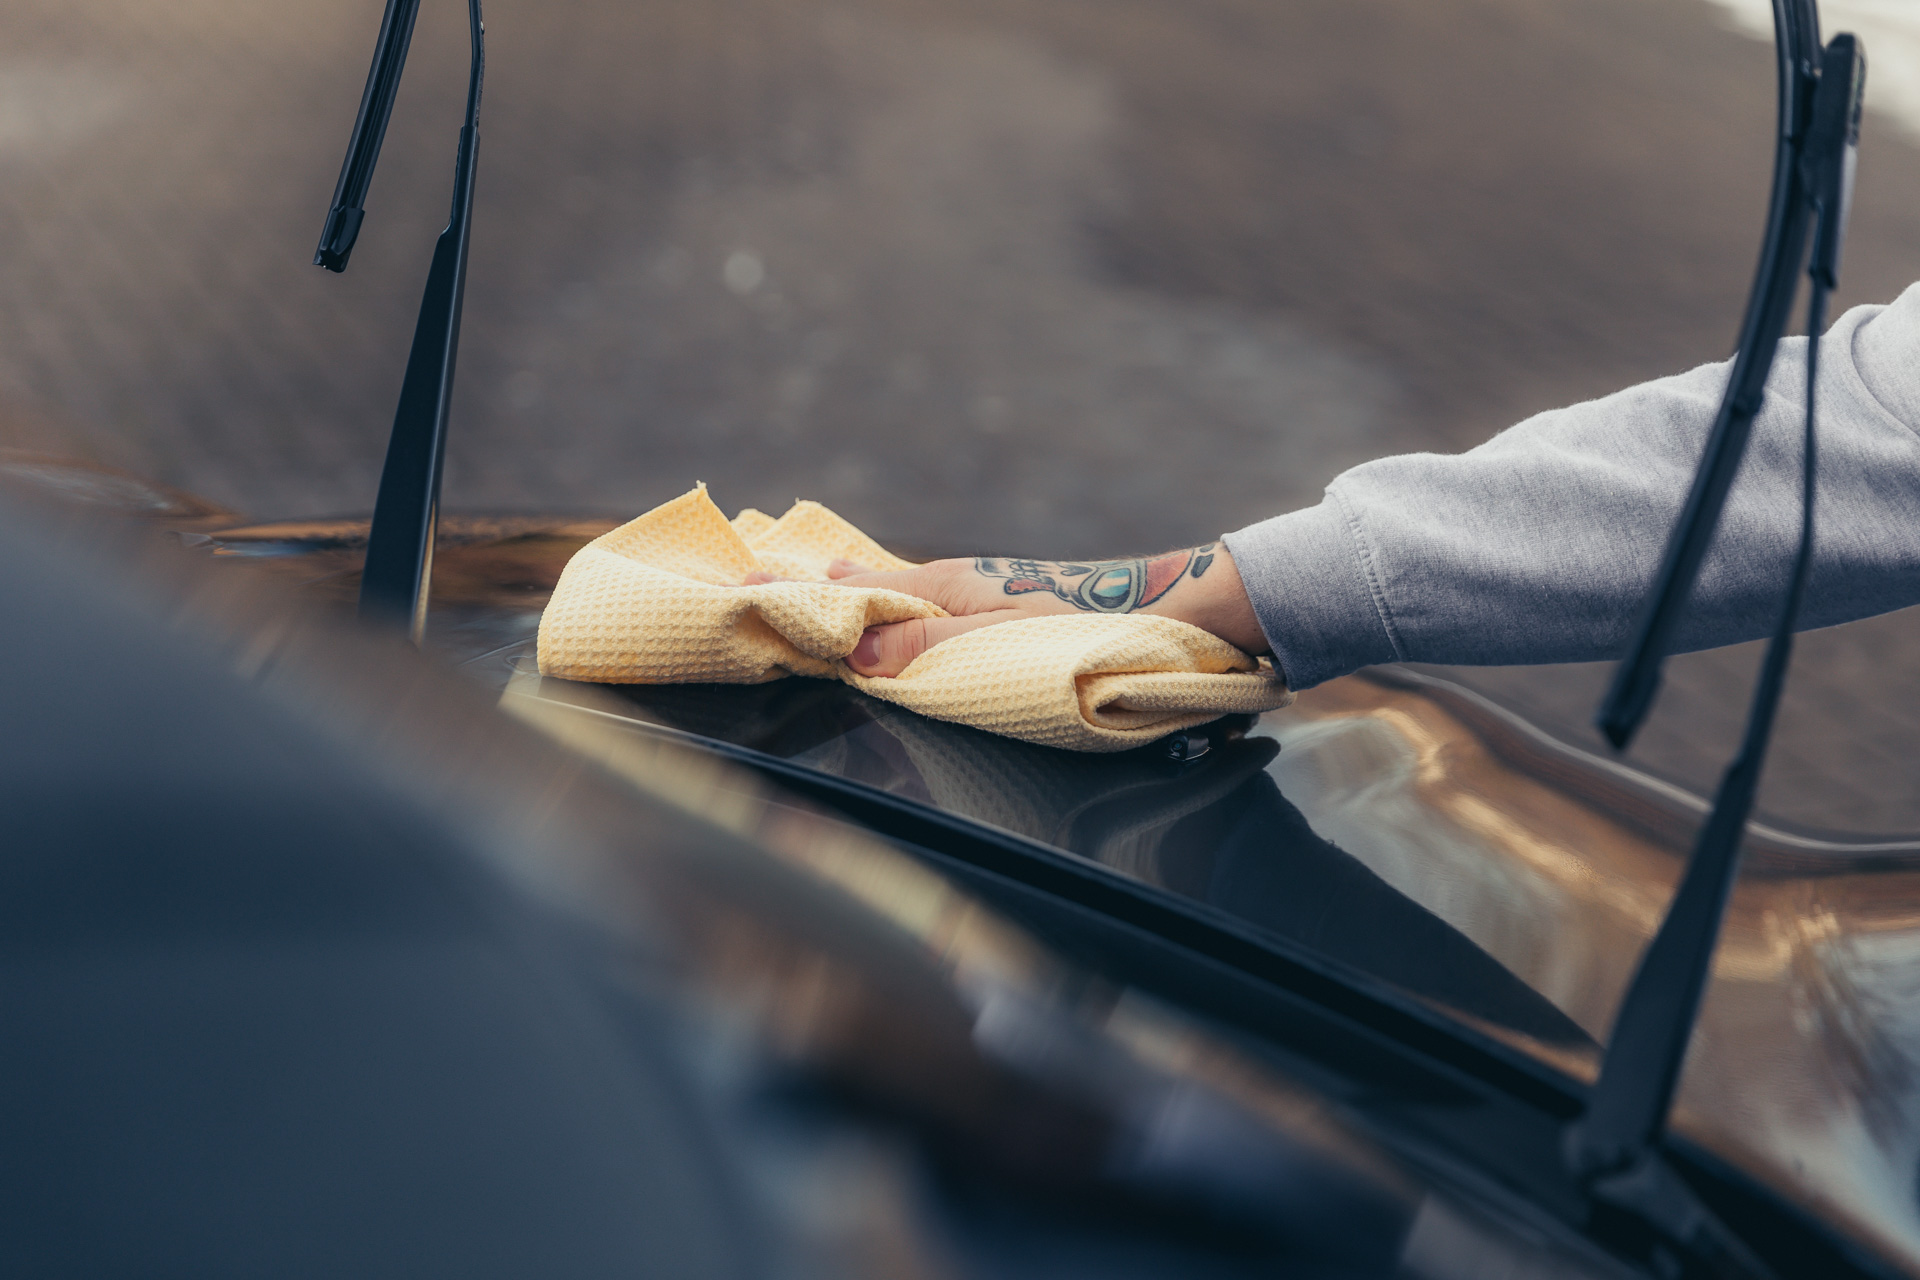
Step 4: Rinse & dry with Meguiar’s Water Magnet
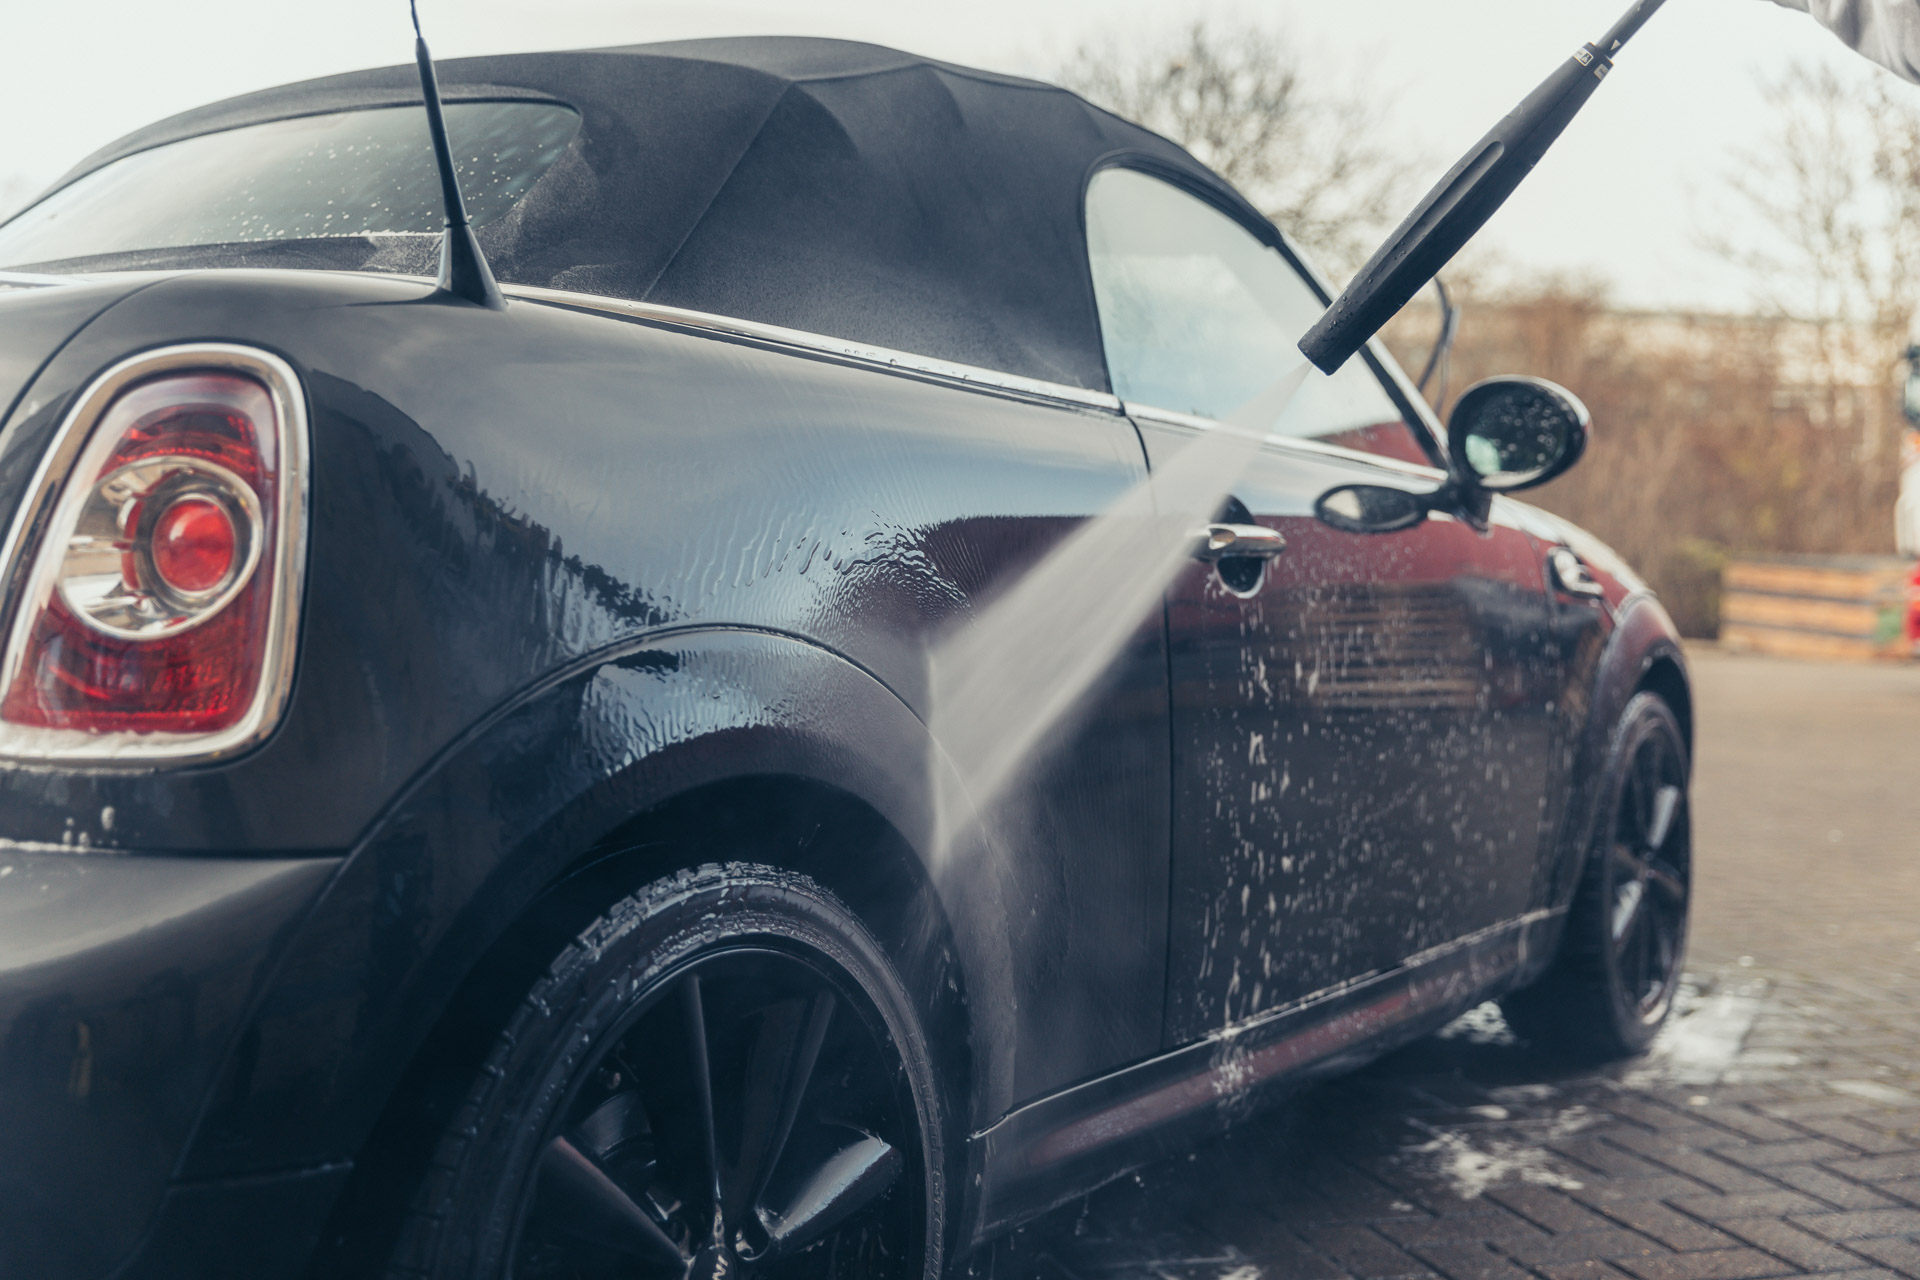
With the bodywork suitably washed, the next step is to rinse it down with the jet wash before drying. Meguiar’s recommends holding the jet wash at an angle and not directly.
This means any stone chips or damaged paint won’t be made worse from the high-pressure jet hitting it square on.
Our Water Magnet wash mitt will quickly and easily remove any excess water before protecting the paintwork with wax.
TIP: Machine wash after use to purge out silicones and contaminants.
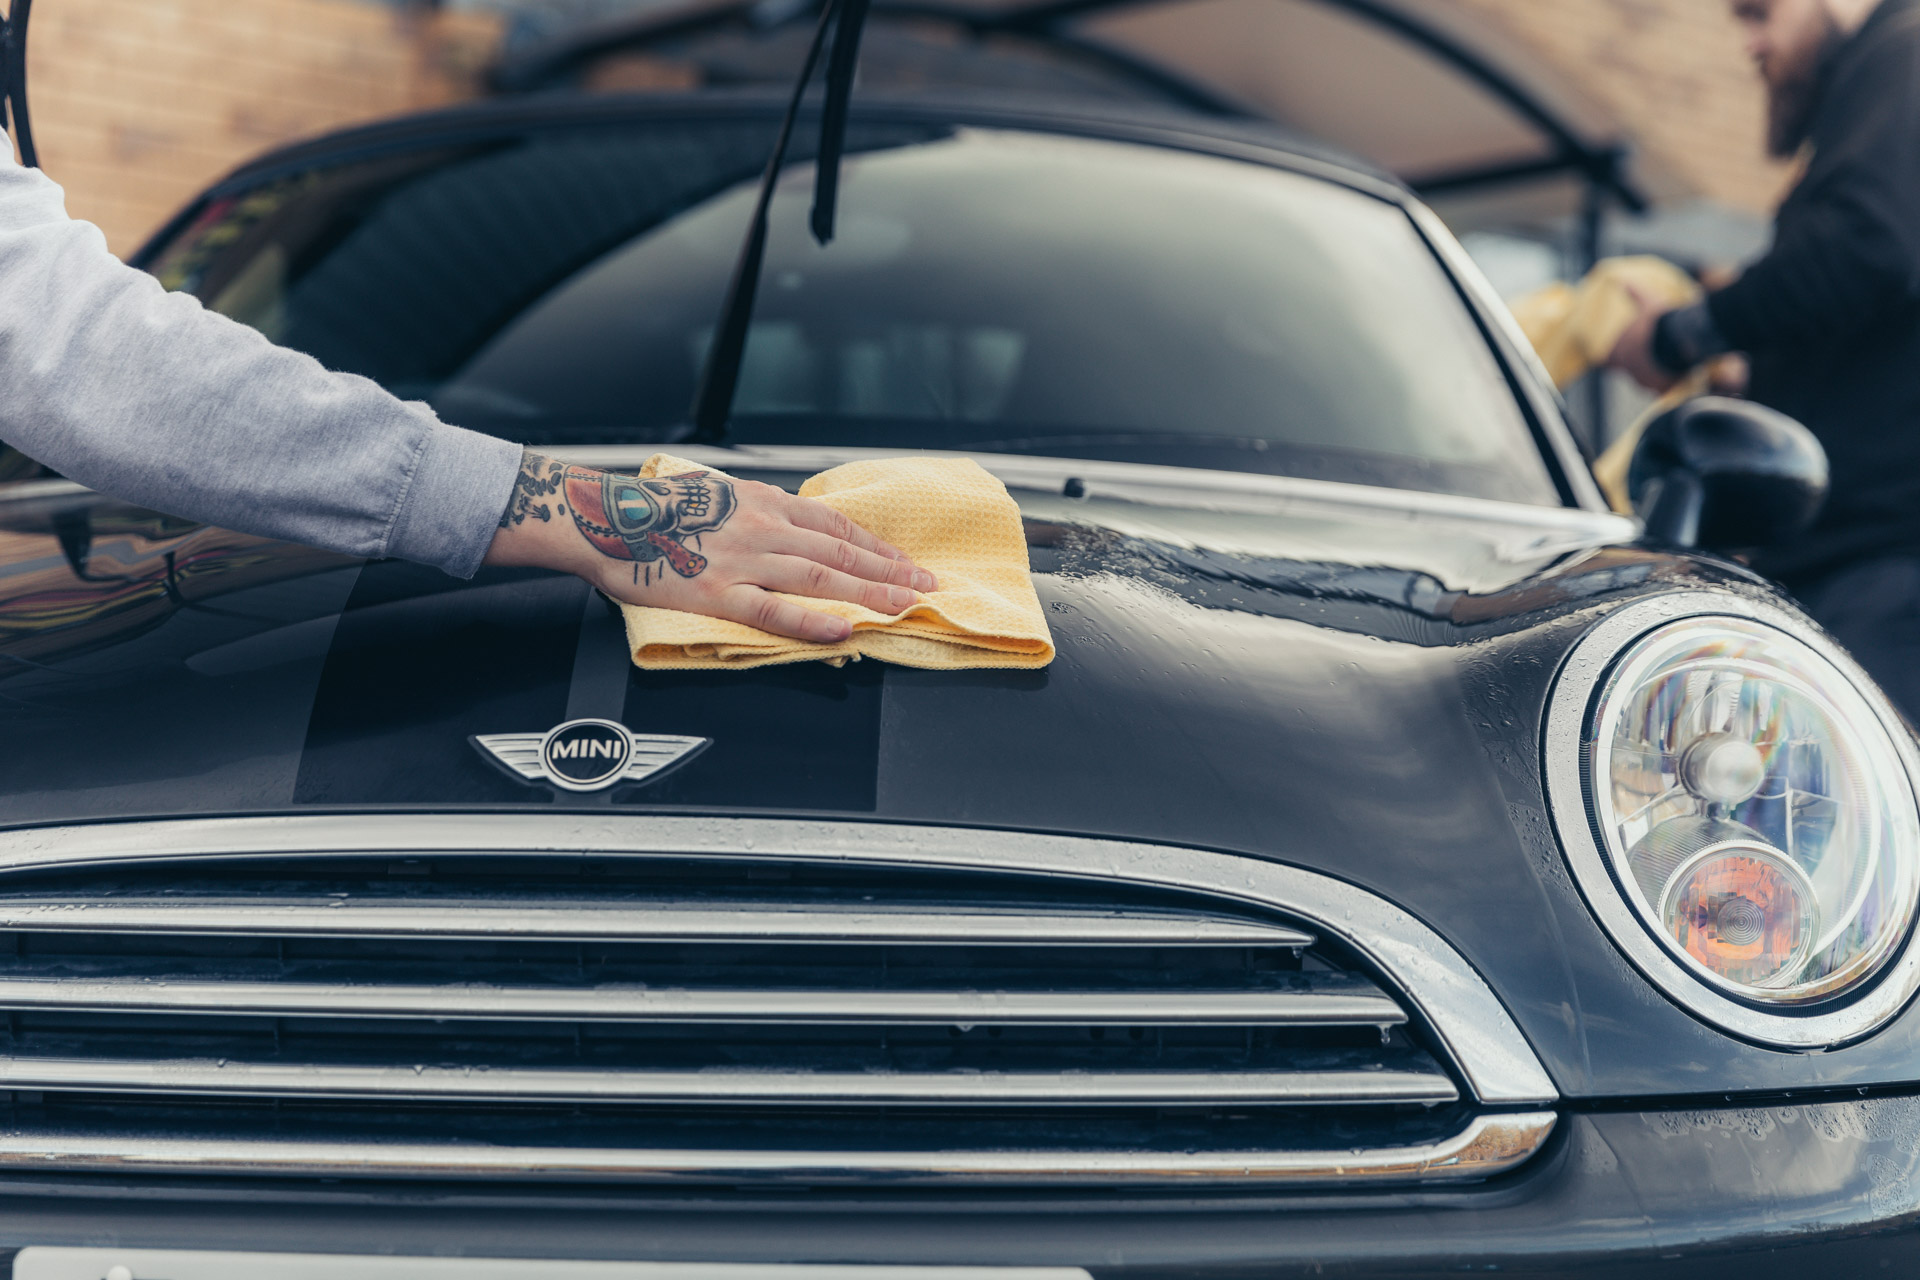
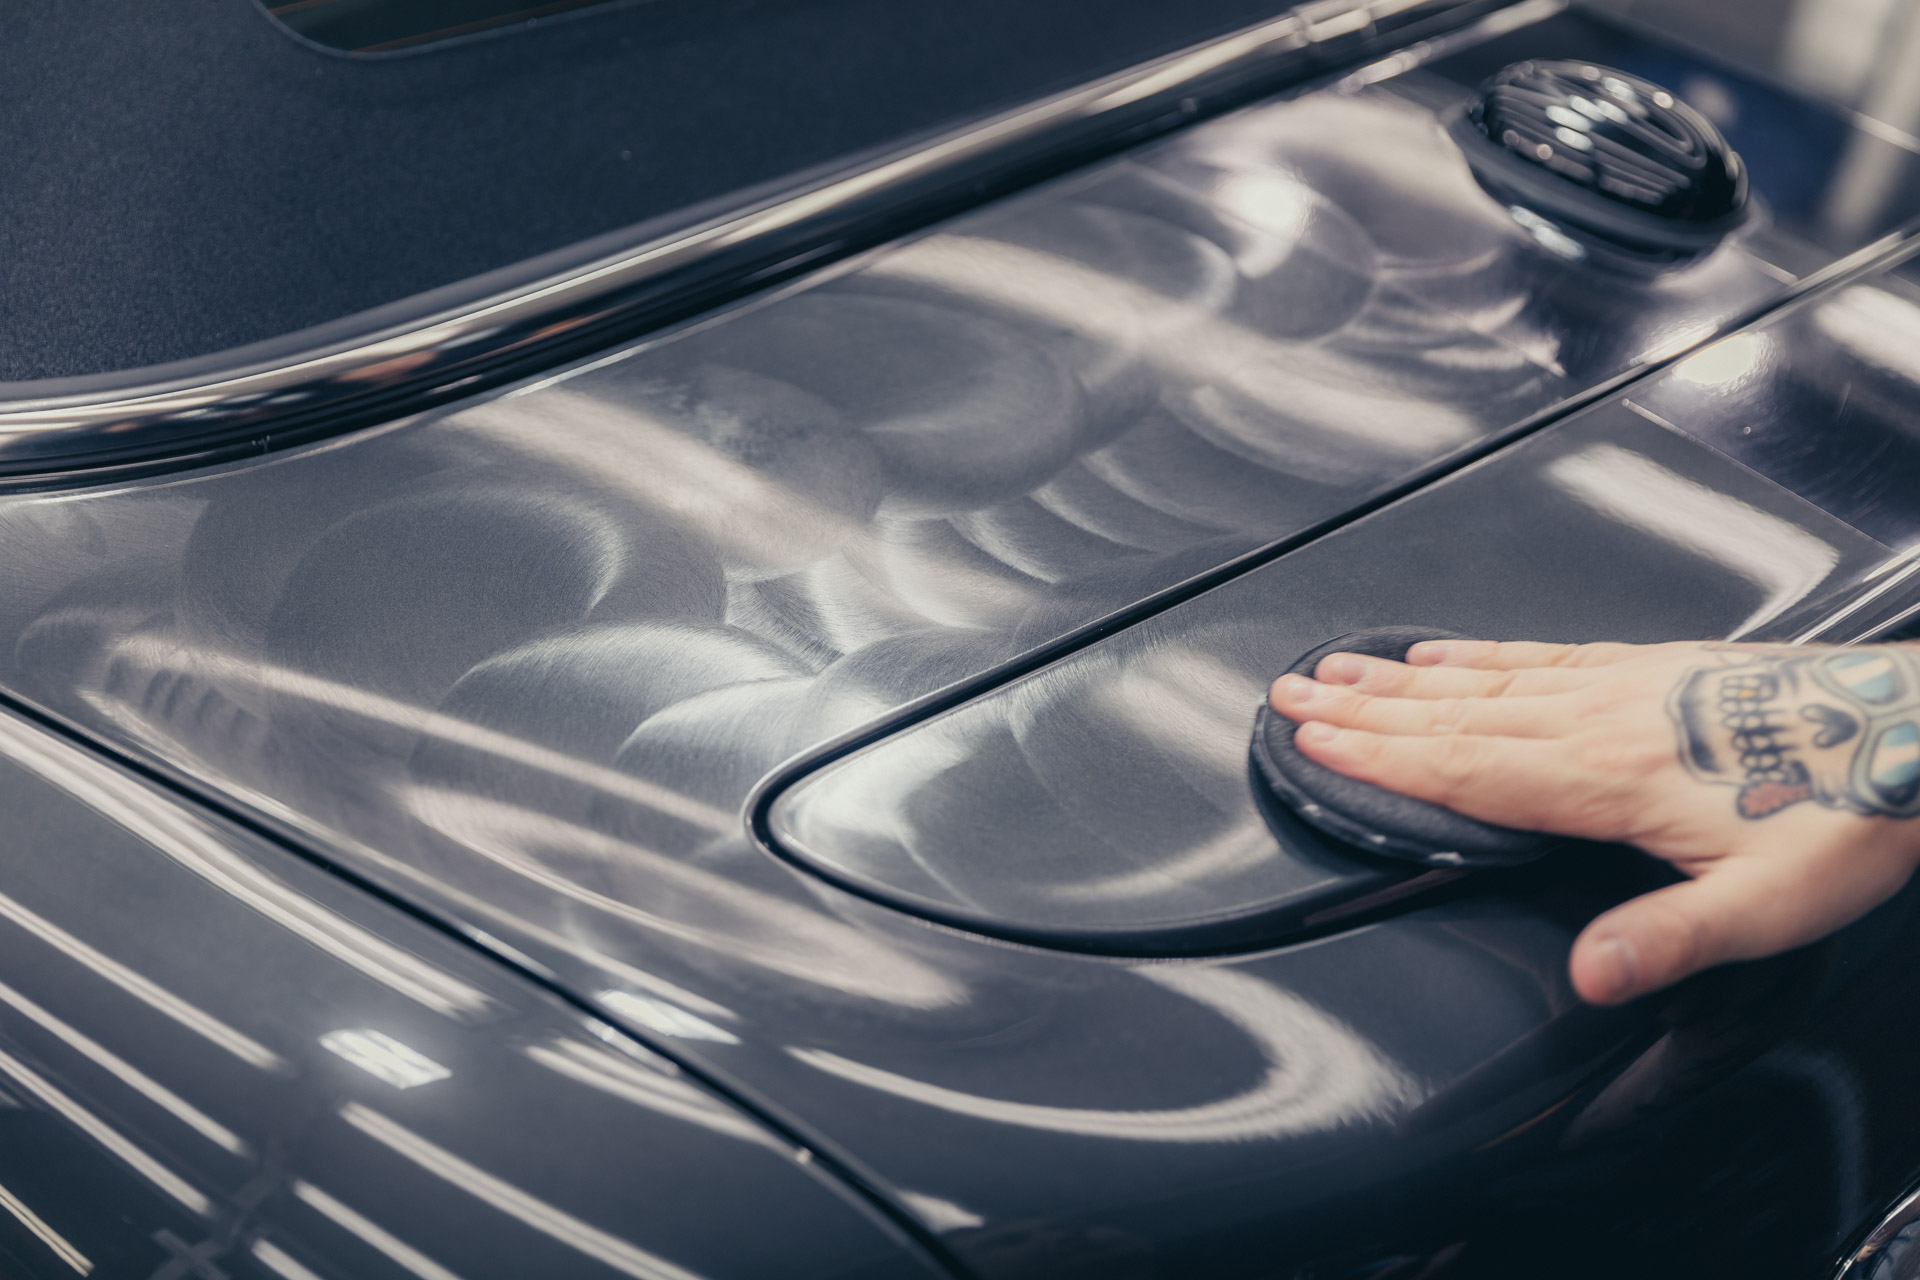
Step 5: Ultimate Paste Wax
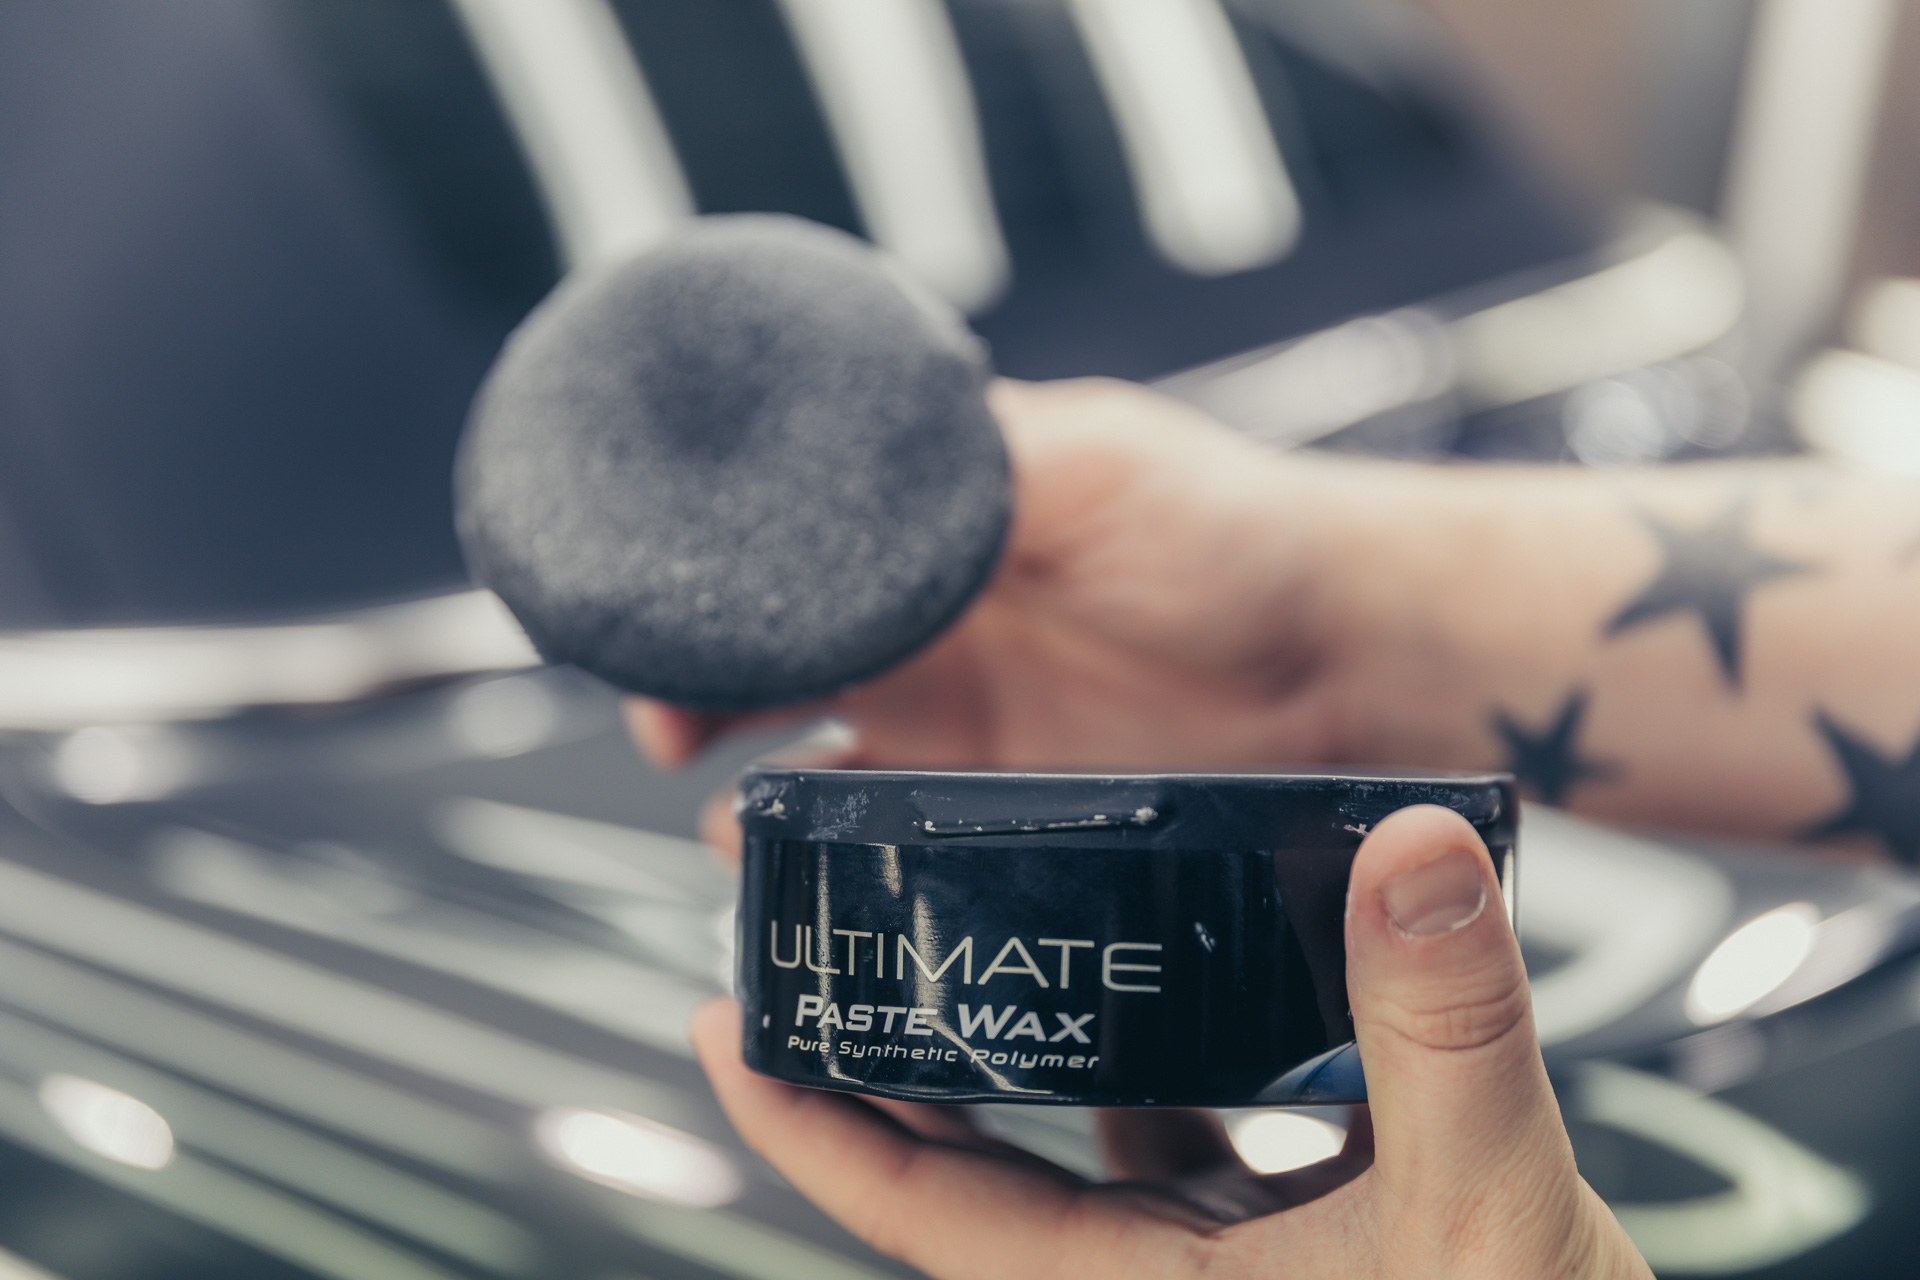
With your paintwork suitably clean, the next step is to protect it using Meguiar’s Ultimate Paste Wax. This is a hand-application wax that comes with the suitable application pad.
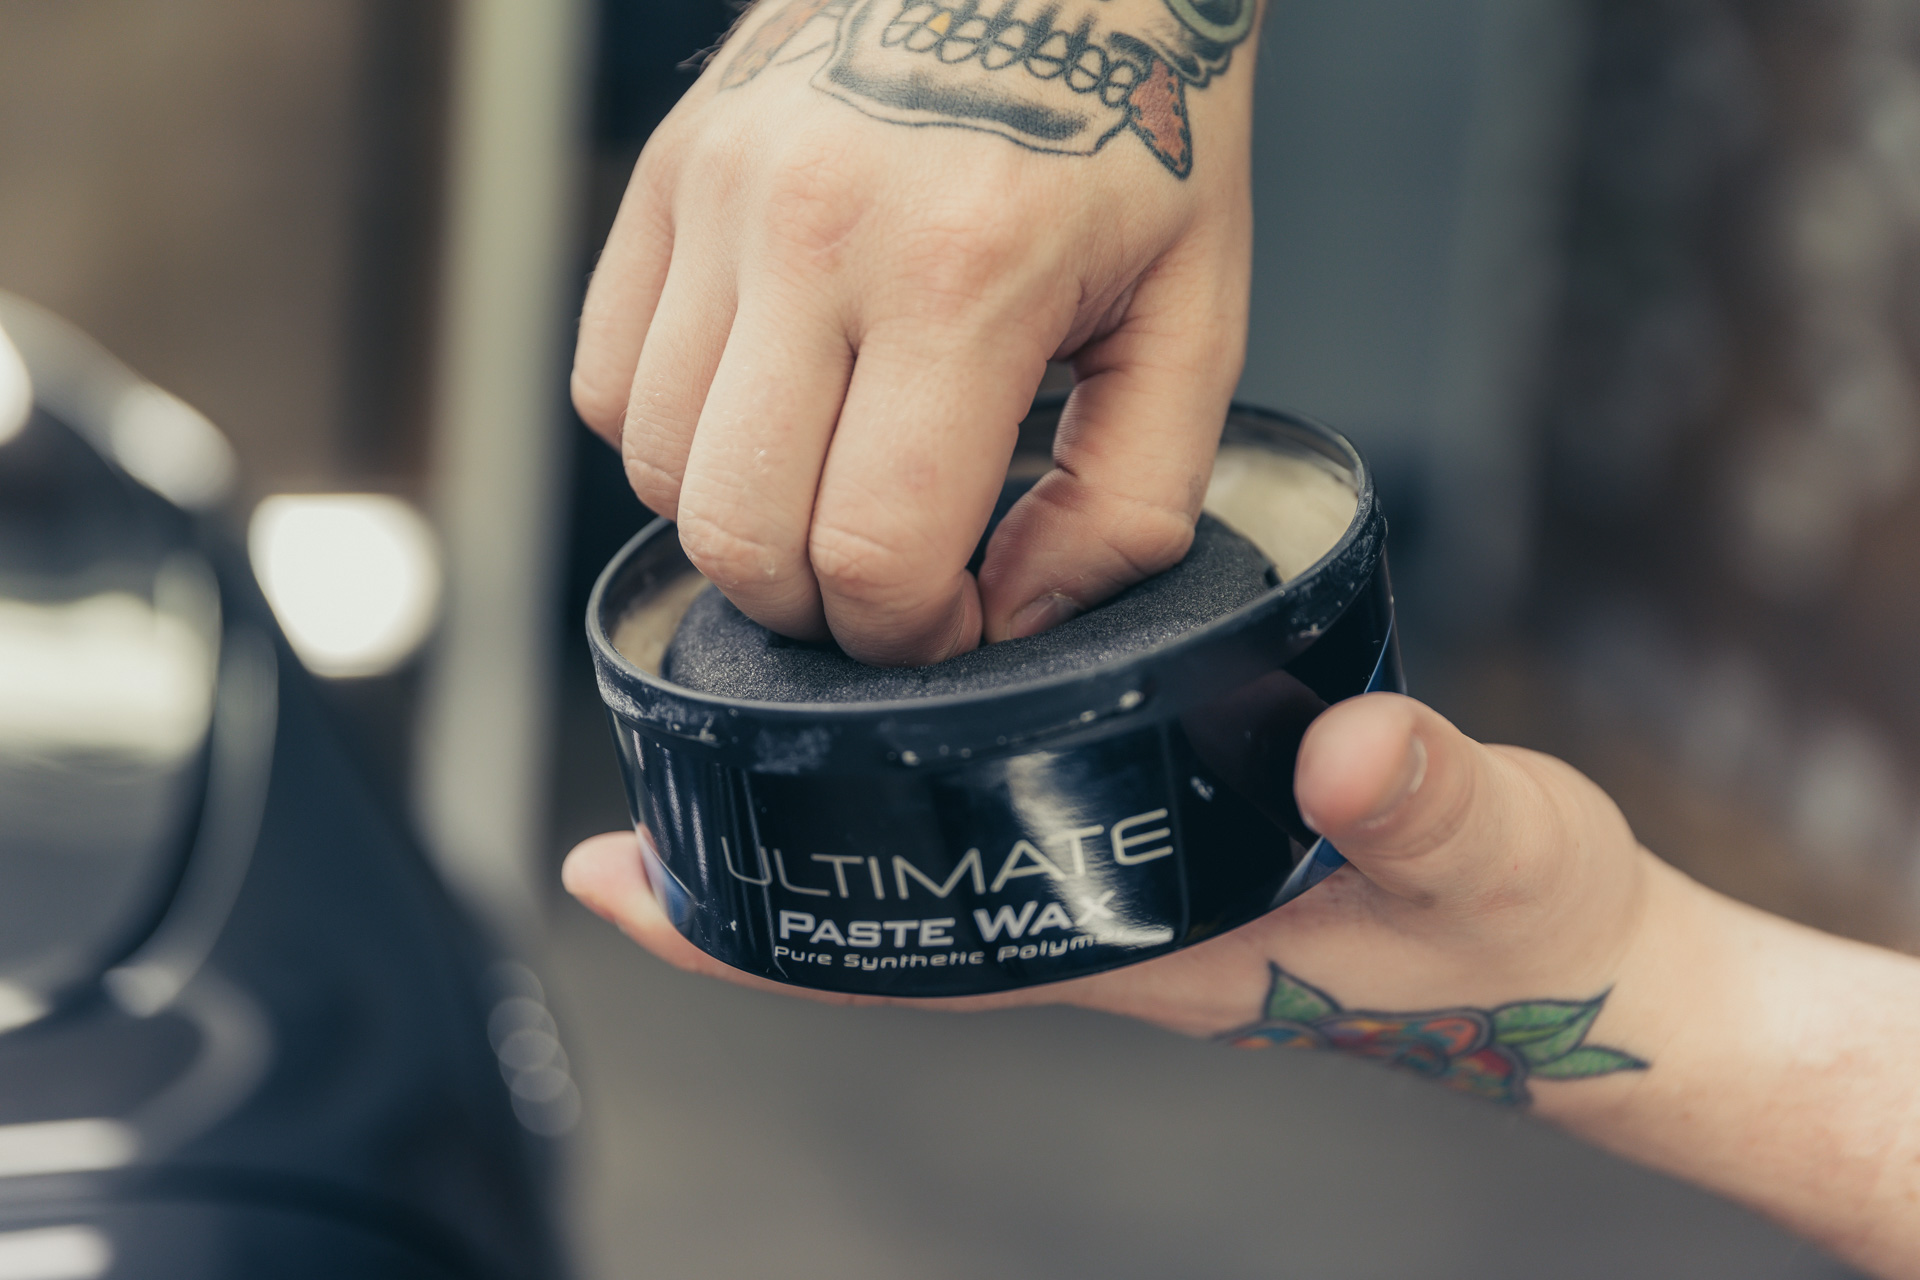
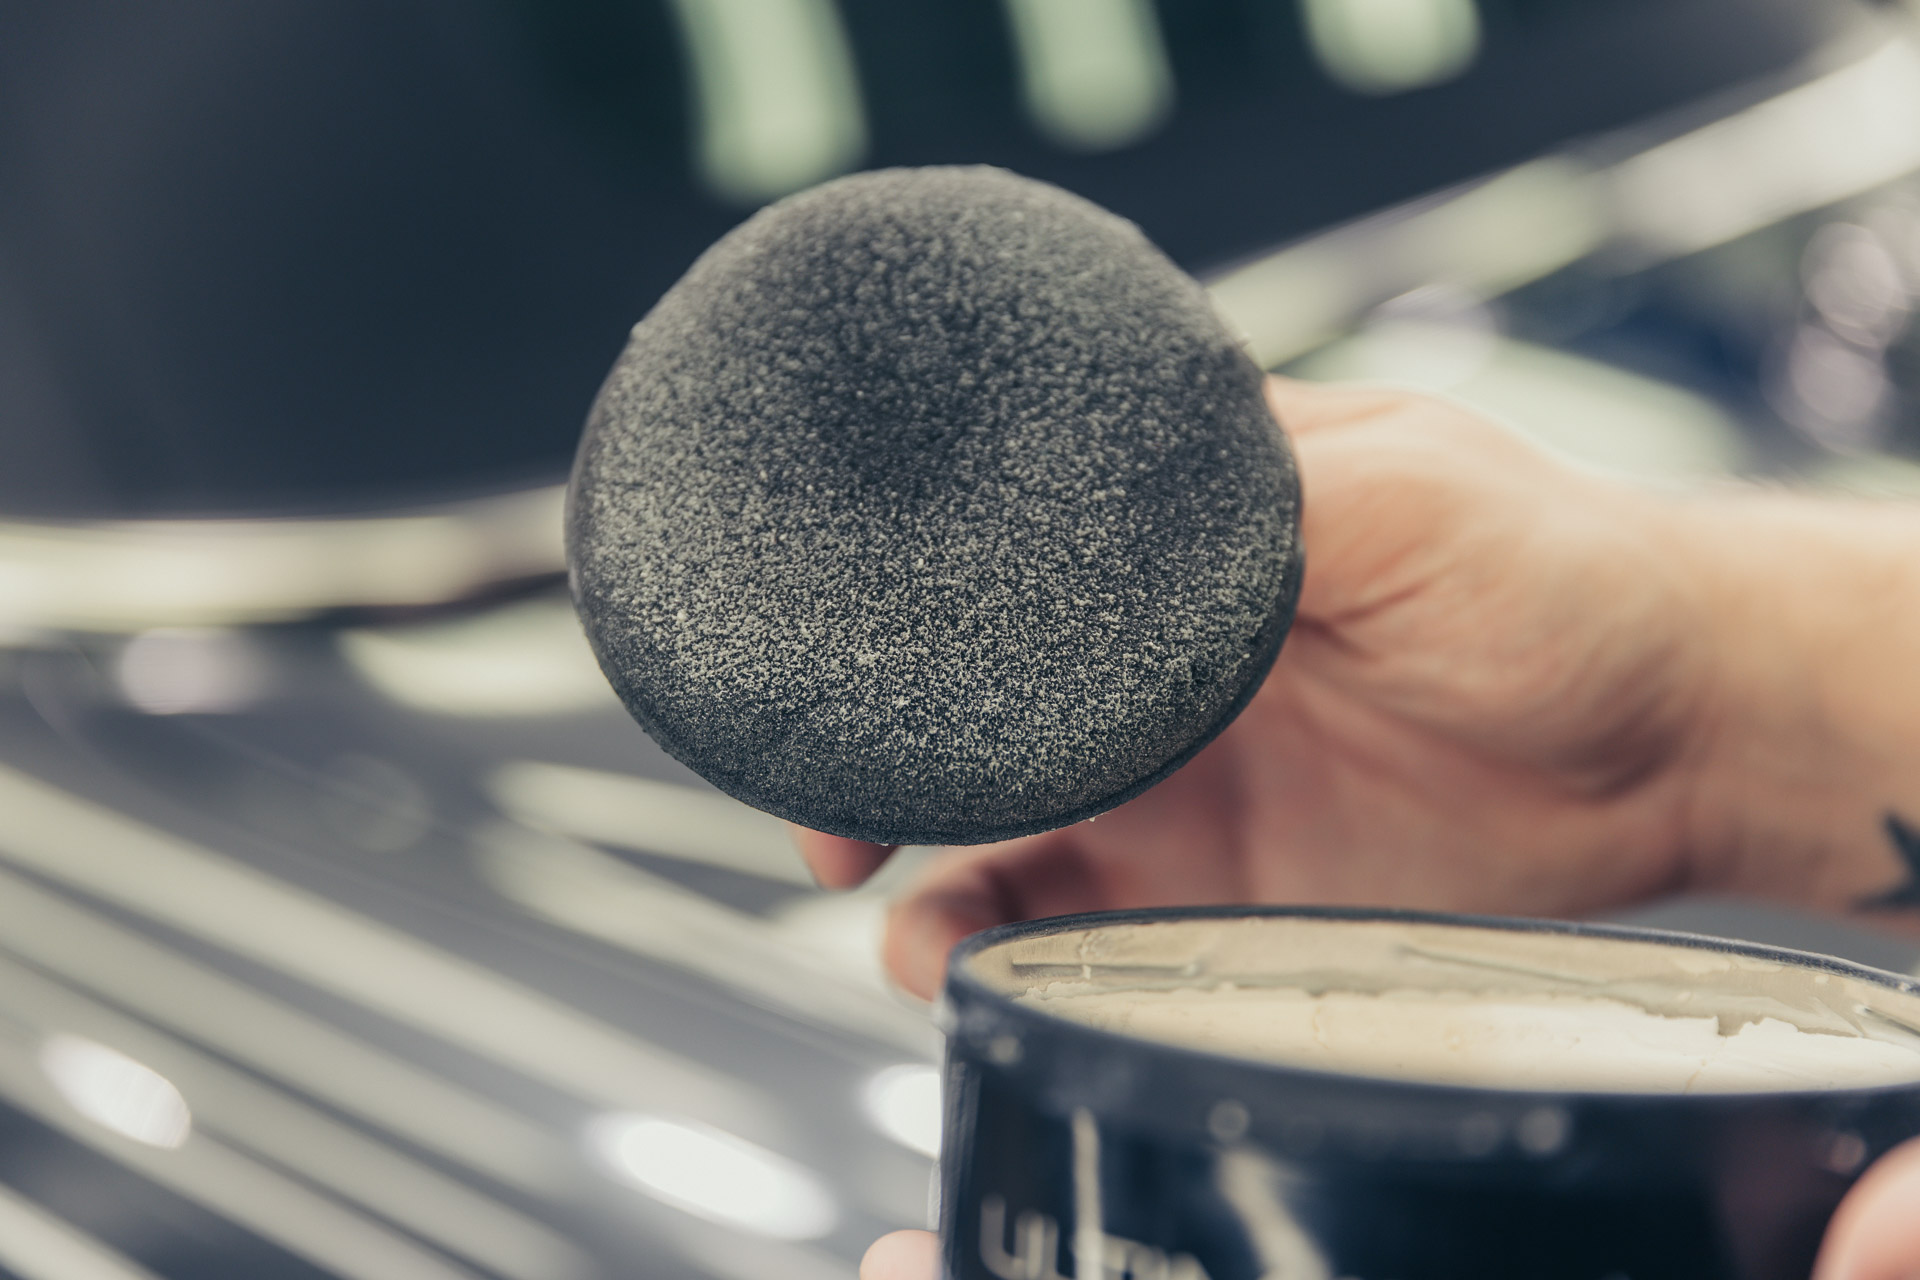
Simply place the pad into Paste Wax and pinch it roughly ¼ of a turn ensuring a good, even coat of product is loaded to the pad. Typically this amount should easily cover a single panel of a car.
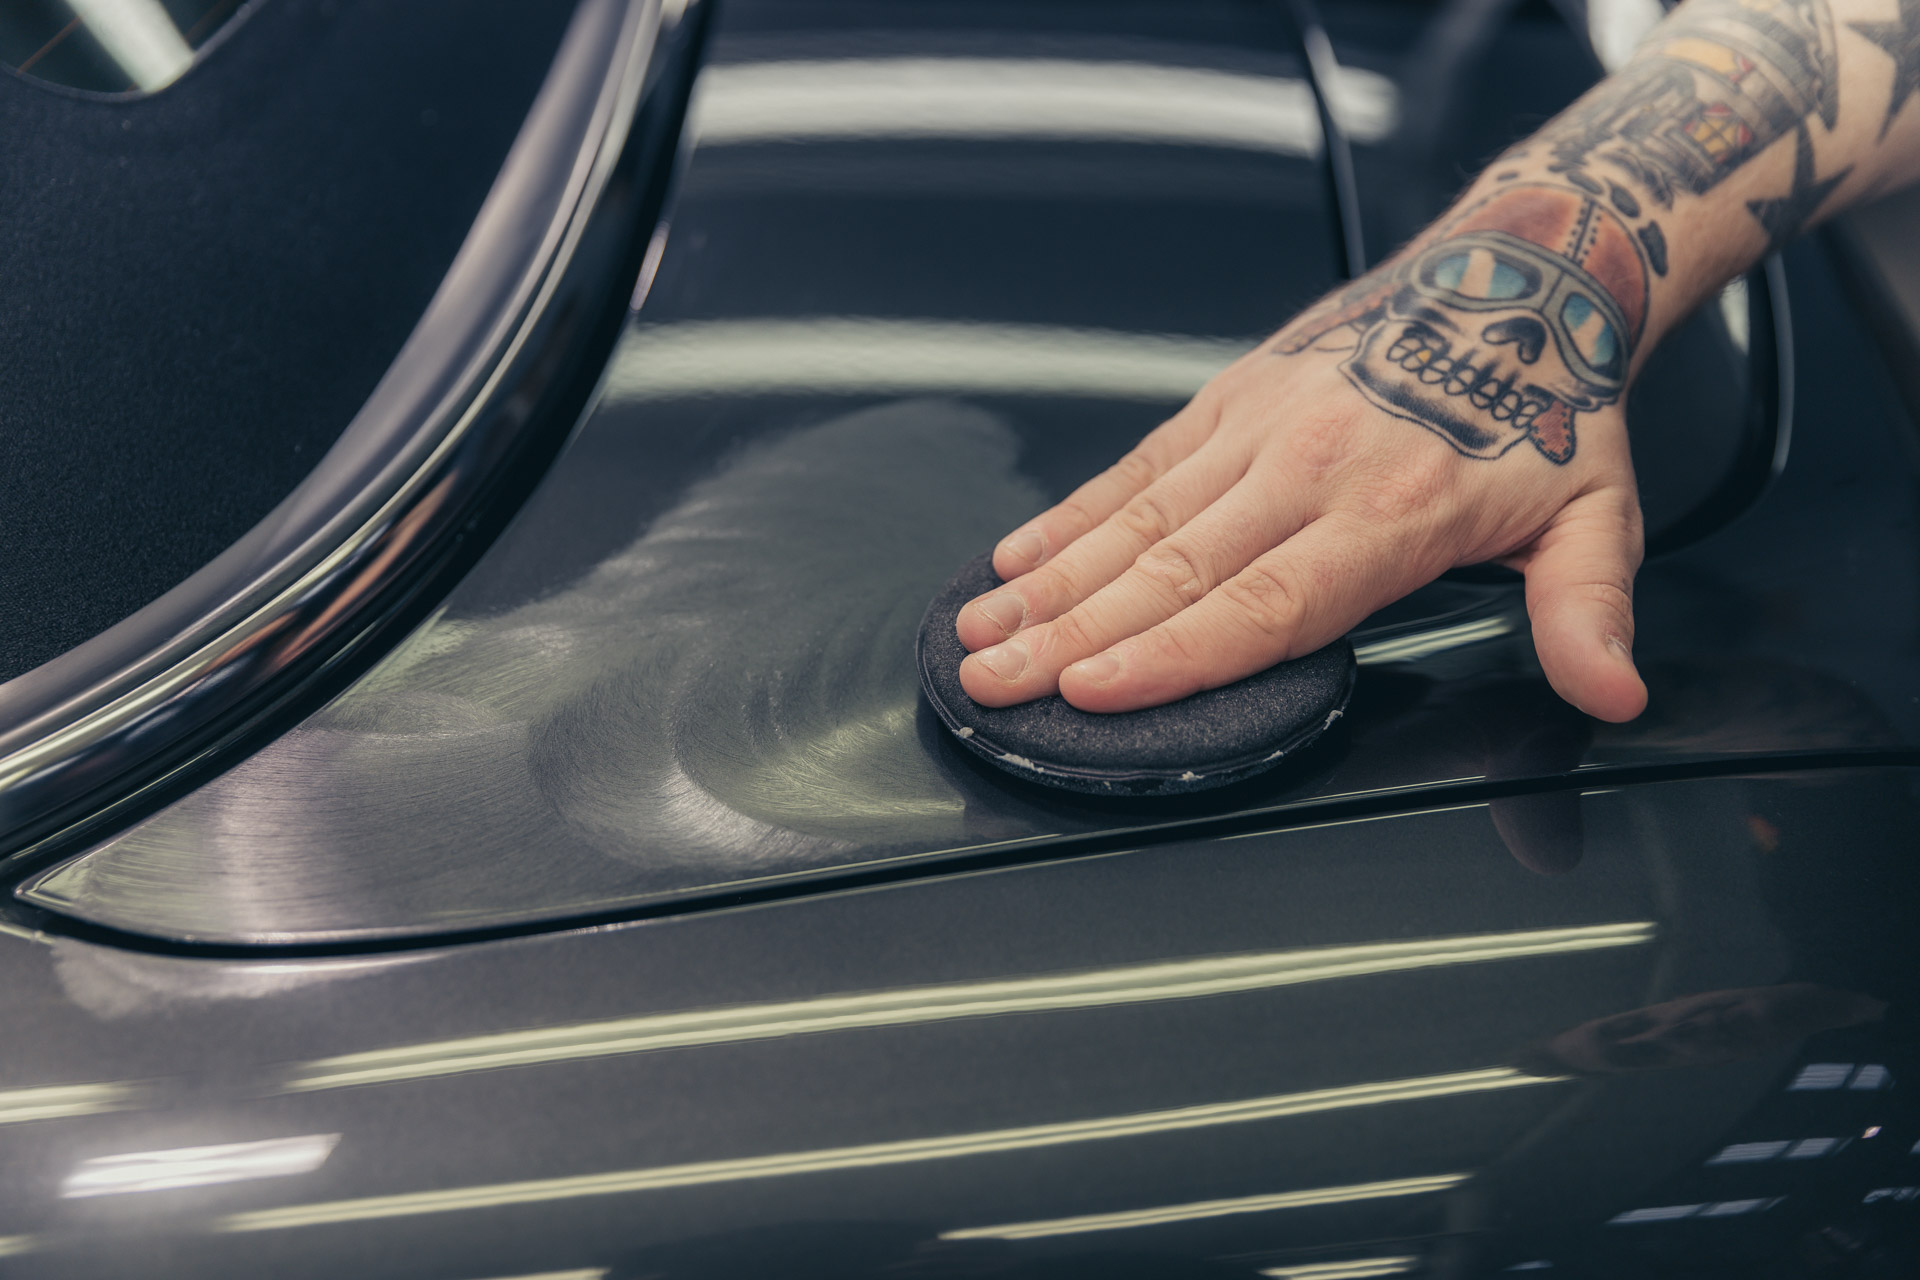
Place the pad lightly on the body panel and move it in a clockwise motion using just fingertip pressure. Repeat until the whole car is covered in a light layer.
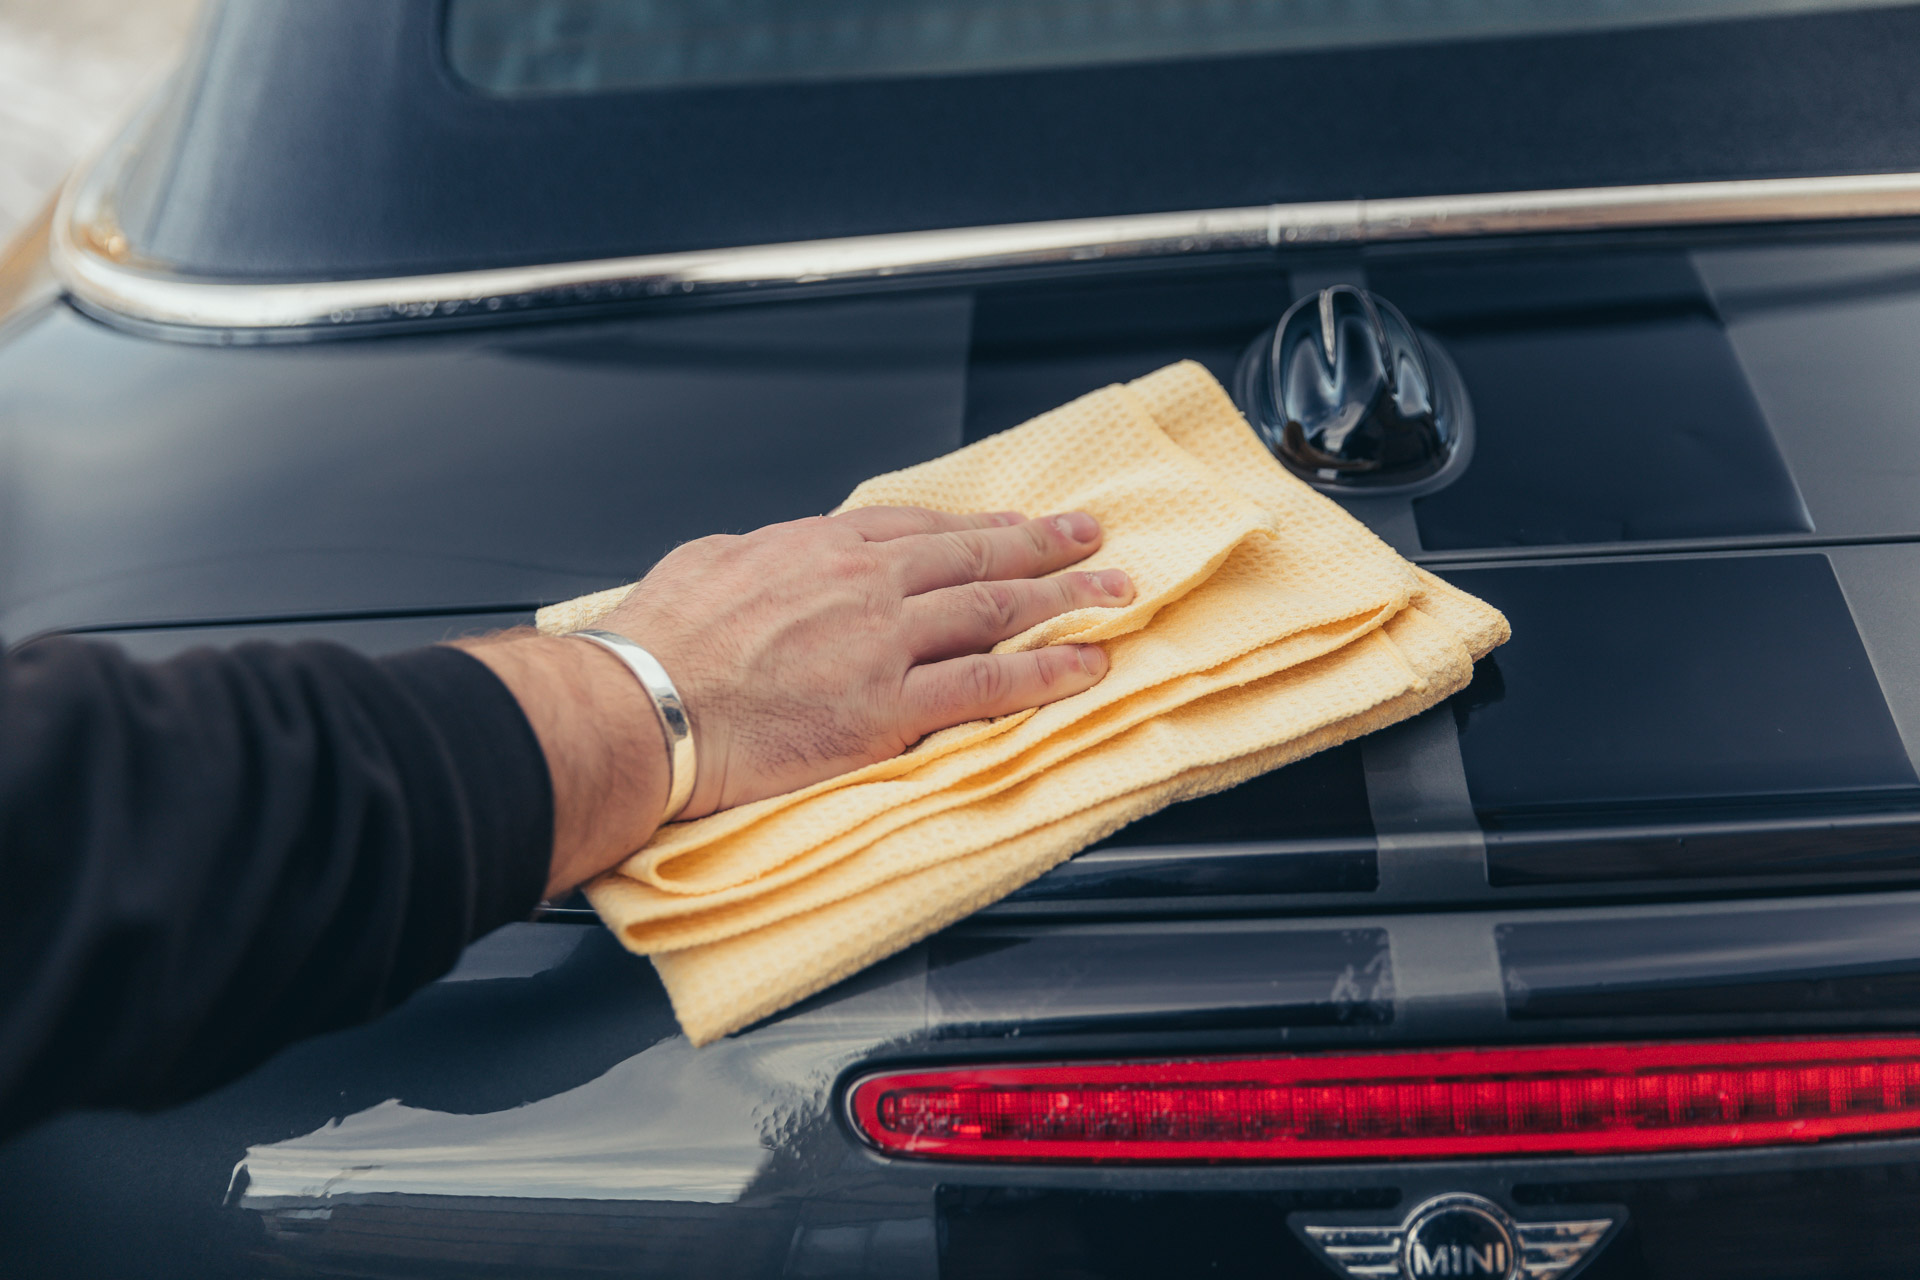
Step 6: Wax removal & ready for winter
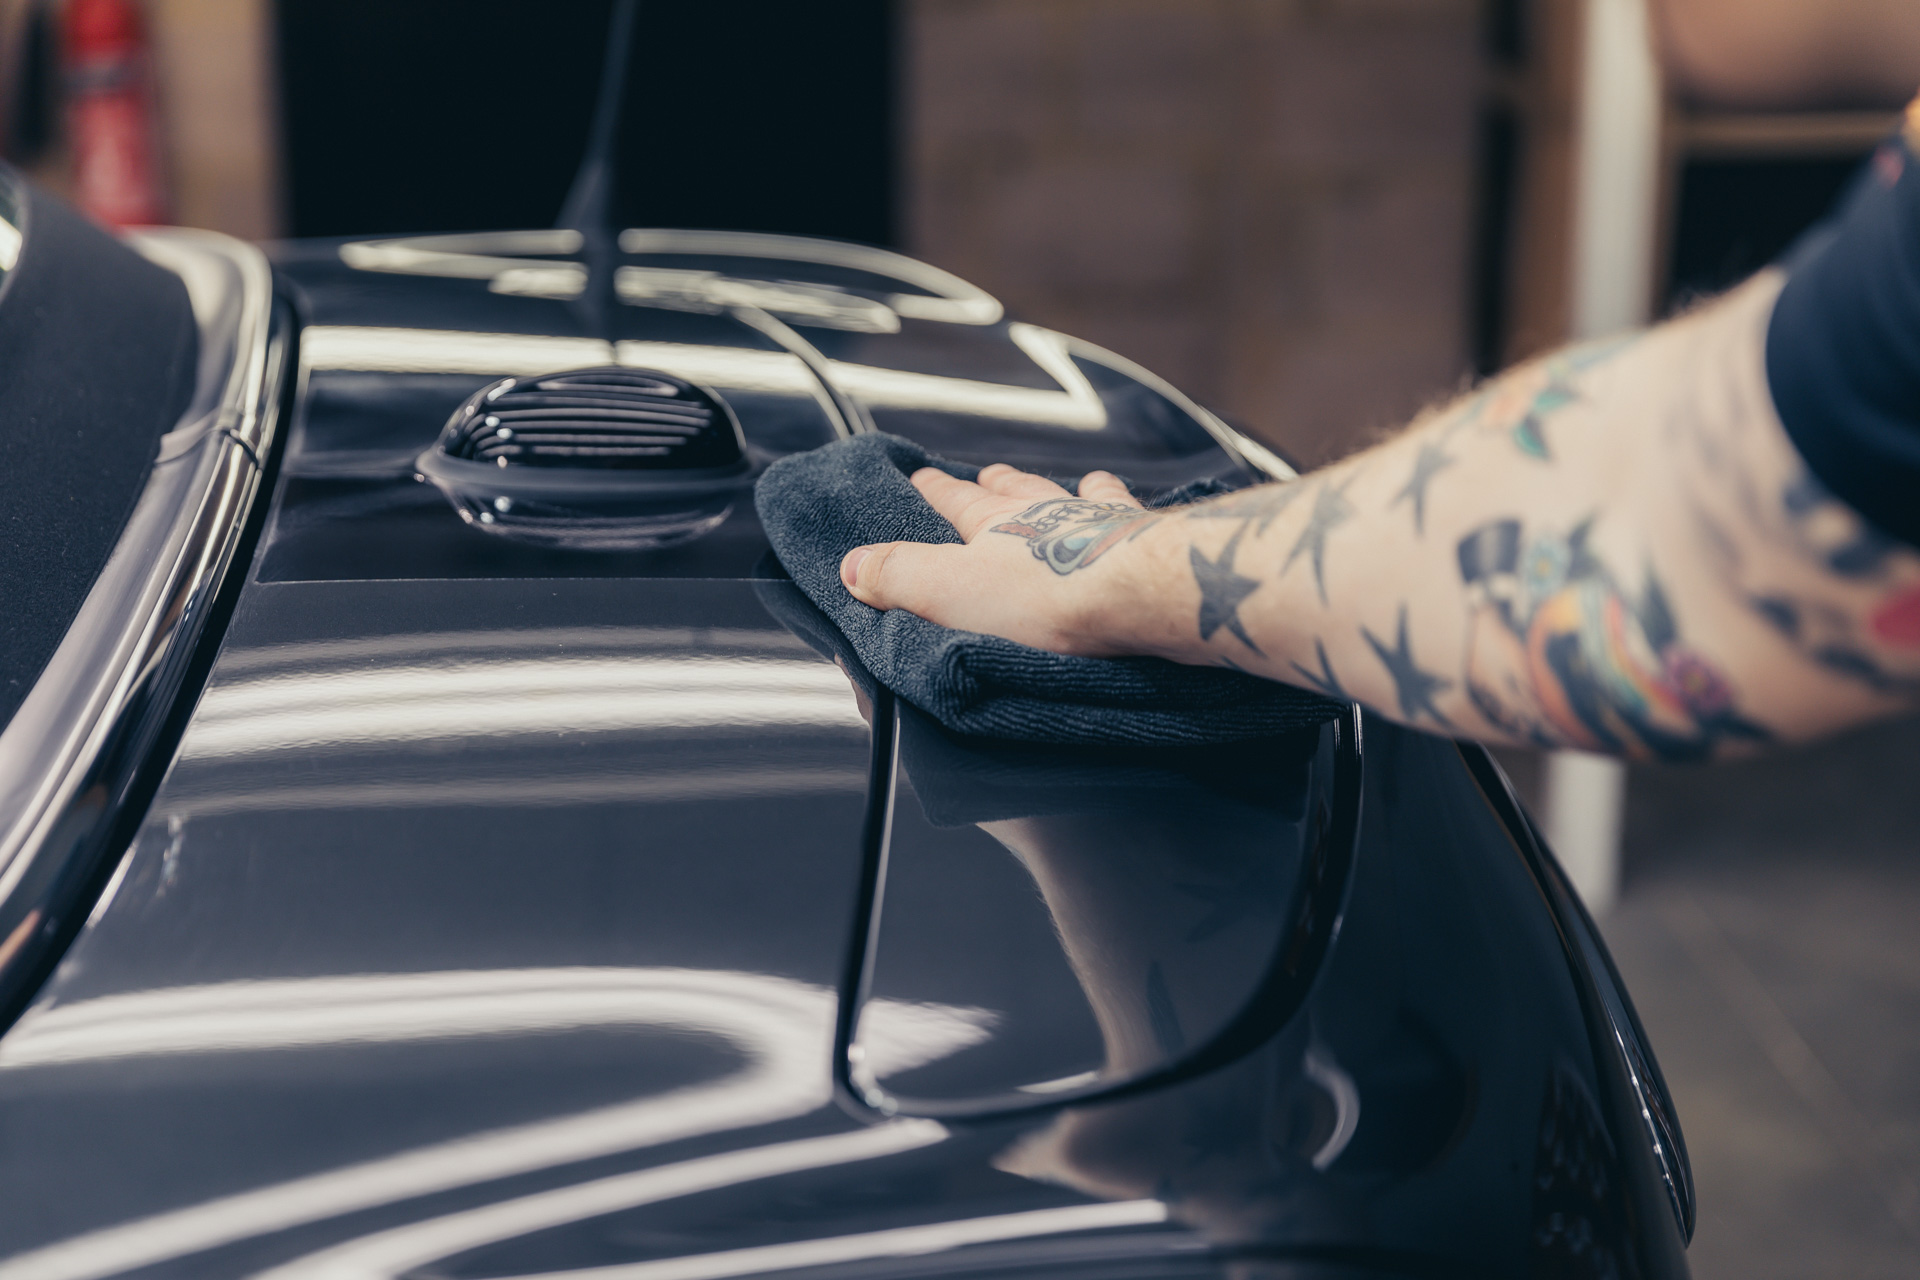
Meguiar’s Paste Wax takes roughly 10-15 minutes to fully cure before it can be removed using a clean microfibre cloth. Depending on how much product has been applied, this may take a little longer.
A good way to test if the wax is ready to be removed is by gently running your finger over the wax. If your finger runs through the wax easily it’s ready to come off. If there’s any resistance or residue left behind, leave it for another 5 minutes before trying again.
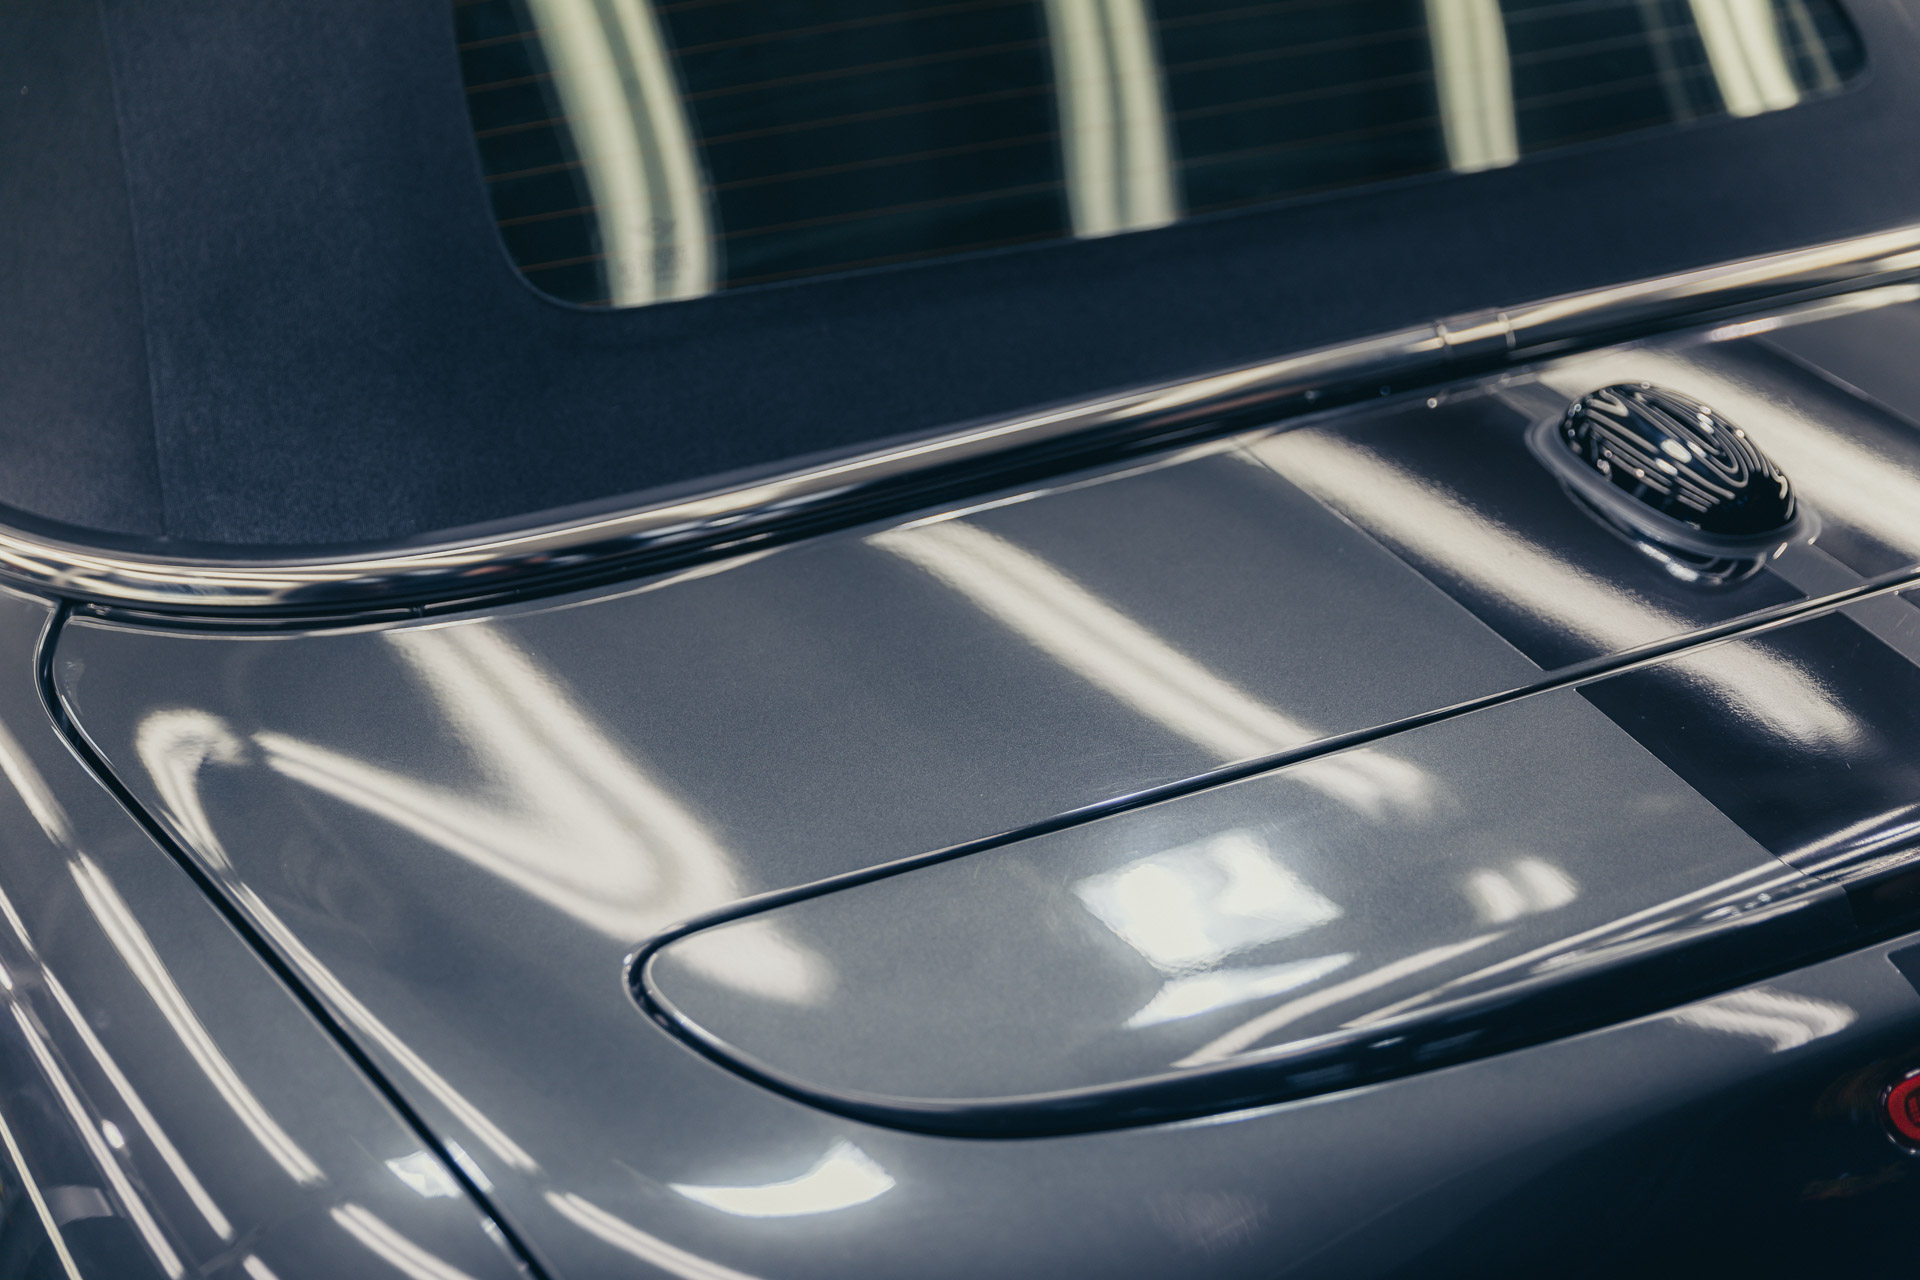
Wax removed, your car is now sealed and protected for everything winter can throw at it! Wasn’t that nice and easy?


