That's (not) A Wrap - Ryan Stewart's Frozen Black E92 M3
When it comes to car care, the general assumption tends to lean towards the ‘glossier the better’ right? But what if you’re someone with a matte or satin paint finish and require the same levels of care without it looking glossy in the process?
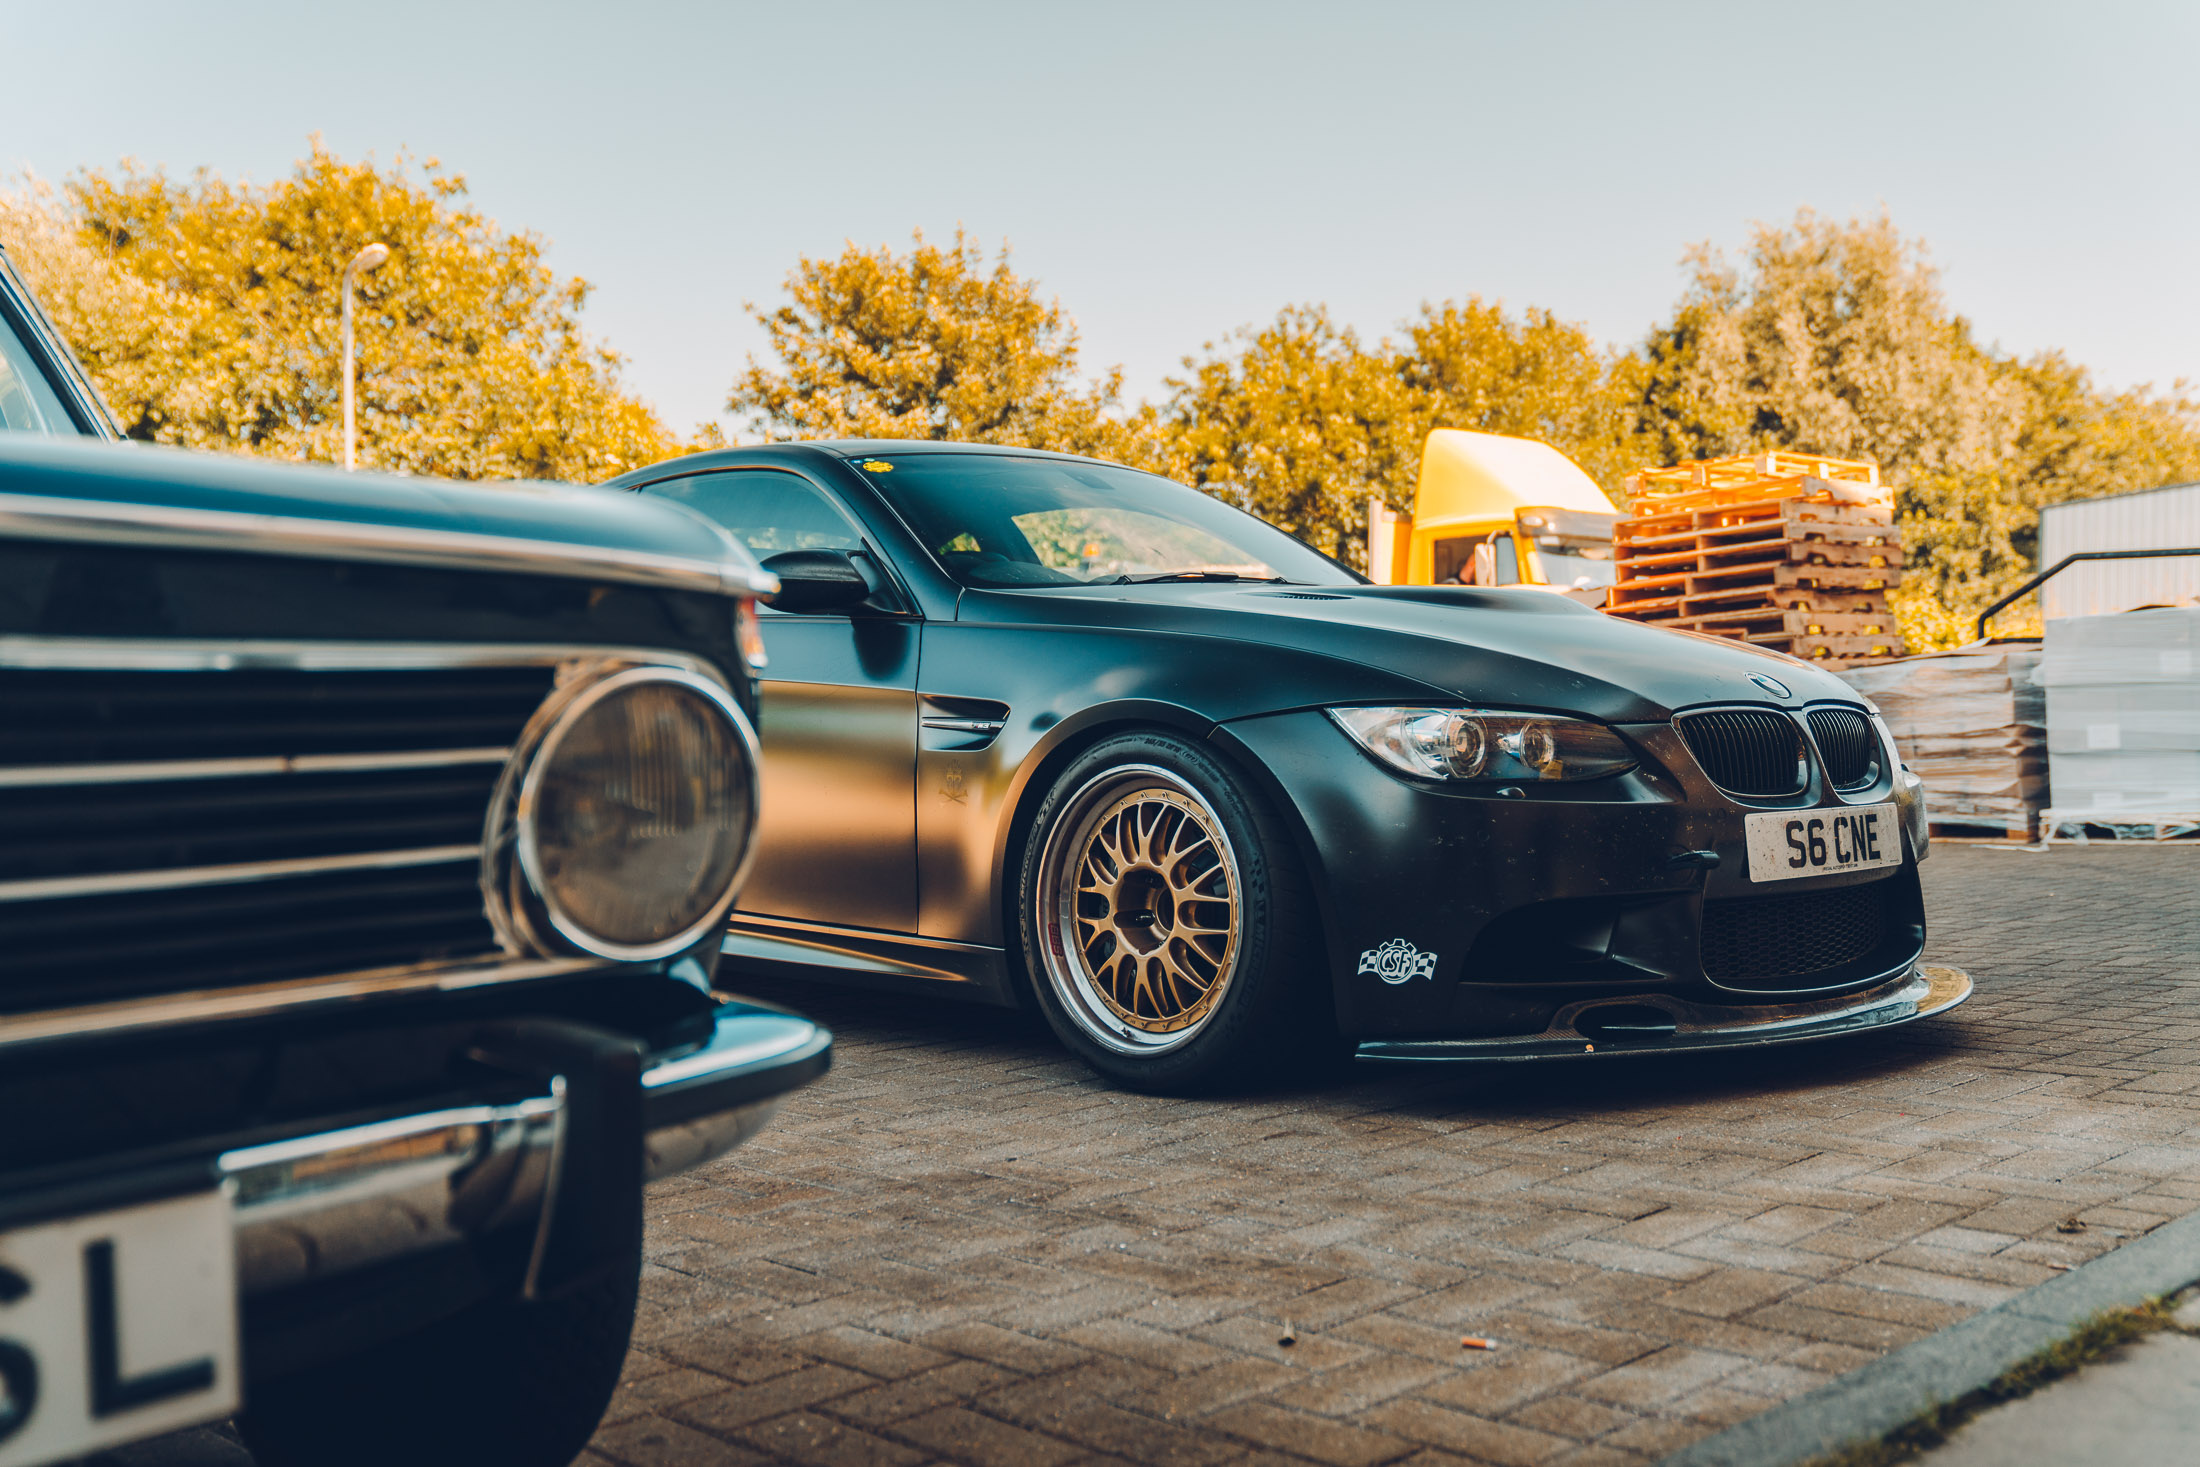
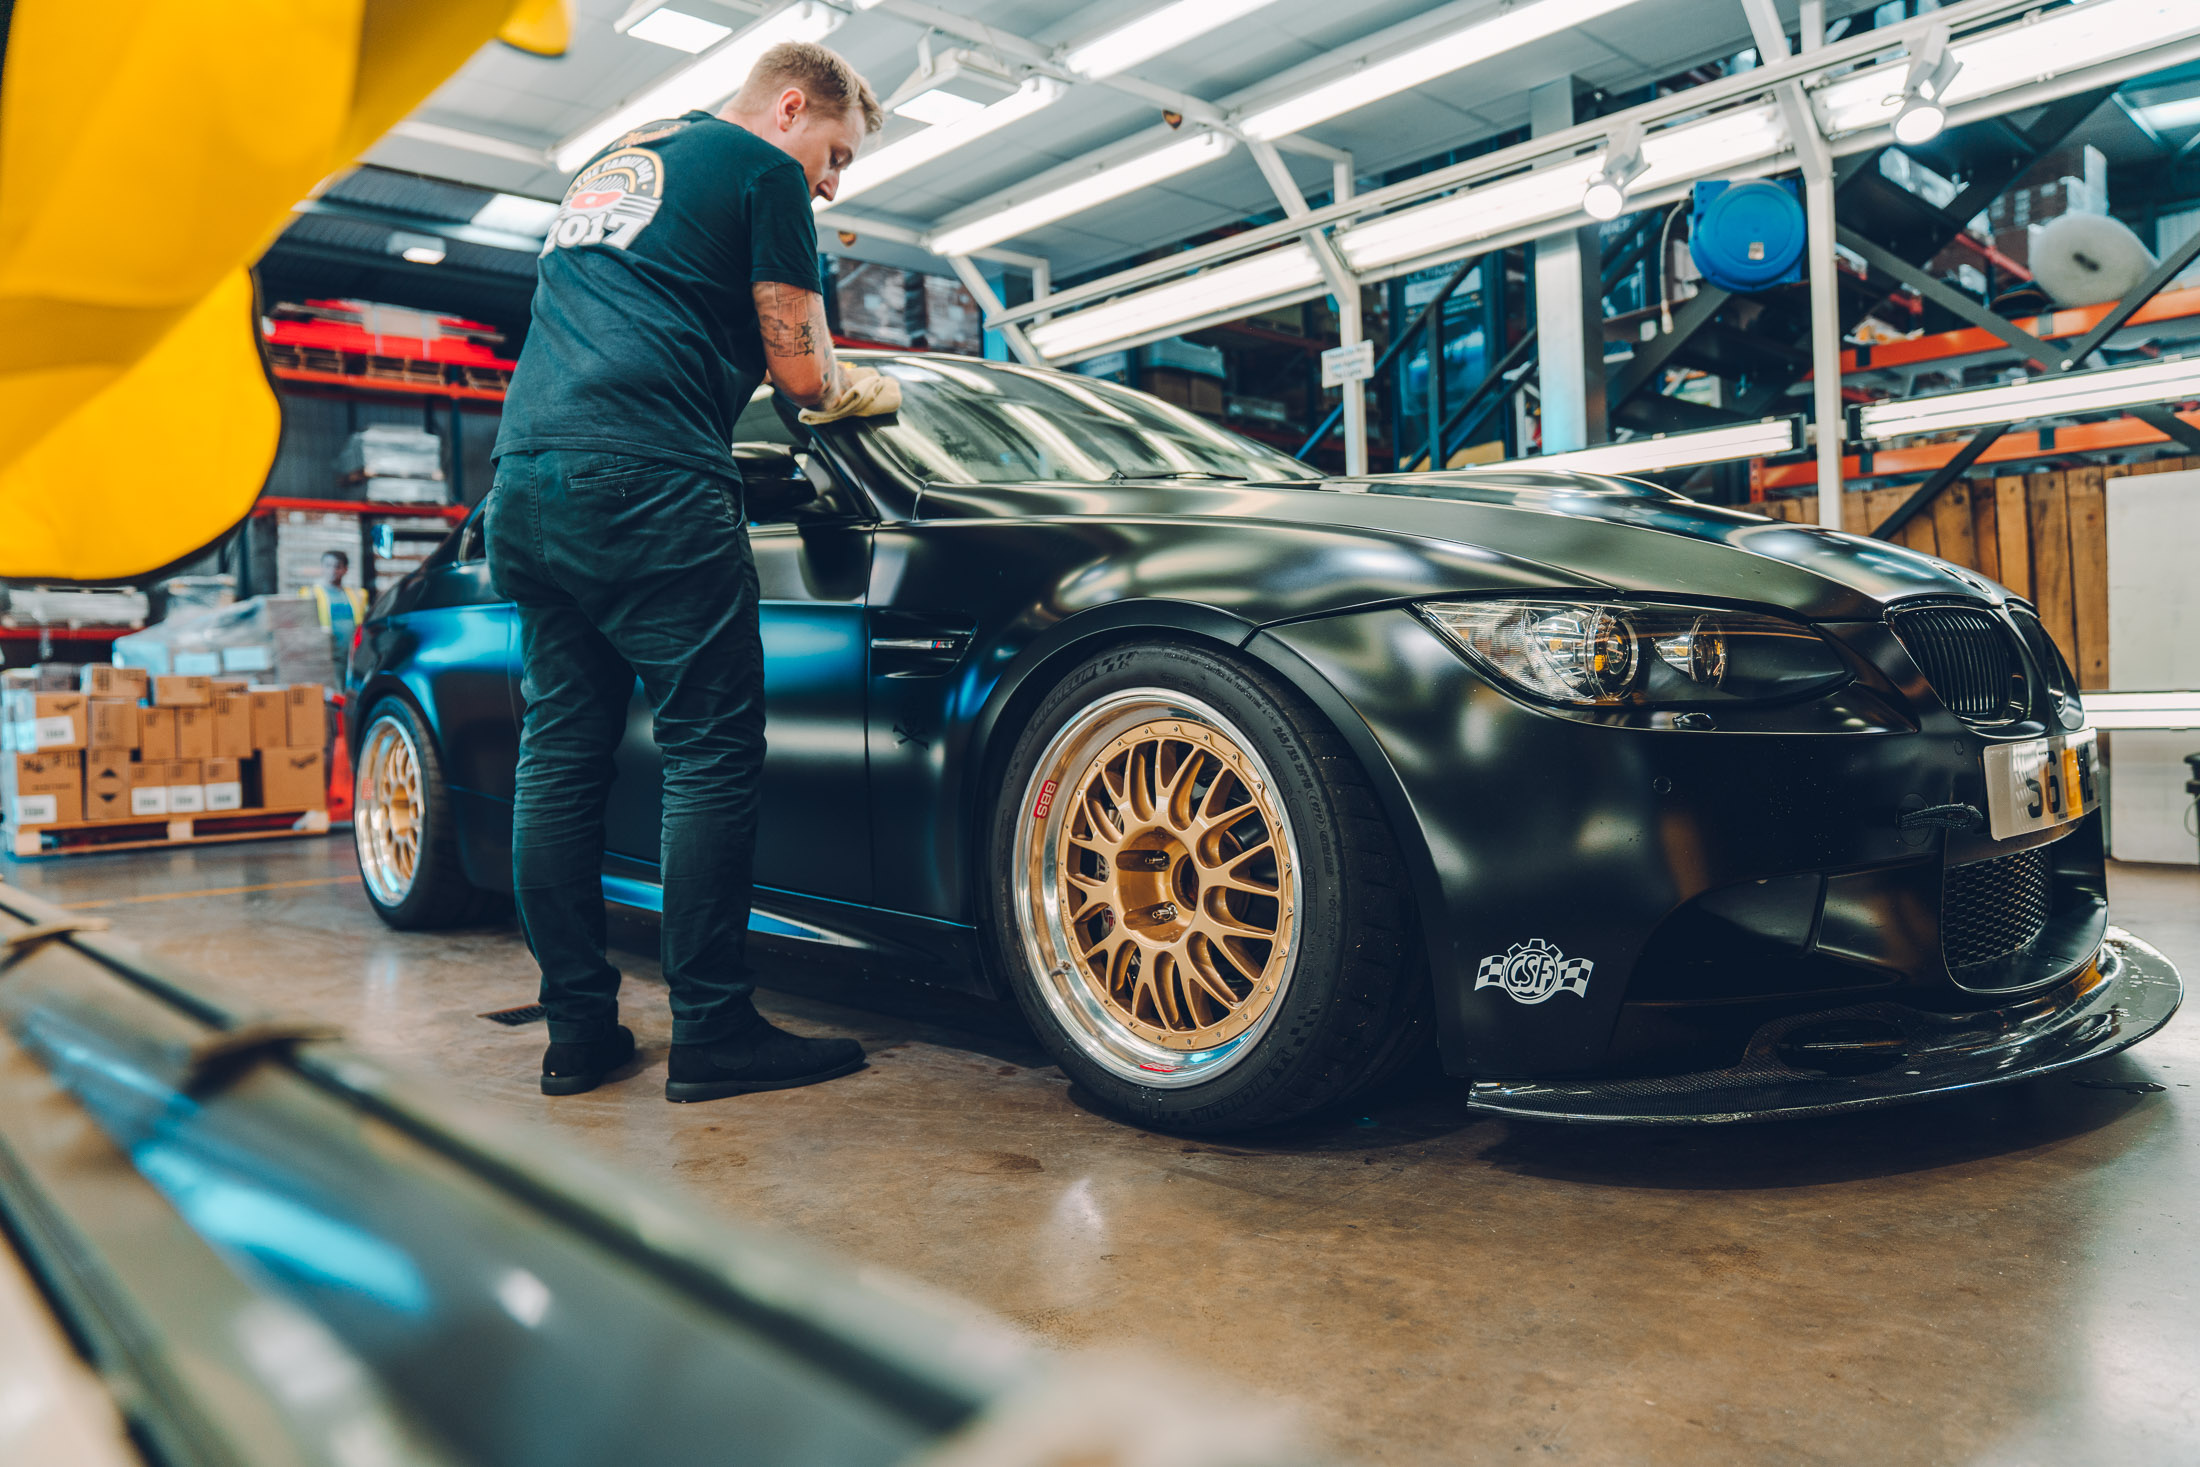
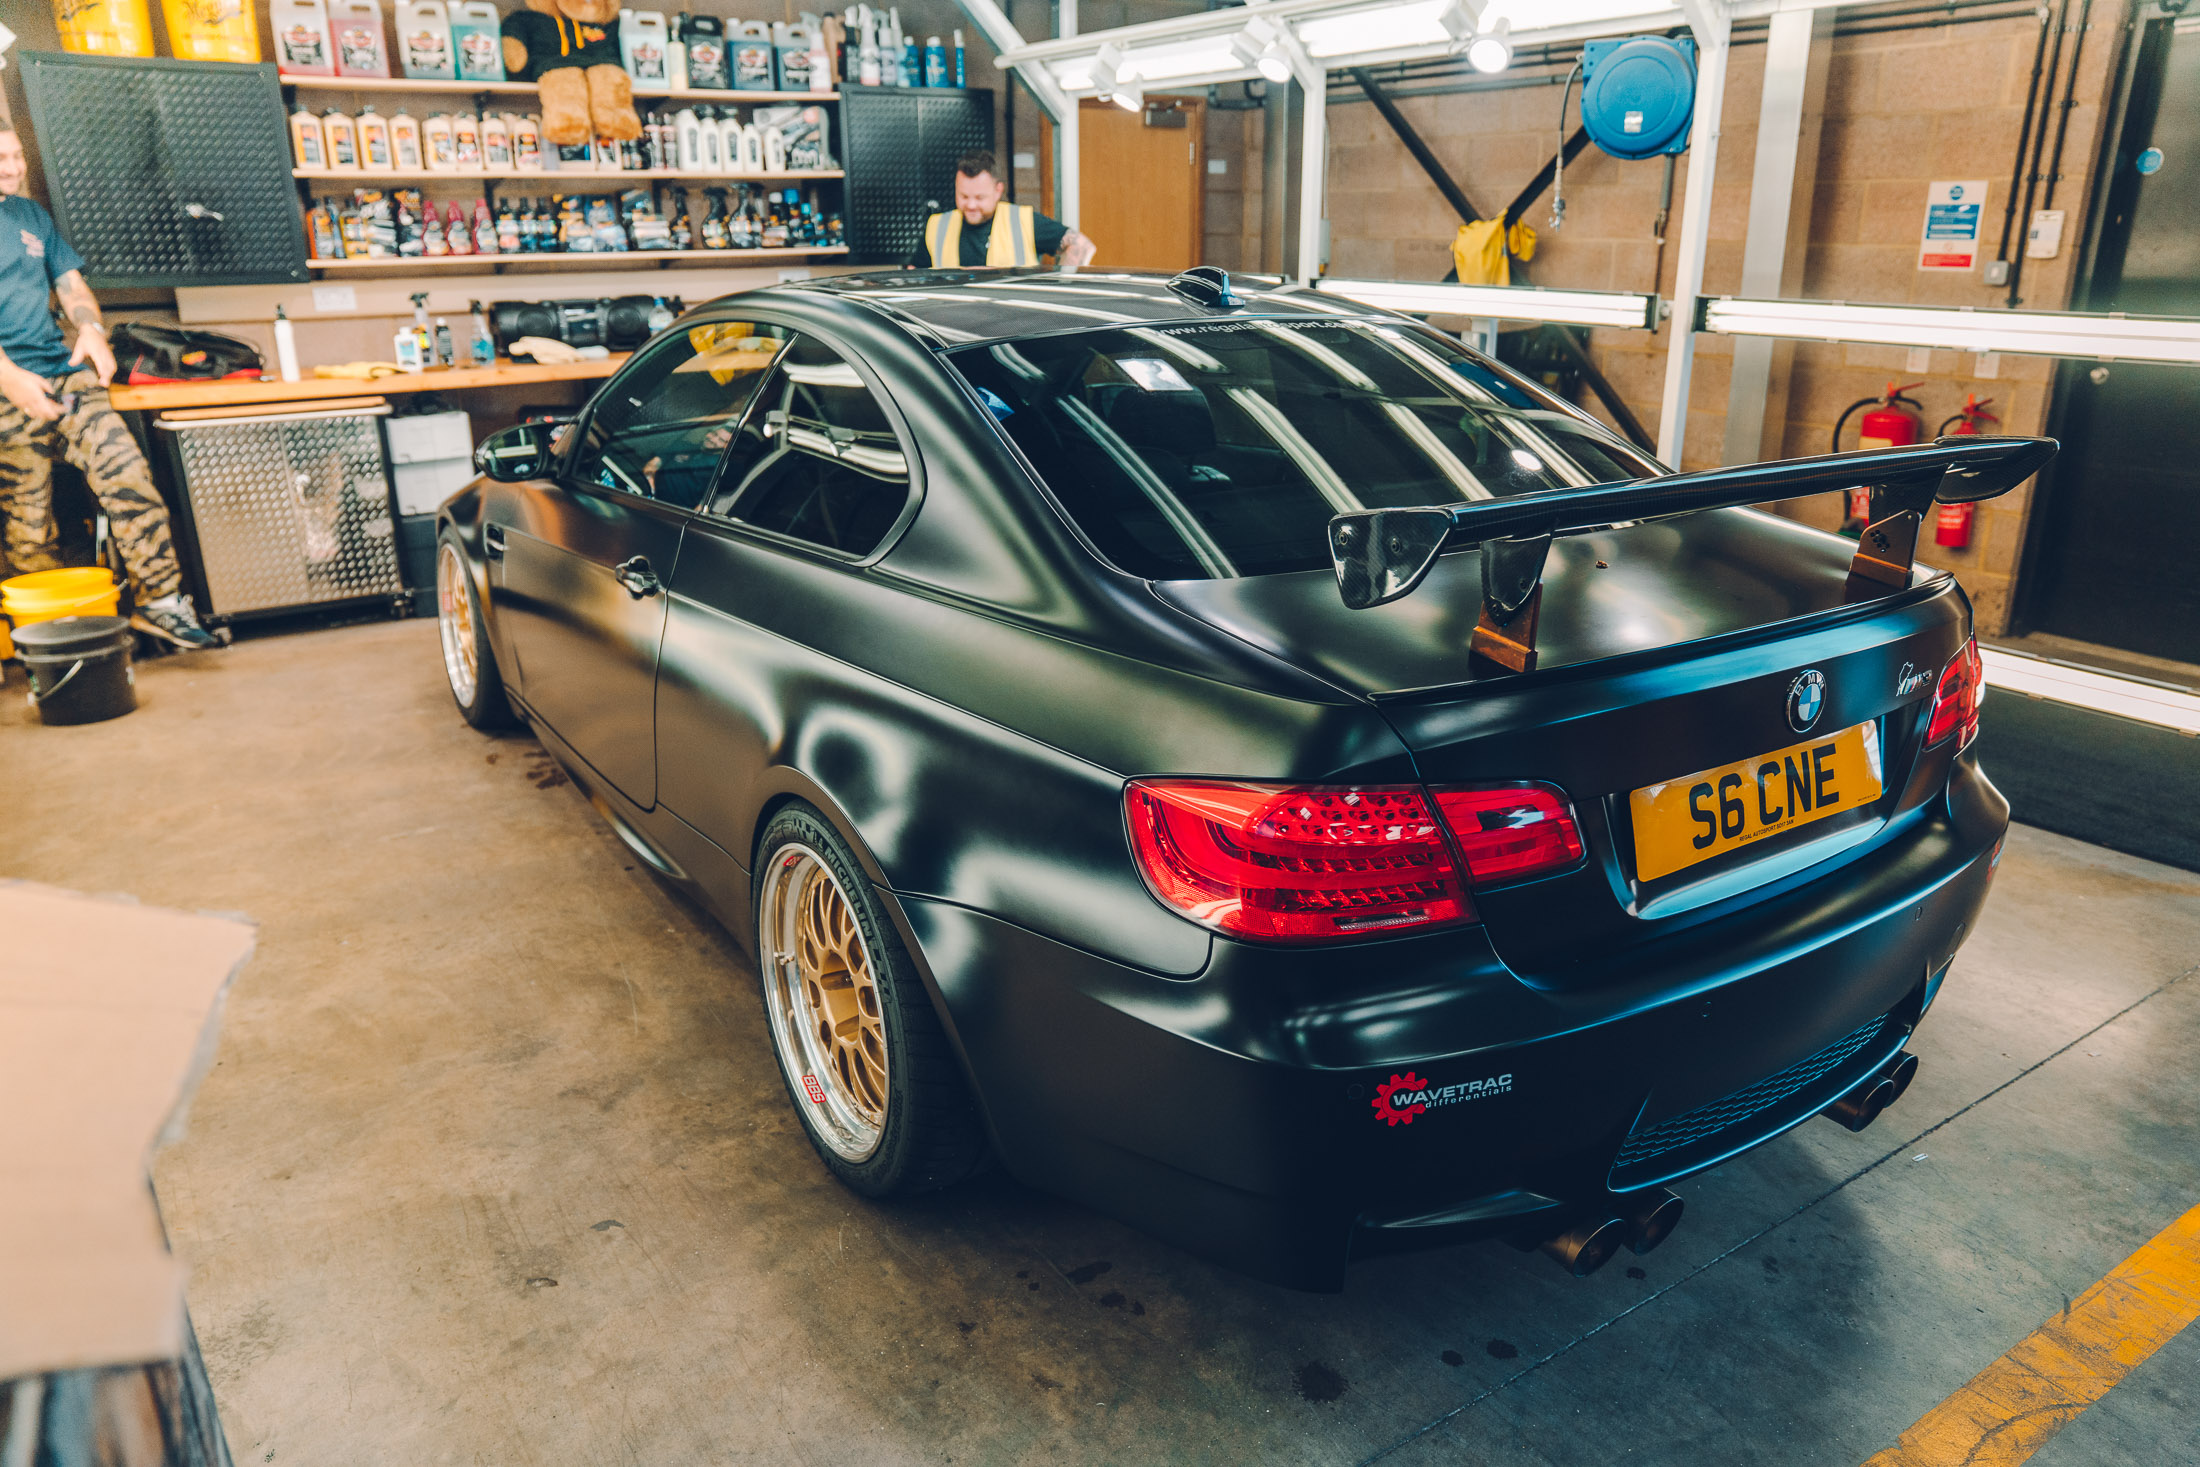
Ryan Stewart’s BMW E92 M3 is the perfect example of this. Finished in the limited-edition ‘Frozen Black’ satin paint, Ryan’s M3 looks like it could be a vinyl wrap… something he REALLY appreciated being told on a daily basis. But, it’s not a wrap. It’s a proper factory paint finish.
‘Just because it’s a satin finish doesn’t mean it should look tired or dull’ explains Ryan, who’s a regular track addict and isn’t afraid of using his cars at the absolute limit. But matte and satin paint has gotten a bit of a reputation over the years thanks to its ‘masks absolutely everything’ application, something often favoured when wanting to quickly and cheaply respray a car. In fact, it’s not the first car Ryan’s owned which has ended up this shade… but it’s the first not achieved with a rattle can.
Car care ultimately comes down to finding a solution perfectly tailored towards both your car and your cleaning needs. This is why the Meguiar’s range boasts such a wide range of products; each one is suited to a specific need and allows you to put together an essential kit-bag whether you’re after crystal-clear perfection or a quick wash & wax.
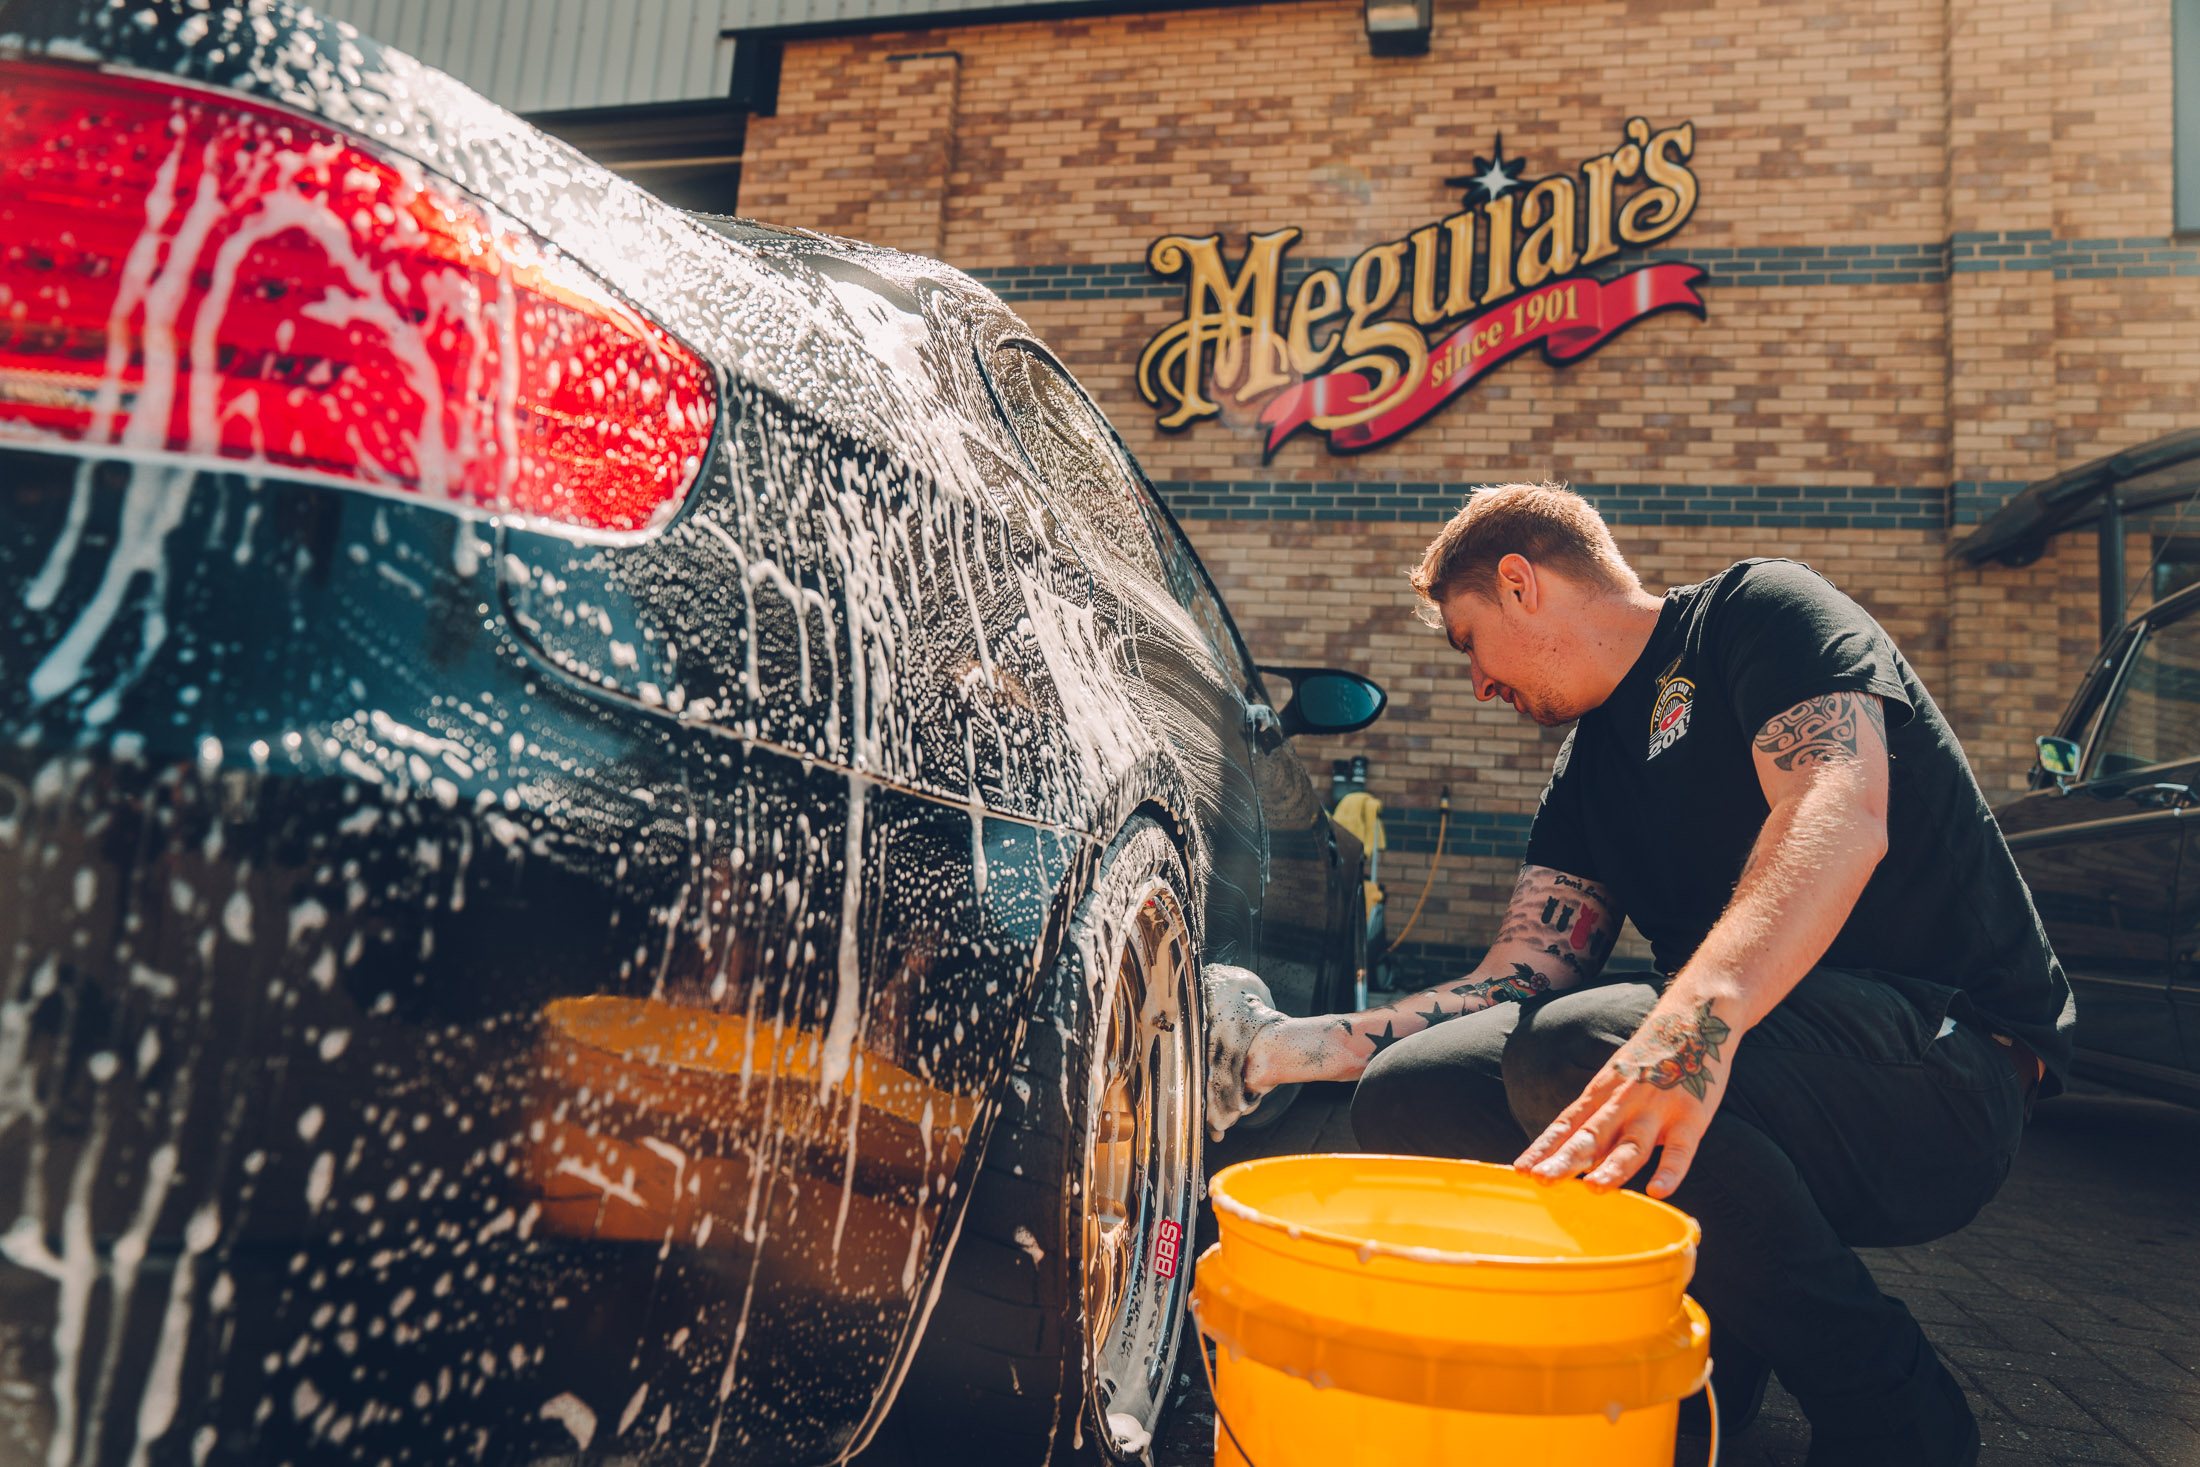
With this in mind, we welcomed Ryan into the Meguiar’s Detailing Bay to formulate a solution on the E92 M3 as well as giving an insight into the process of cleaning matte & satin paintworks.

Stage 1 – bug & tar removal
As we explained earlier on, Ryan’s M3 gets used properly hard. Given half a chance he’ll be on any trackday, and while he’s blisteringly quick it does result in a slight issue… contaminants. The two biggest challenges are baked-on bugs and rubber/tar picked up from tyres and track debris, both of which become harder to remove the longer they’re left. The solution? Meguiar’s Wash Plus+.
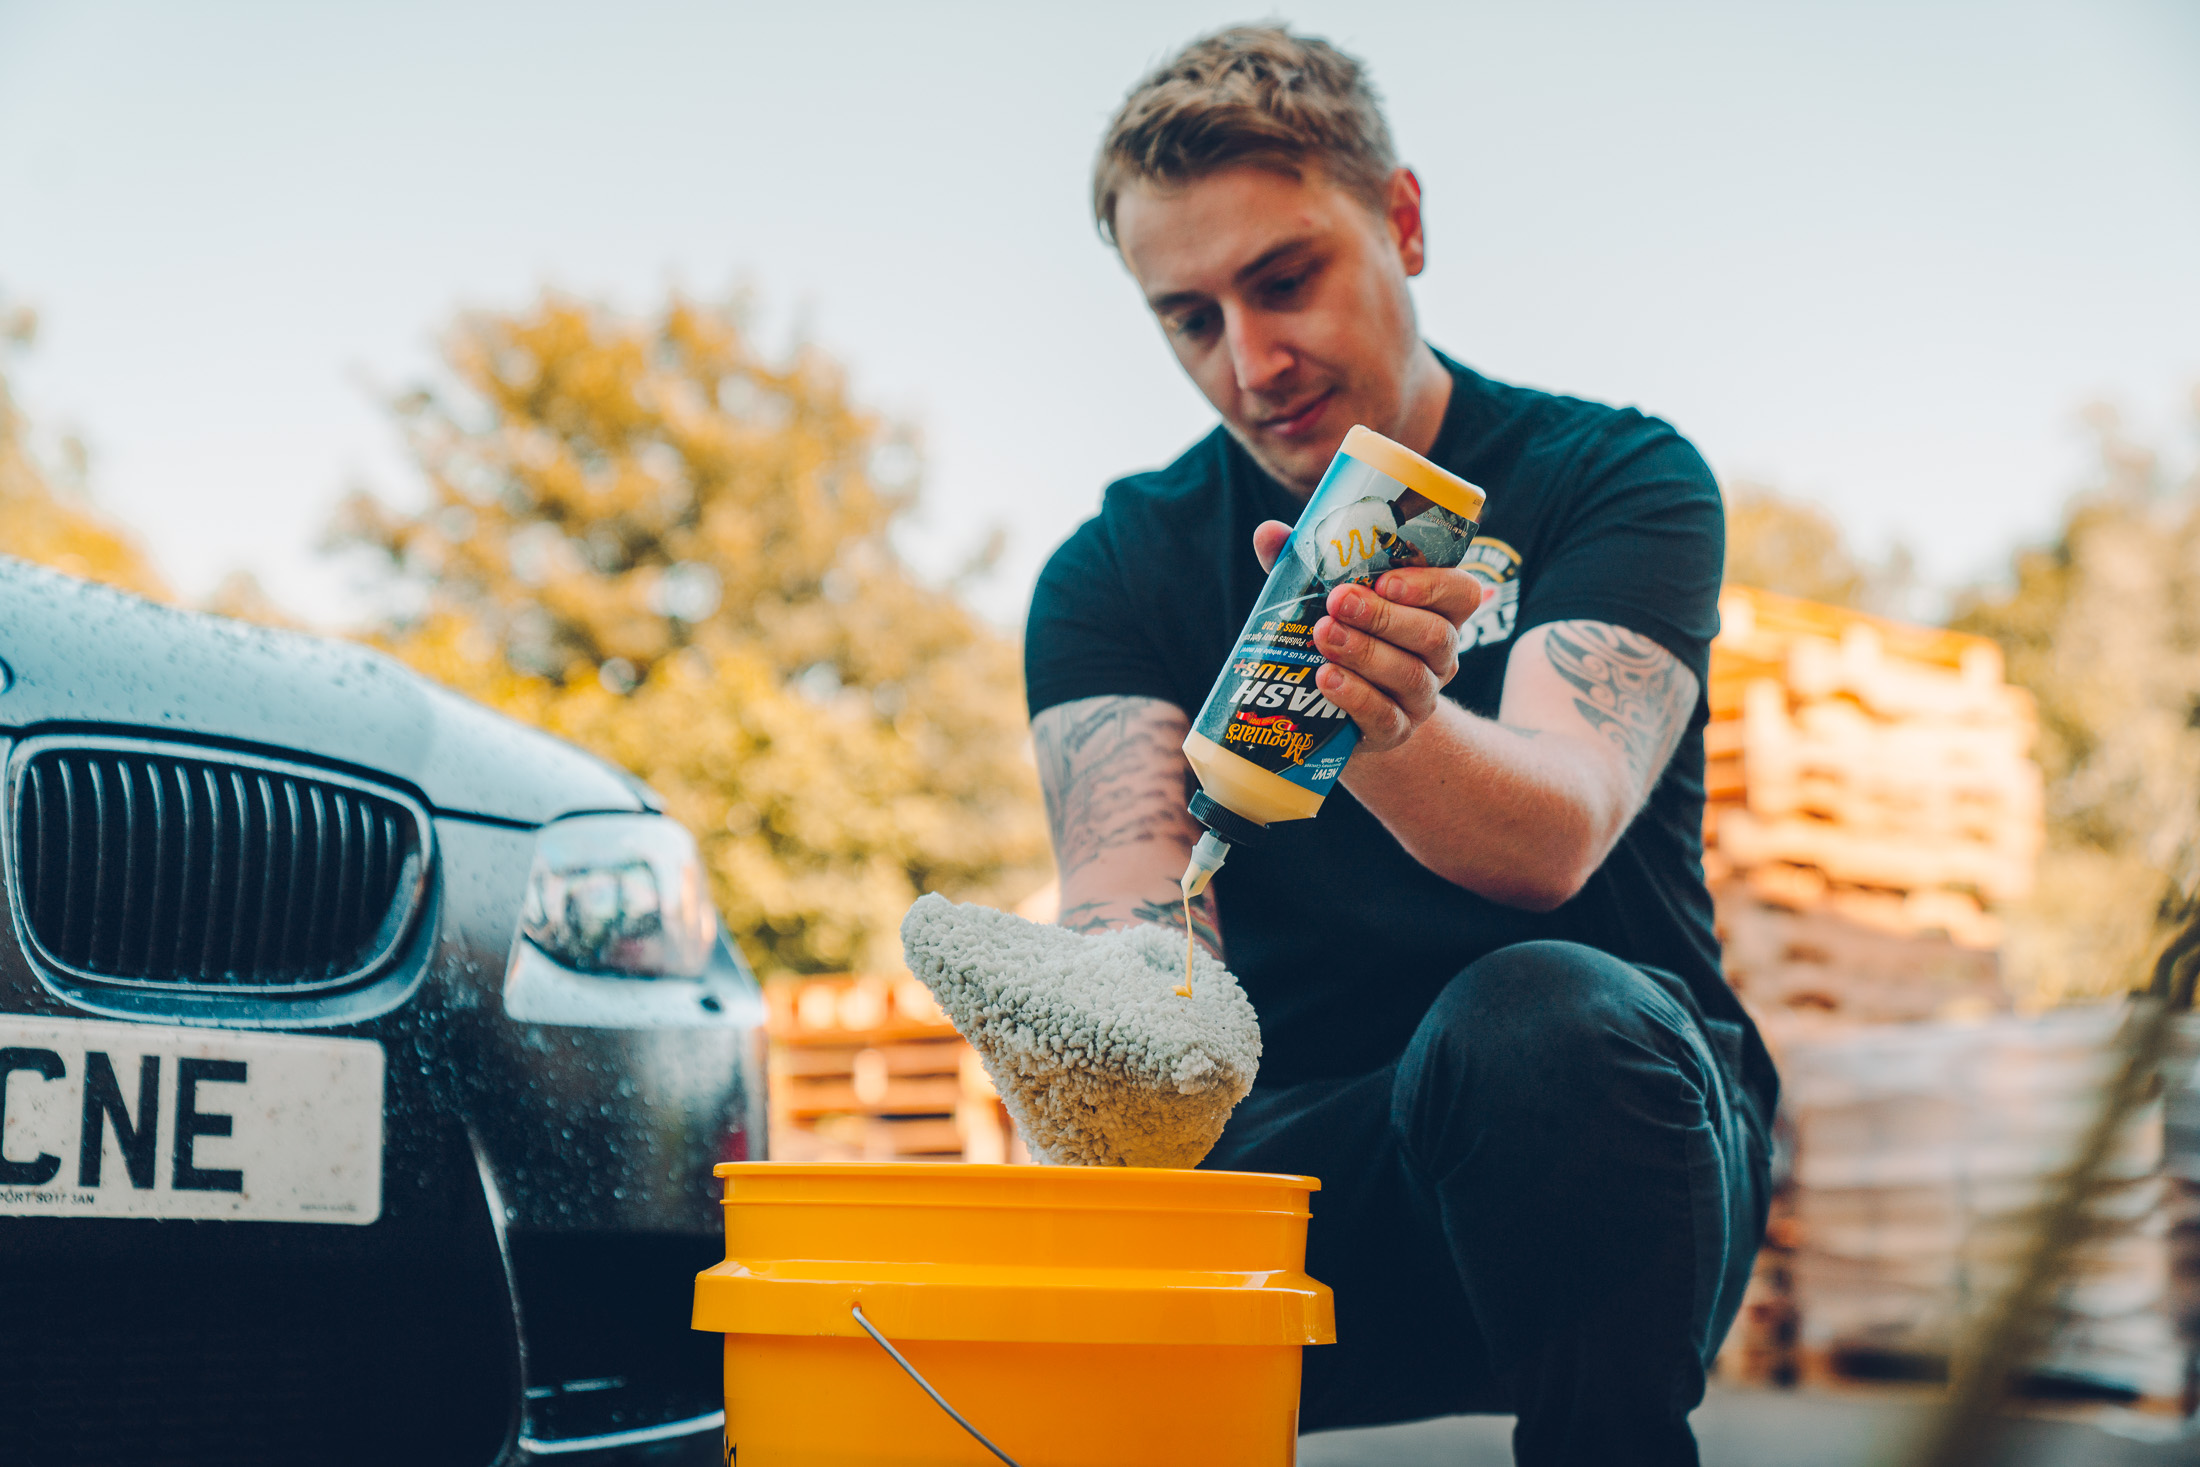
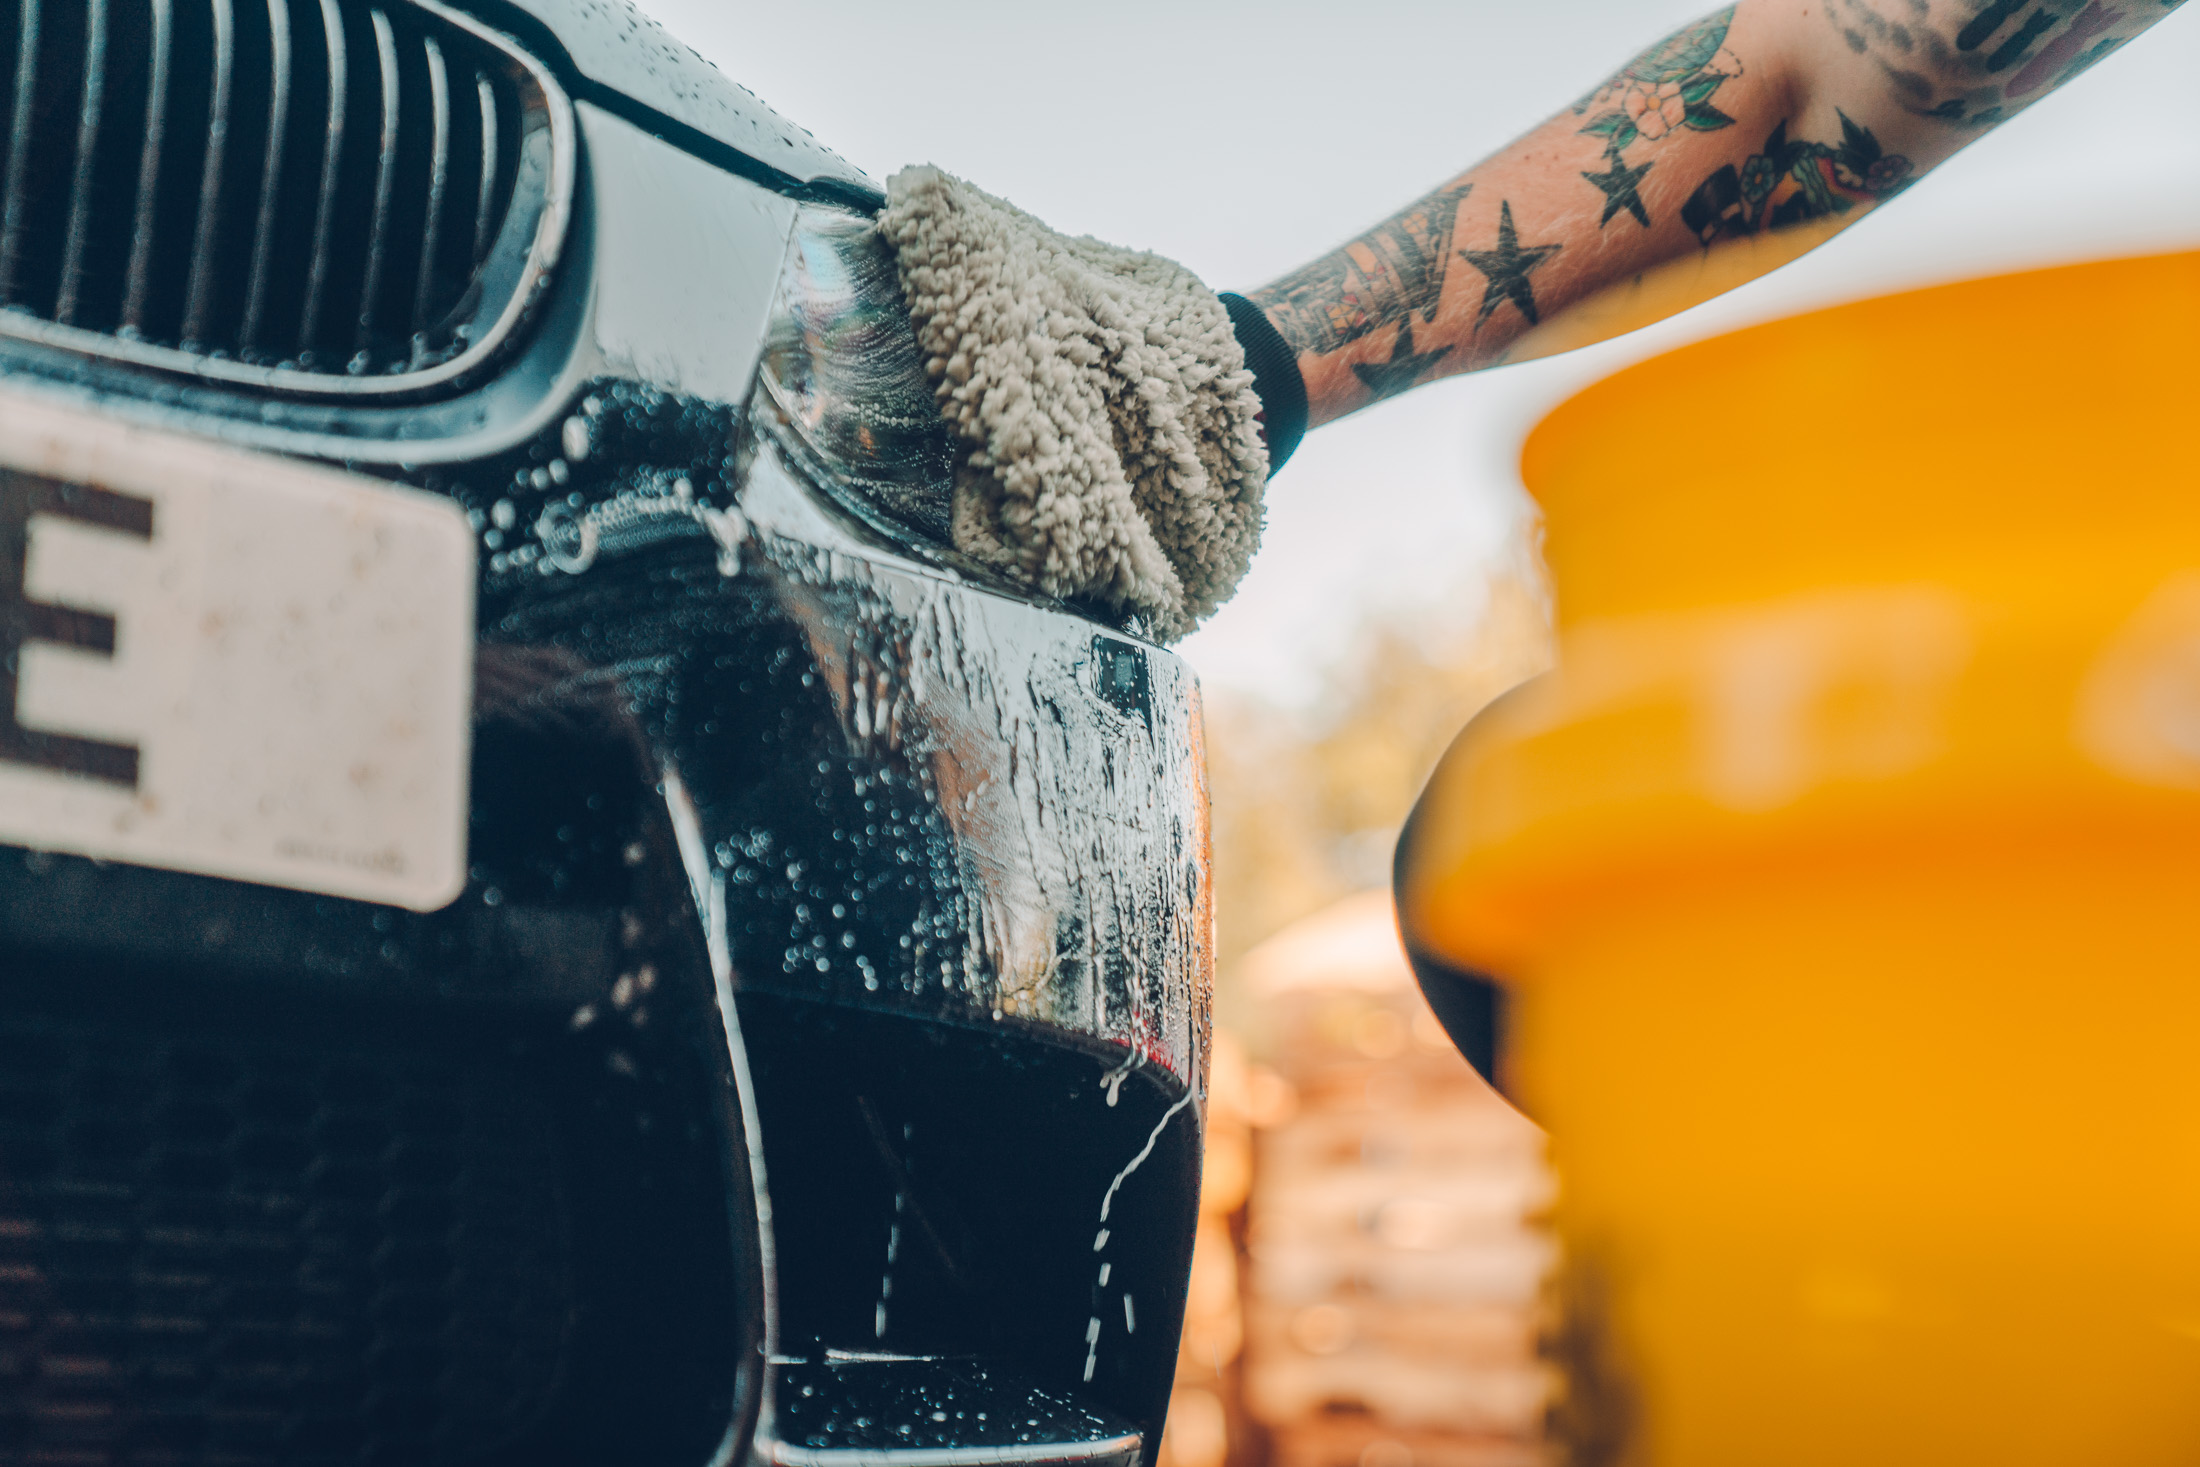
We like to refer to Meguiar’s Wash Plus+ as a kind of ‘master reset’ button for a car’s paintwork, thanks to its active formula which works as both a clay bar and compound. This means it strips paintwork of all contaminants while polishing swirl marks as you clean! It’s worth noting that this does mean it’ll strip and previous wax or protection too, but if you’re undergoing a deep-clean like Ryan’s M3 we’d recommend you reapply a wax after anyway.
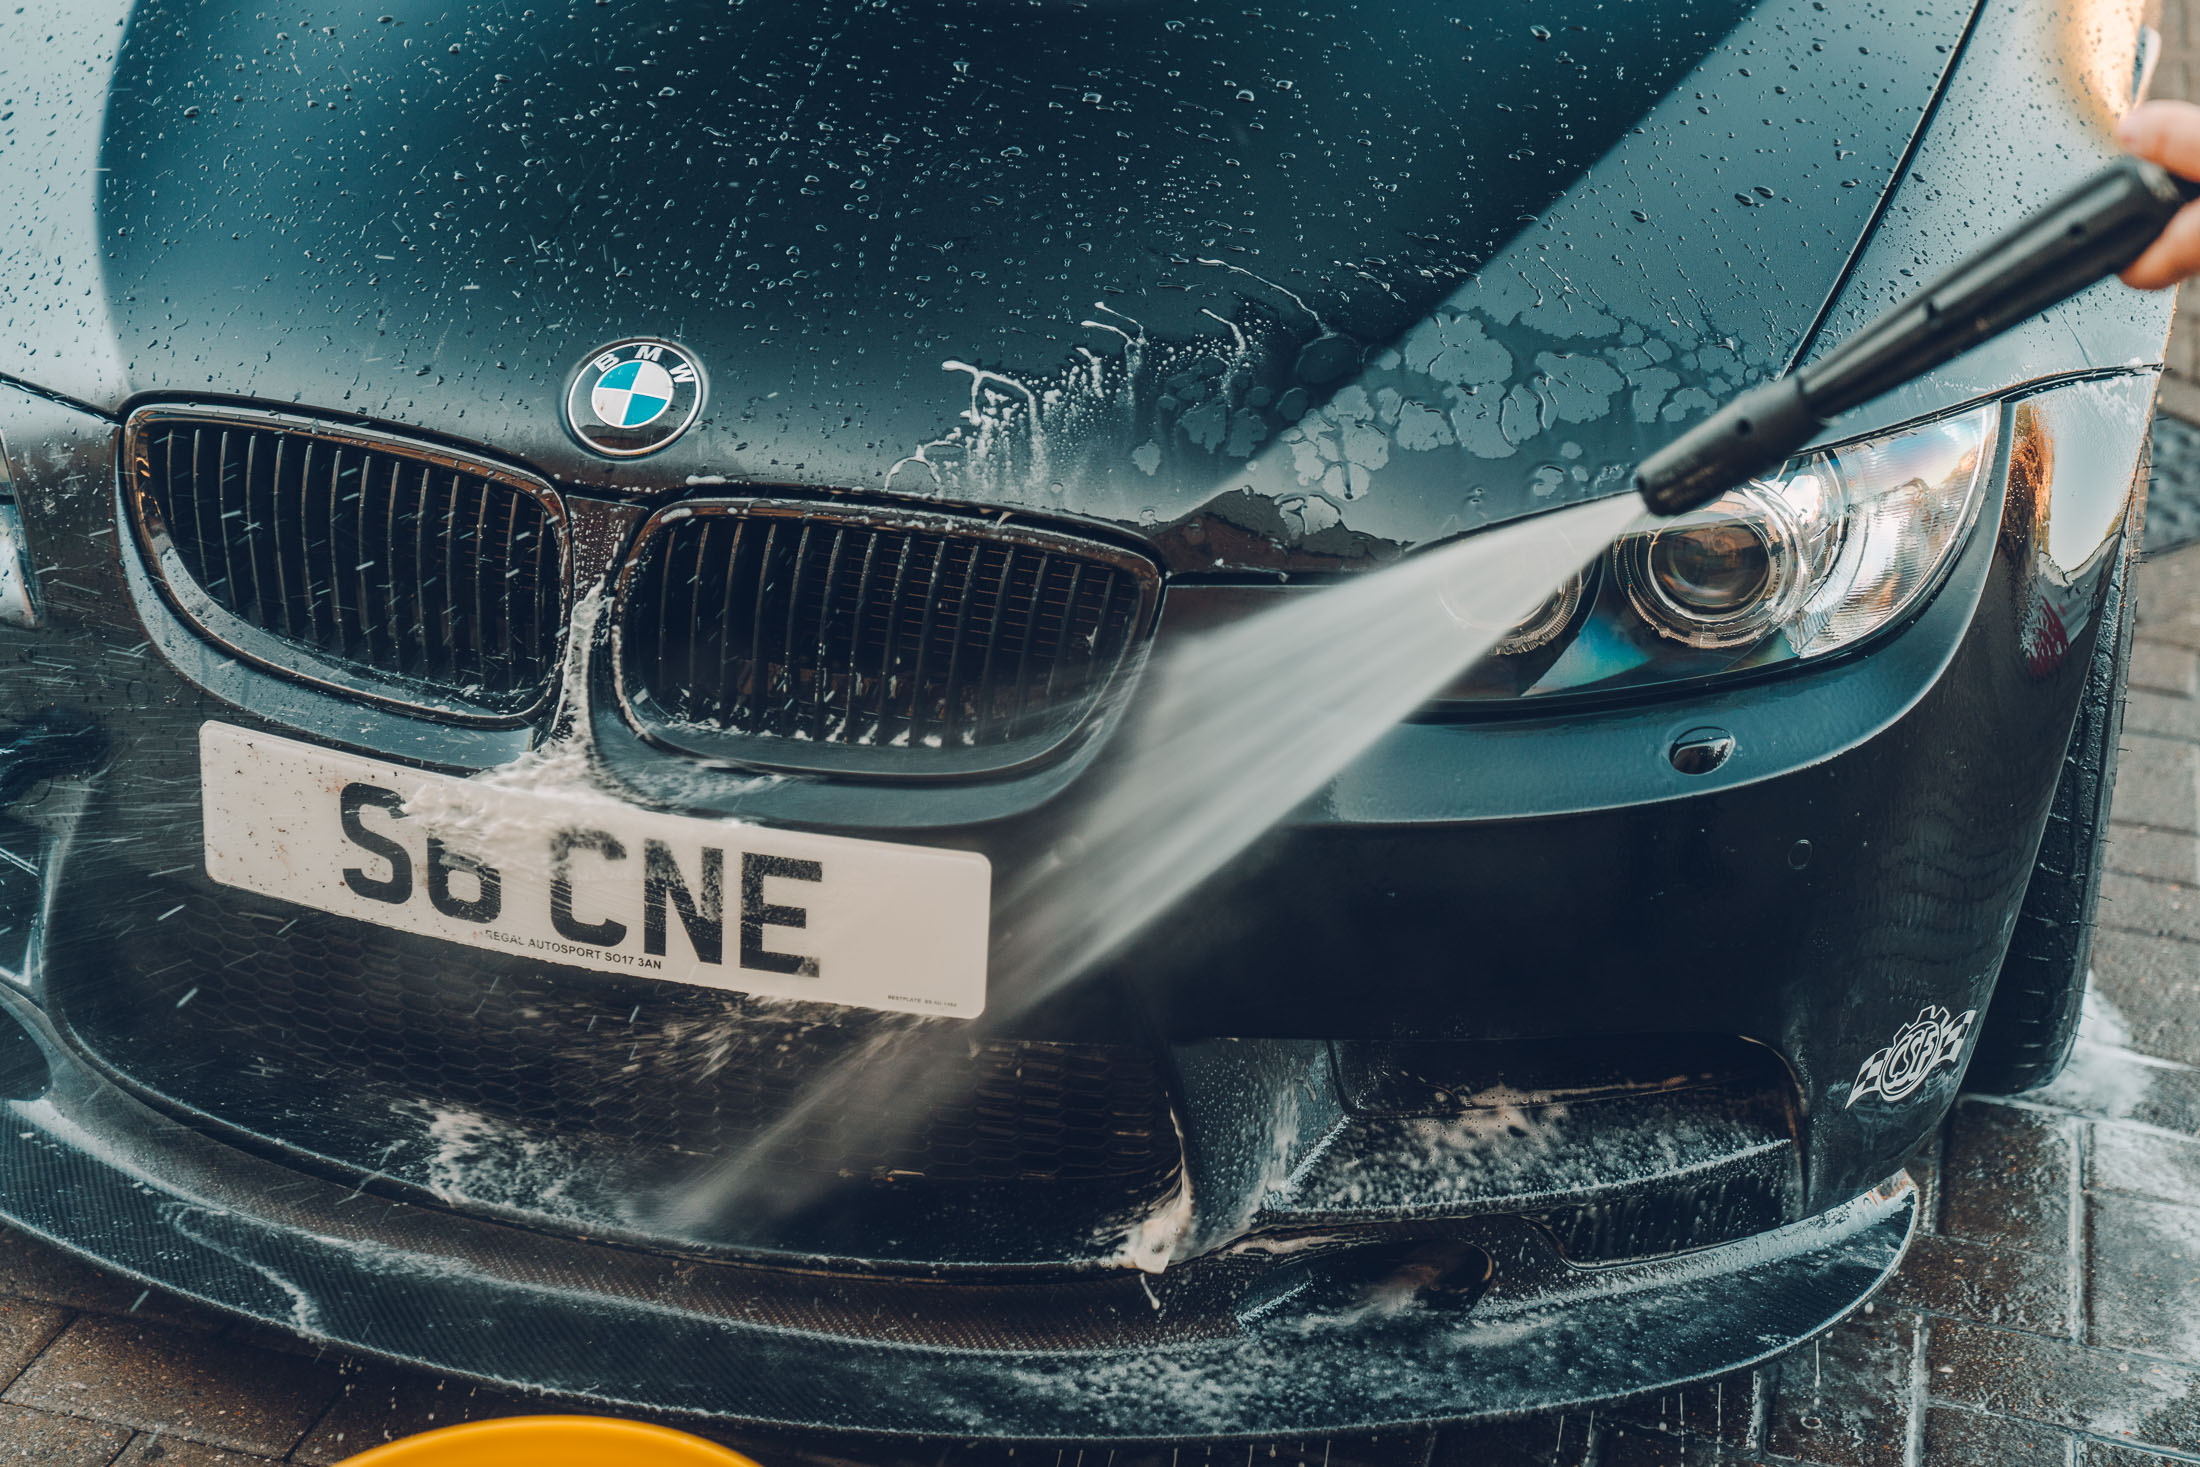
Stage 2 – Paintwork & wheels
Usually we’d continue to use Wash Plus+ on the entirety of a car rather than just the front bumper, but it quickly became apparent that Ryan’s M3 still boasted a fair amount of protection on the rest of the bodywork. Truth be told, the overall bodywork wasn’t too dirty thanks to the front of it taking the brunt of the bugs.
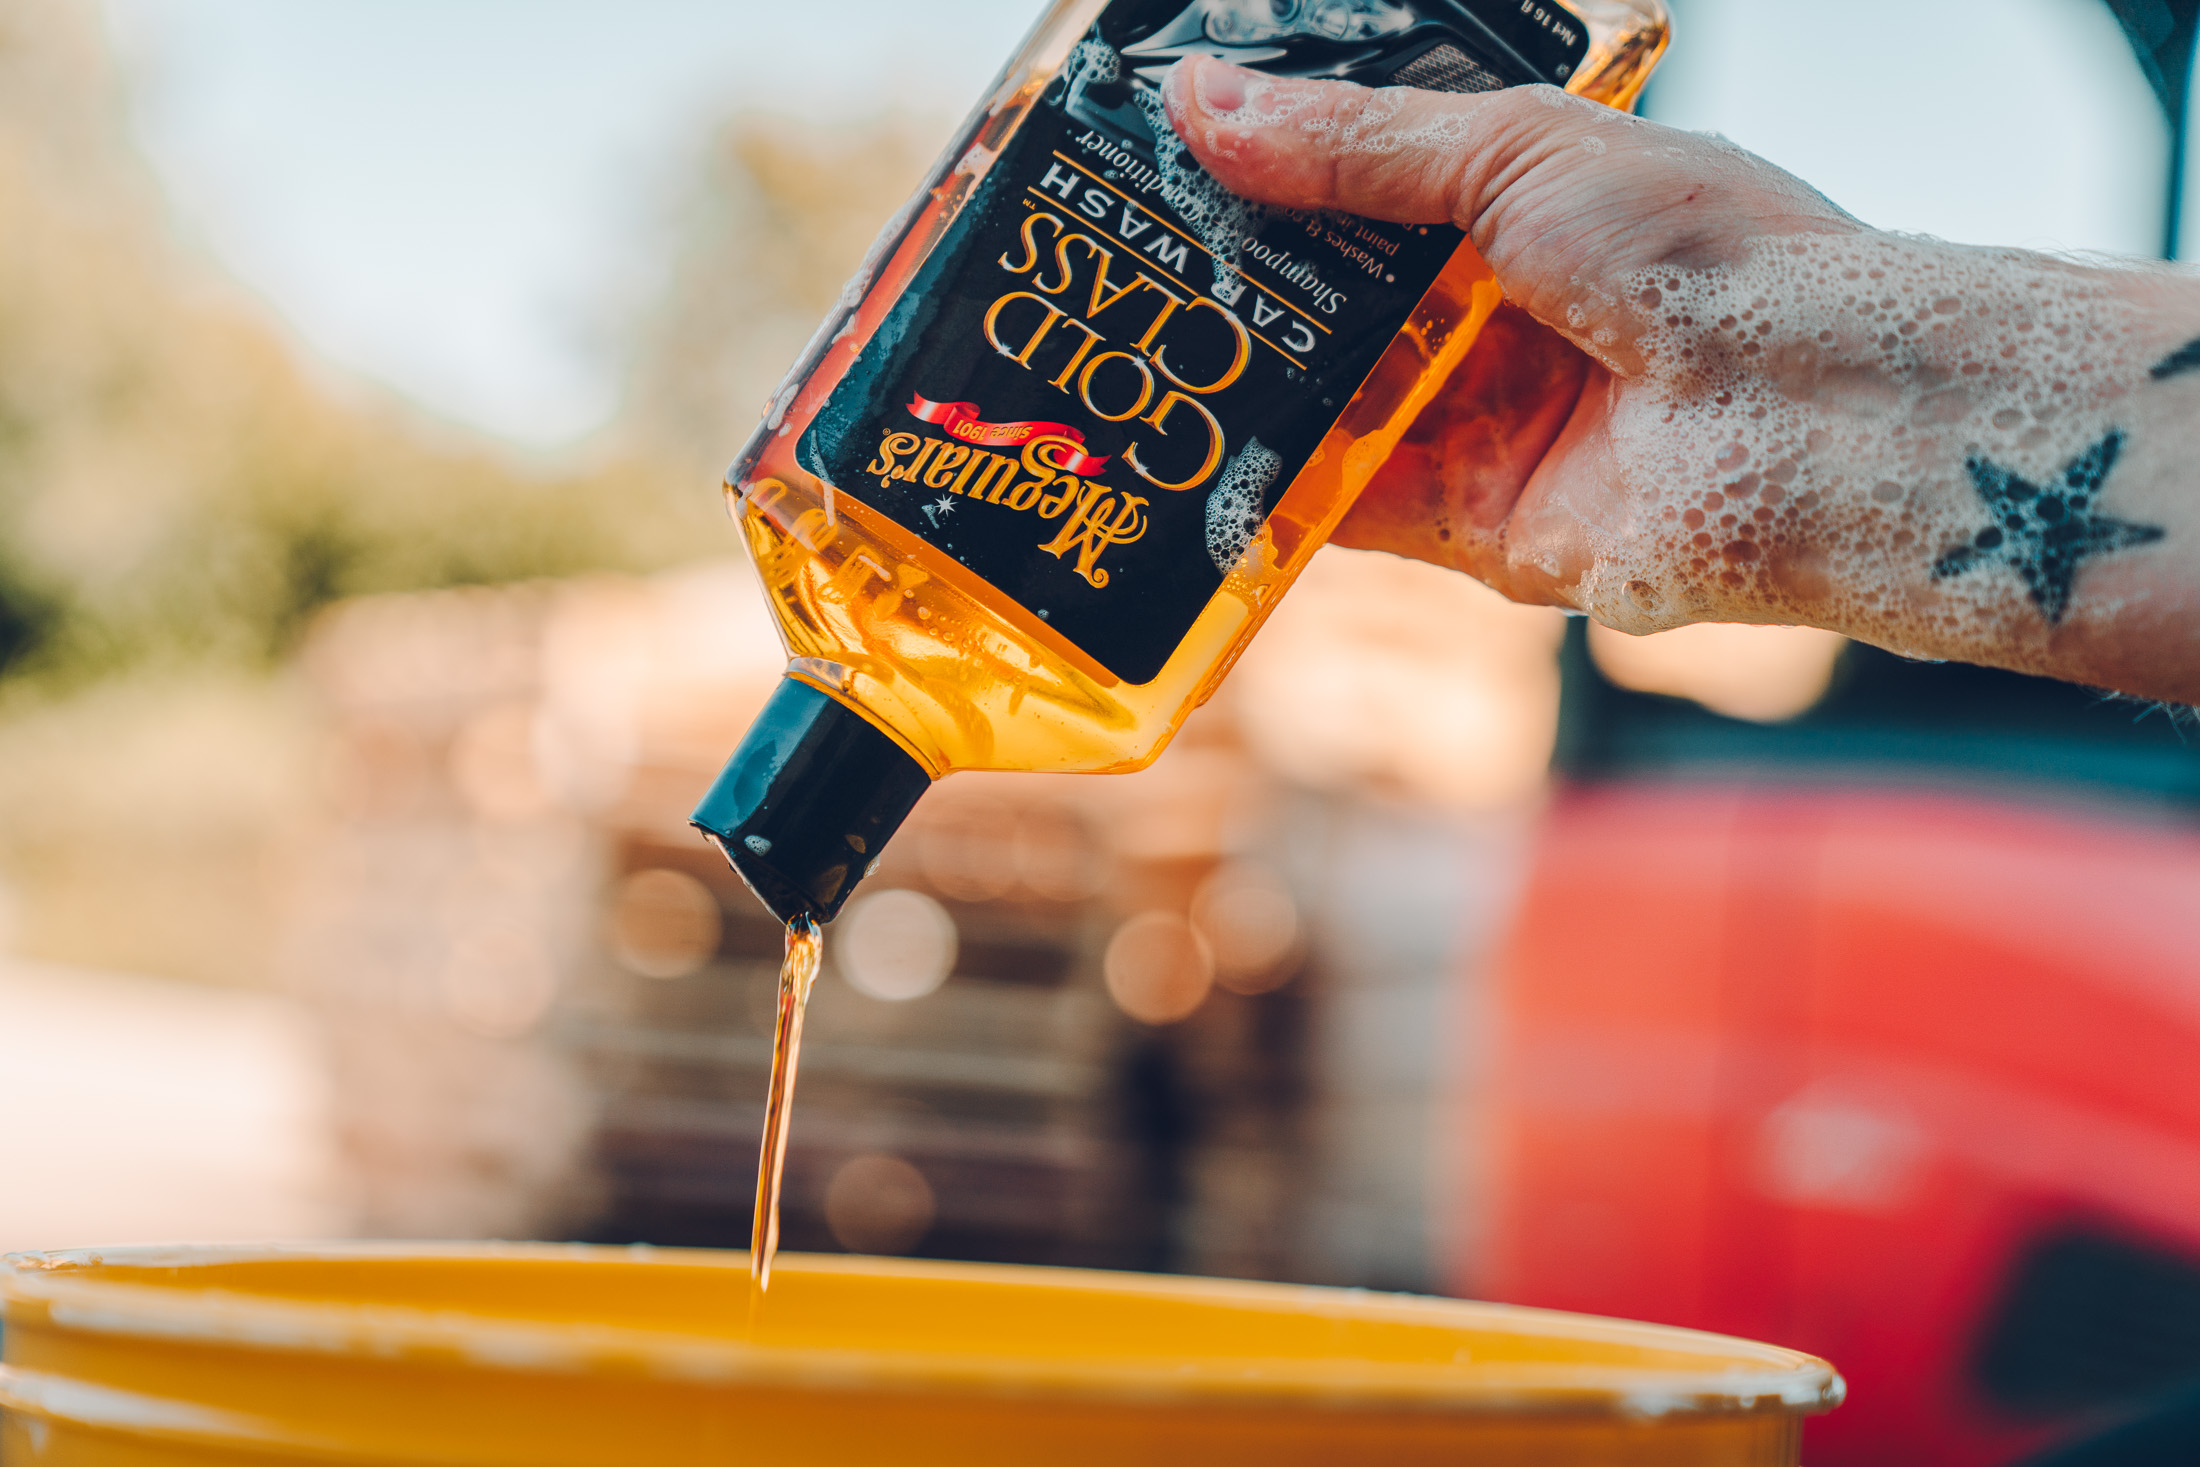
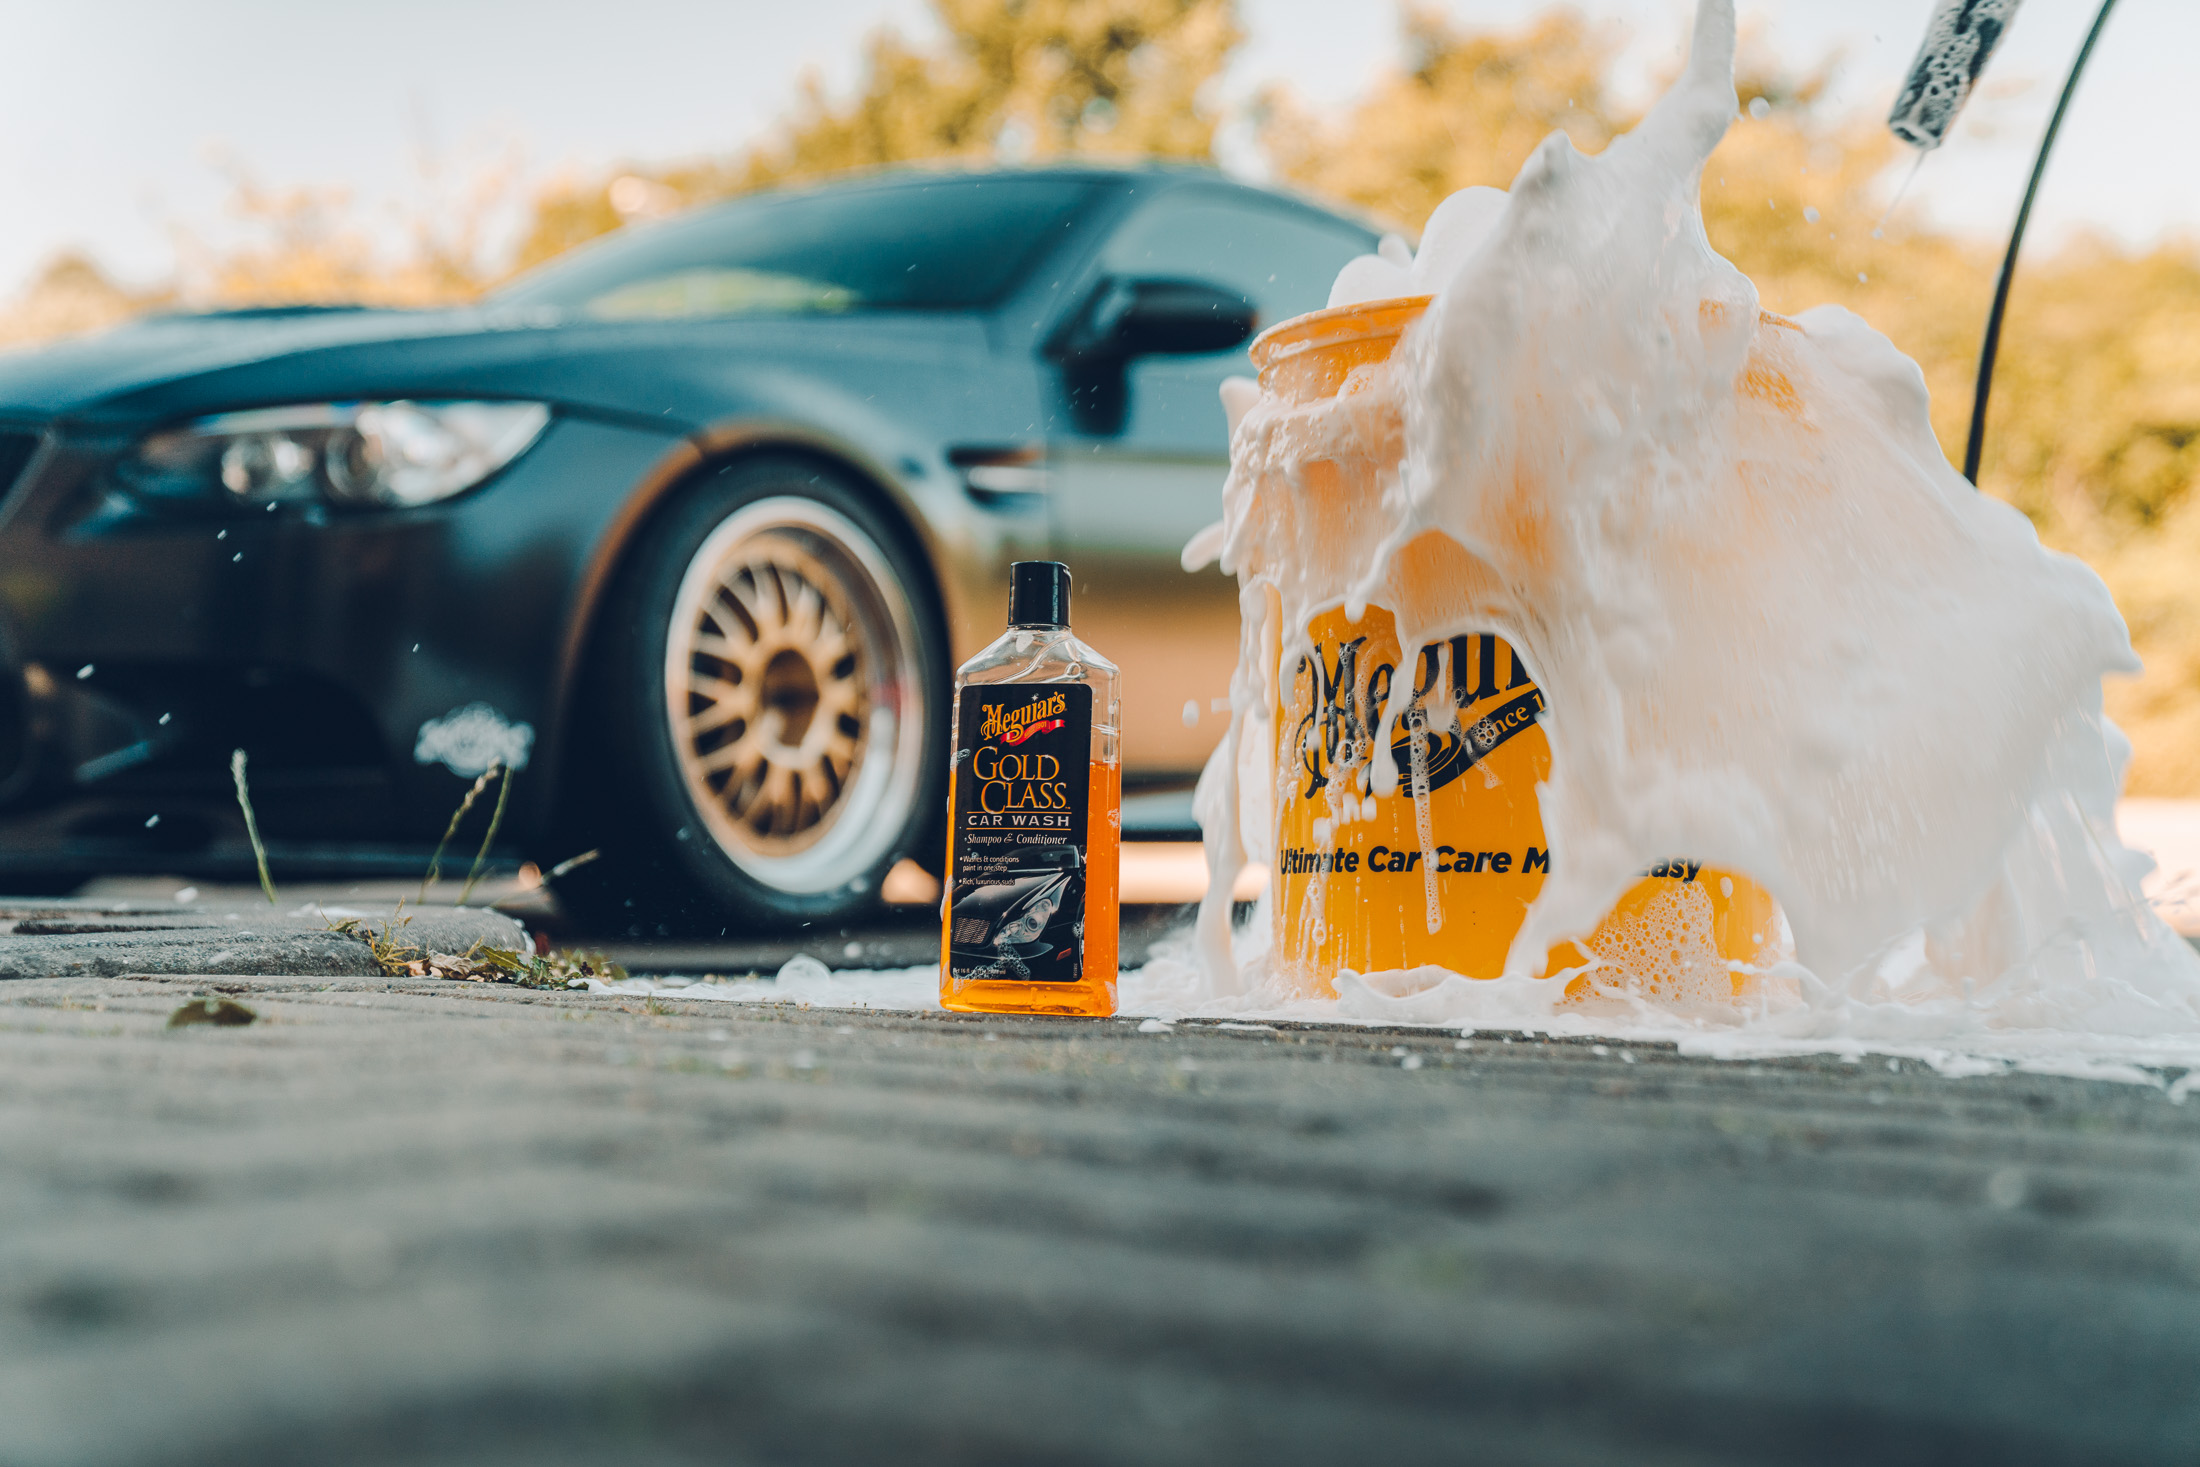
Keeping this in mind, we switched to Meguiar’s Gold Class Shampoo for the rest of the exterior allowing the car to be cleaned even faster. This particular shampoo cleans and conditions the paintwork in one easy step, removing any remaining dirt and without leaving a glossy sheen which Ryan actively wanted to avoid.

During this process, we also applied our Ultimate Wheel Cleaner to the M3’s BBS E88 split-rims and Sparta big brakes – a setup which combines a powdercoated centre, anodized brake calliper and raw aluminium dish.

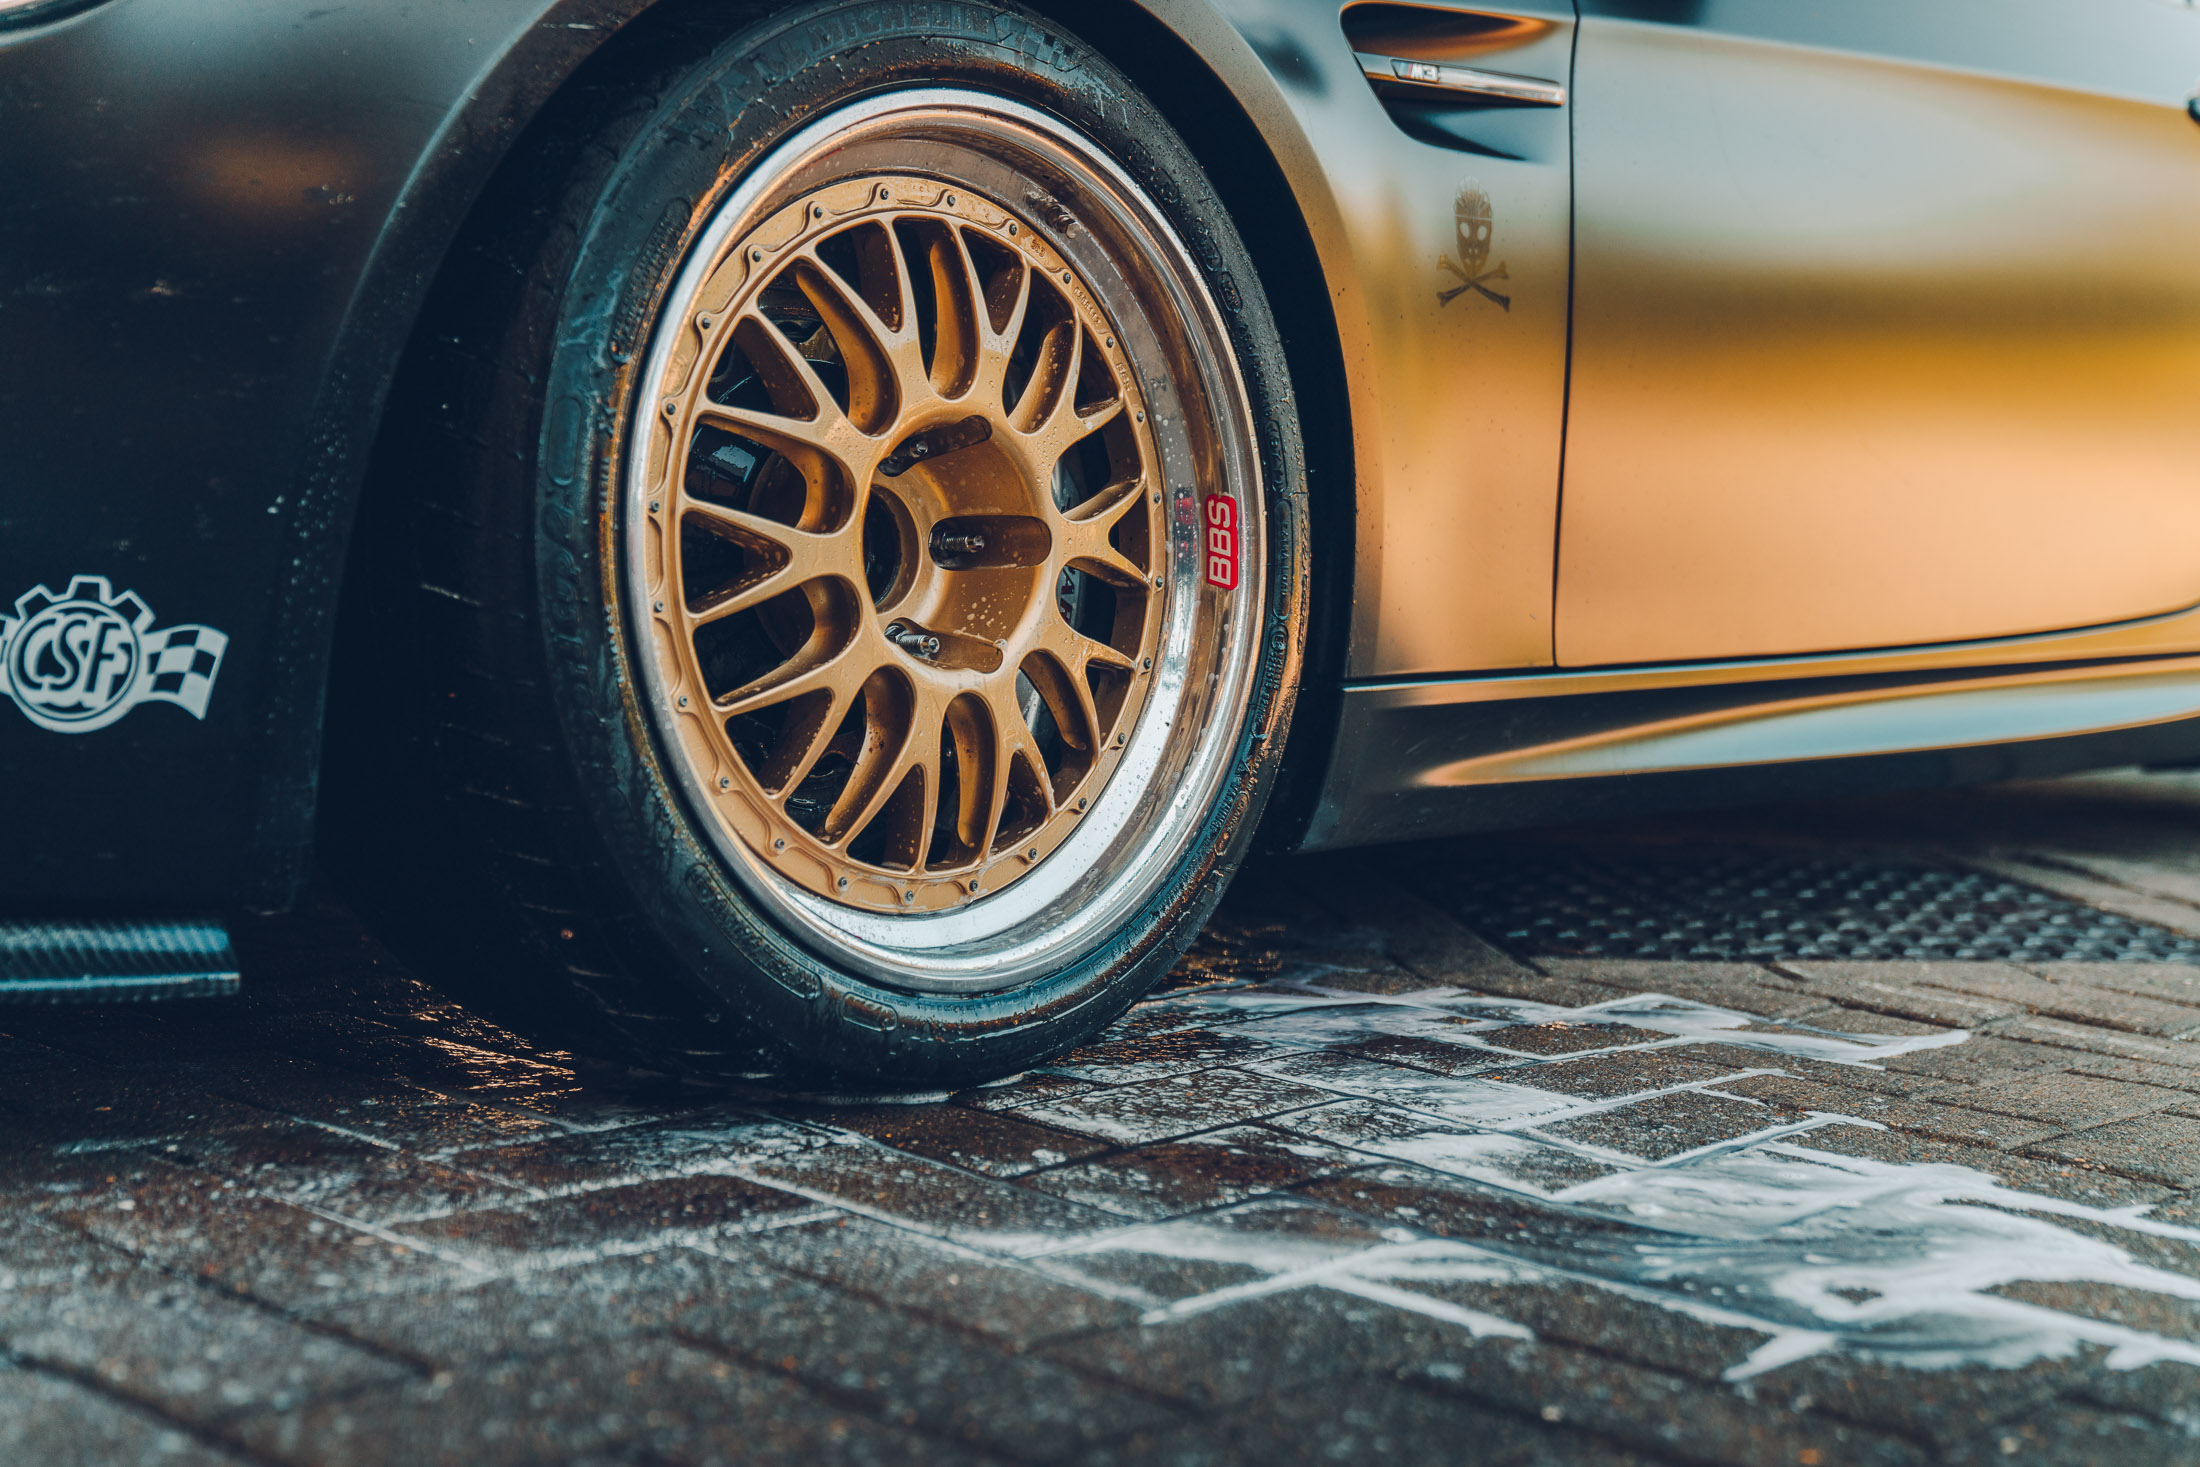
Despite reaching temperatures in excess of 270 degrees, Ultimate Wheel Cleaner made short work of the baked-on brake dust leaving them spotless in next to no time. It really is safe to use on ALL finishes!
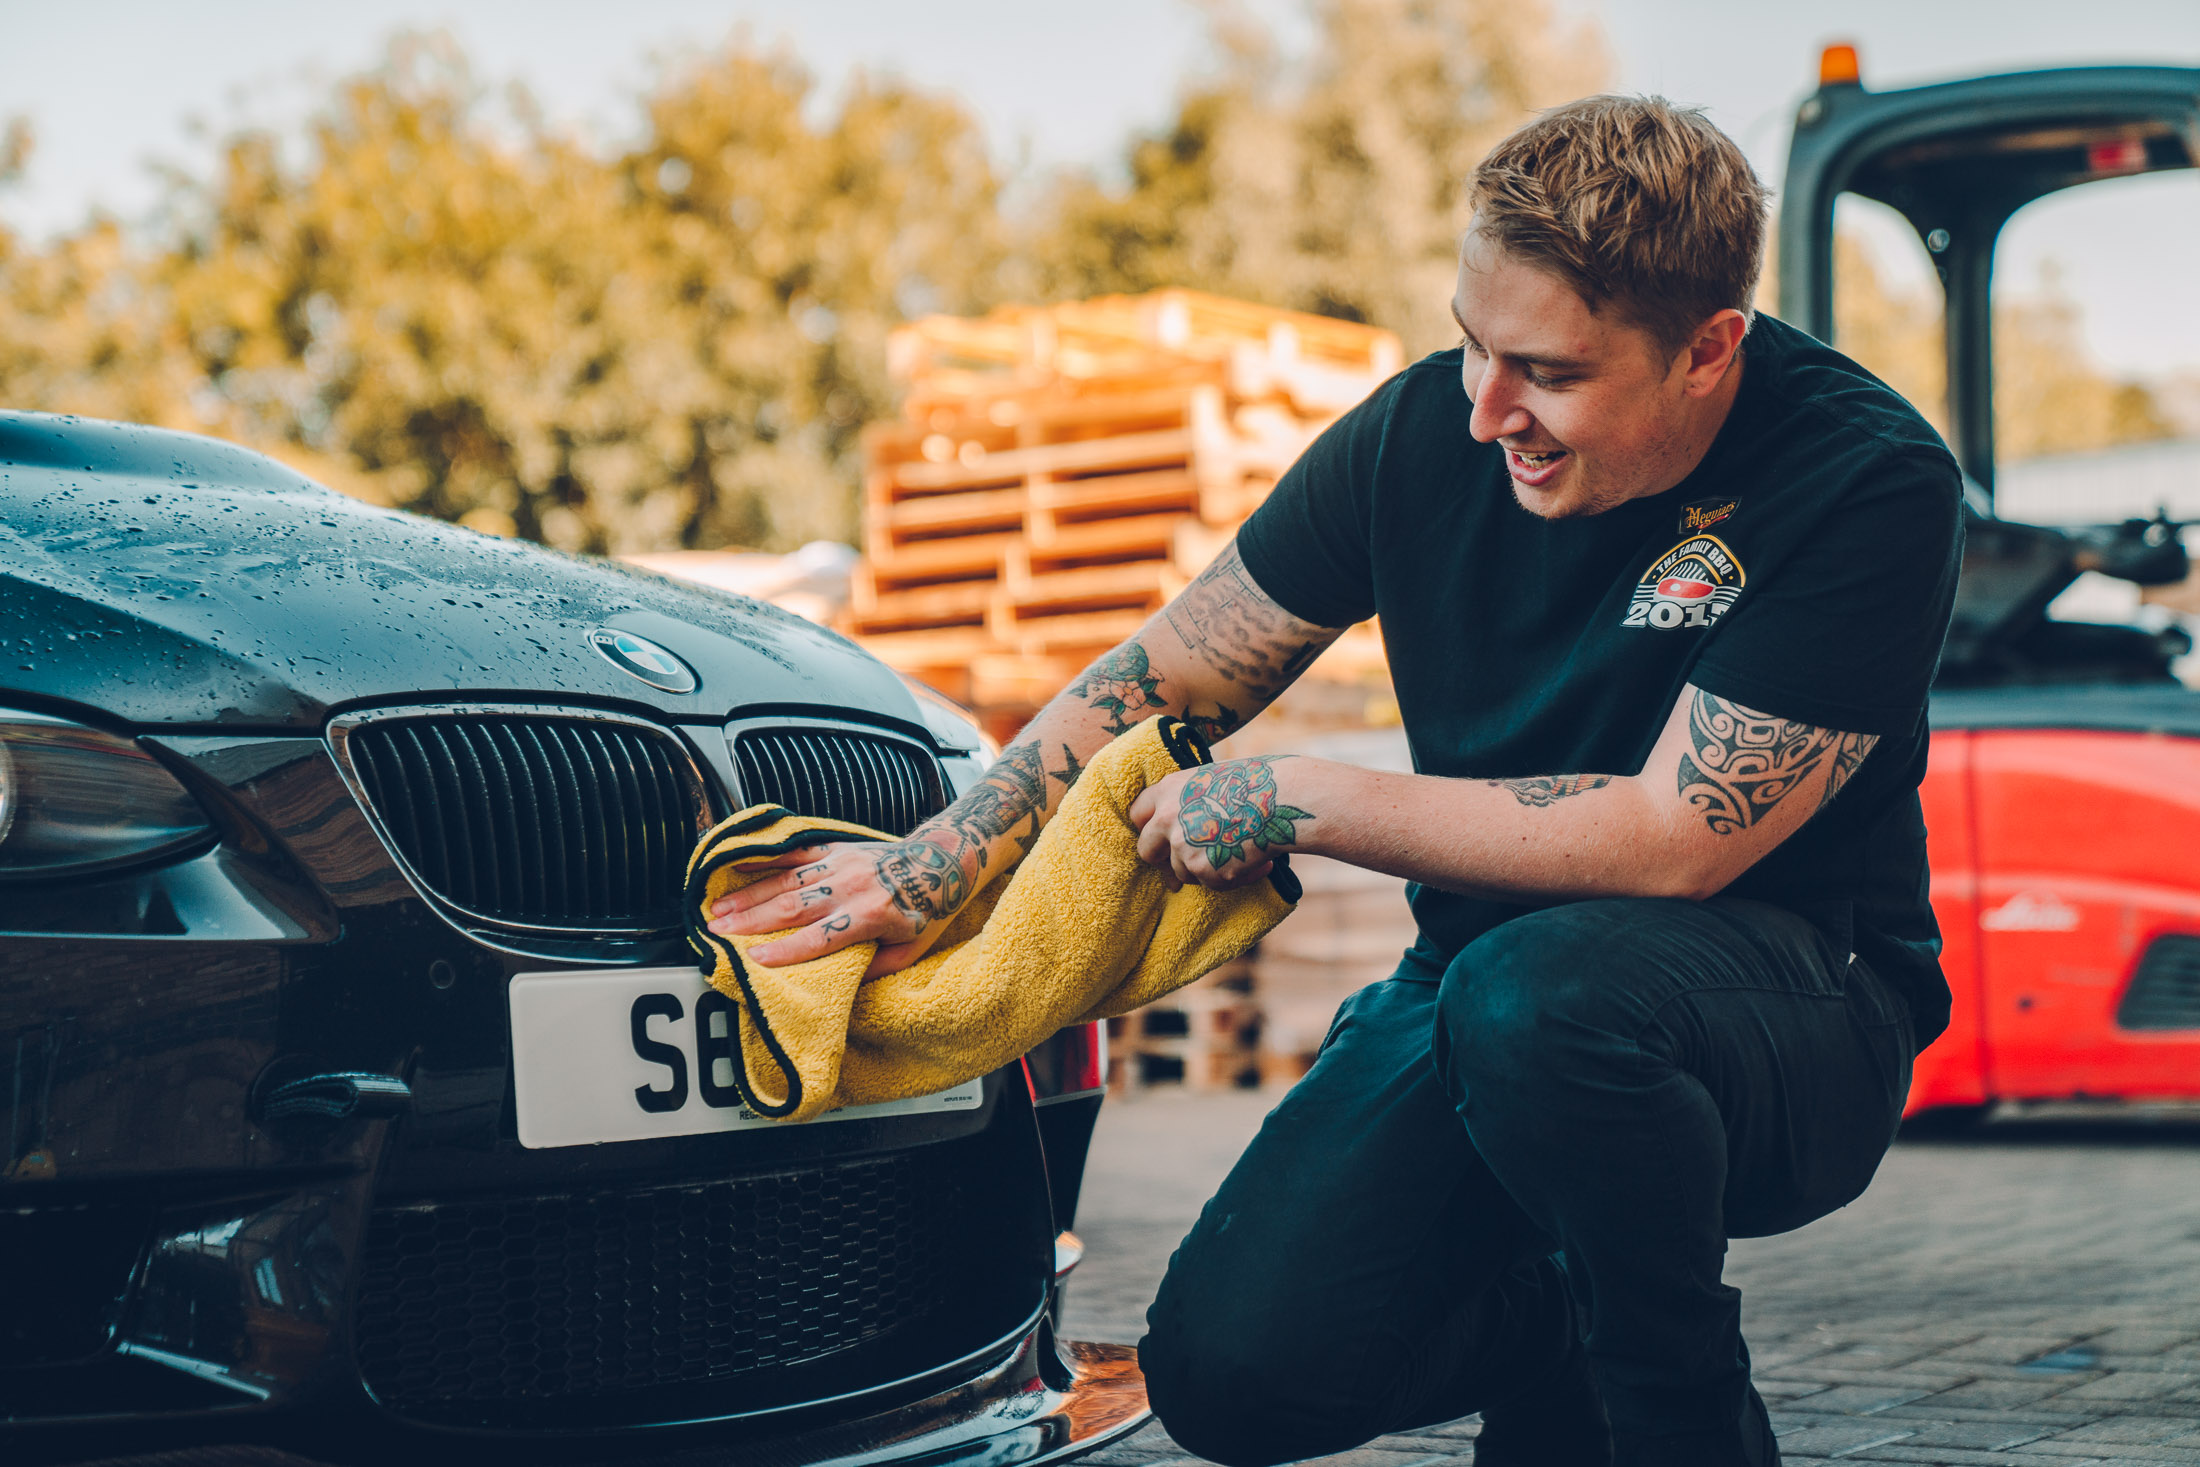
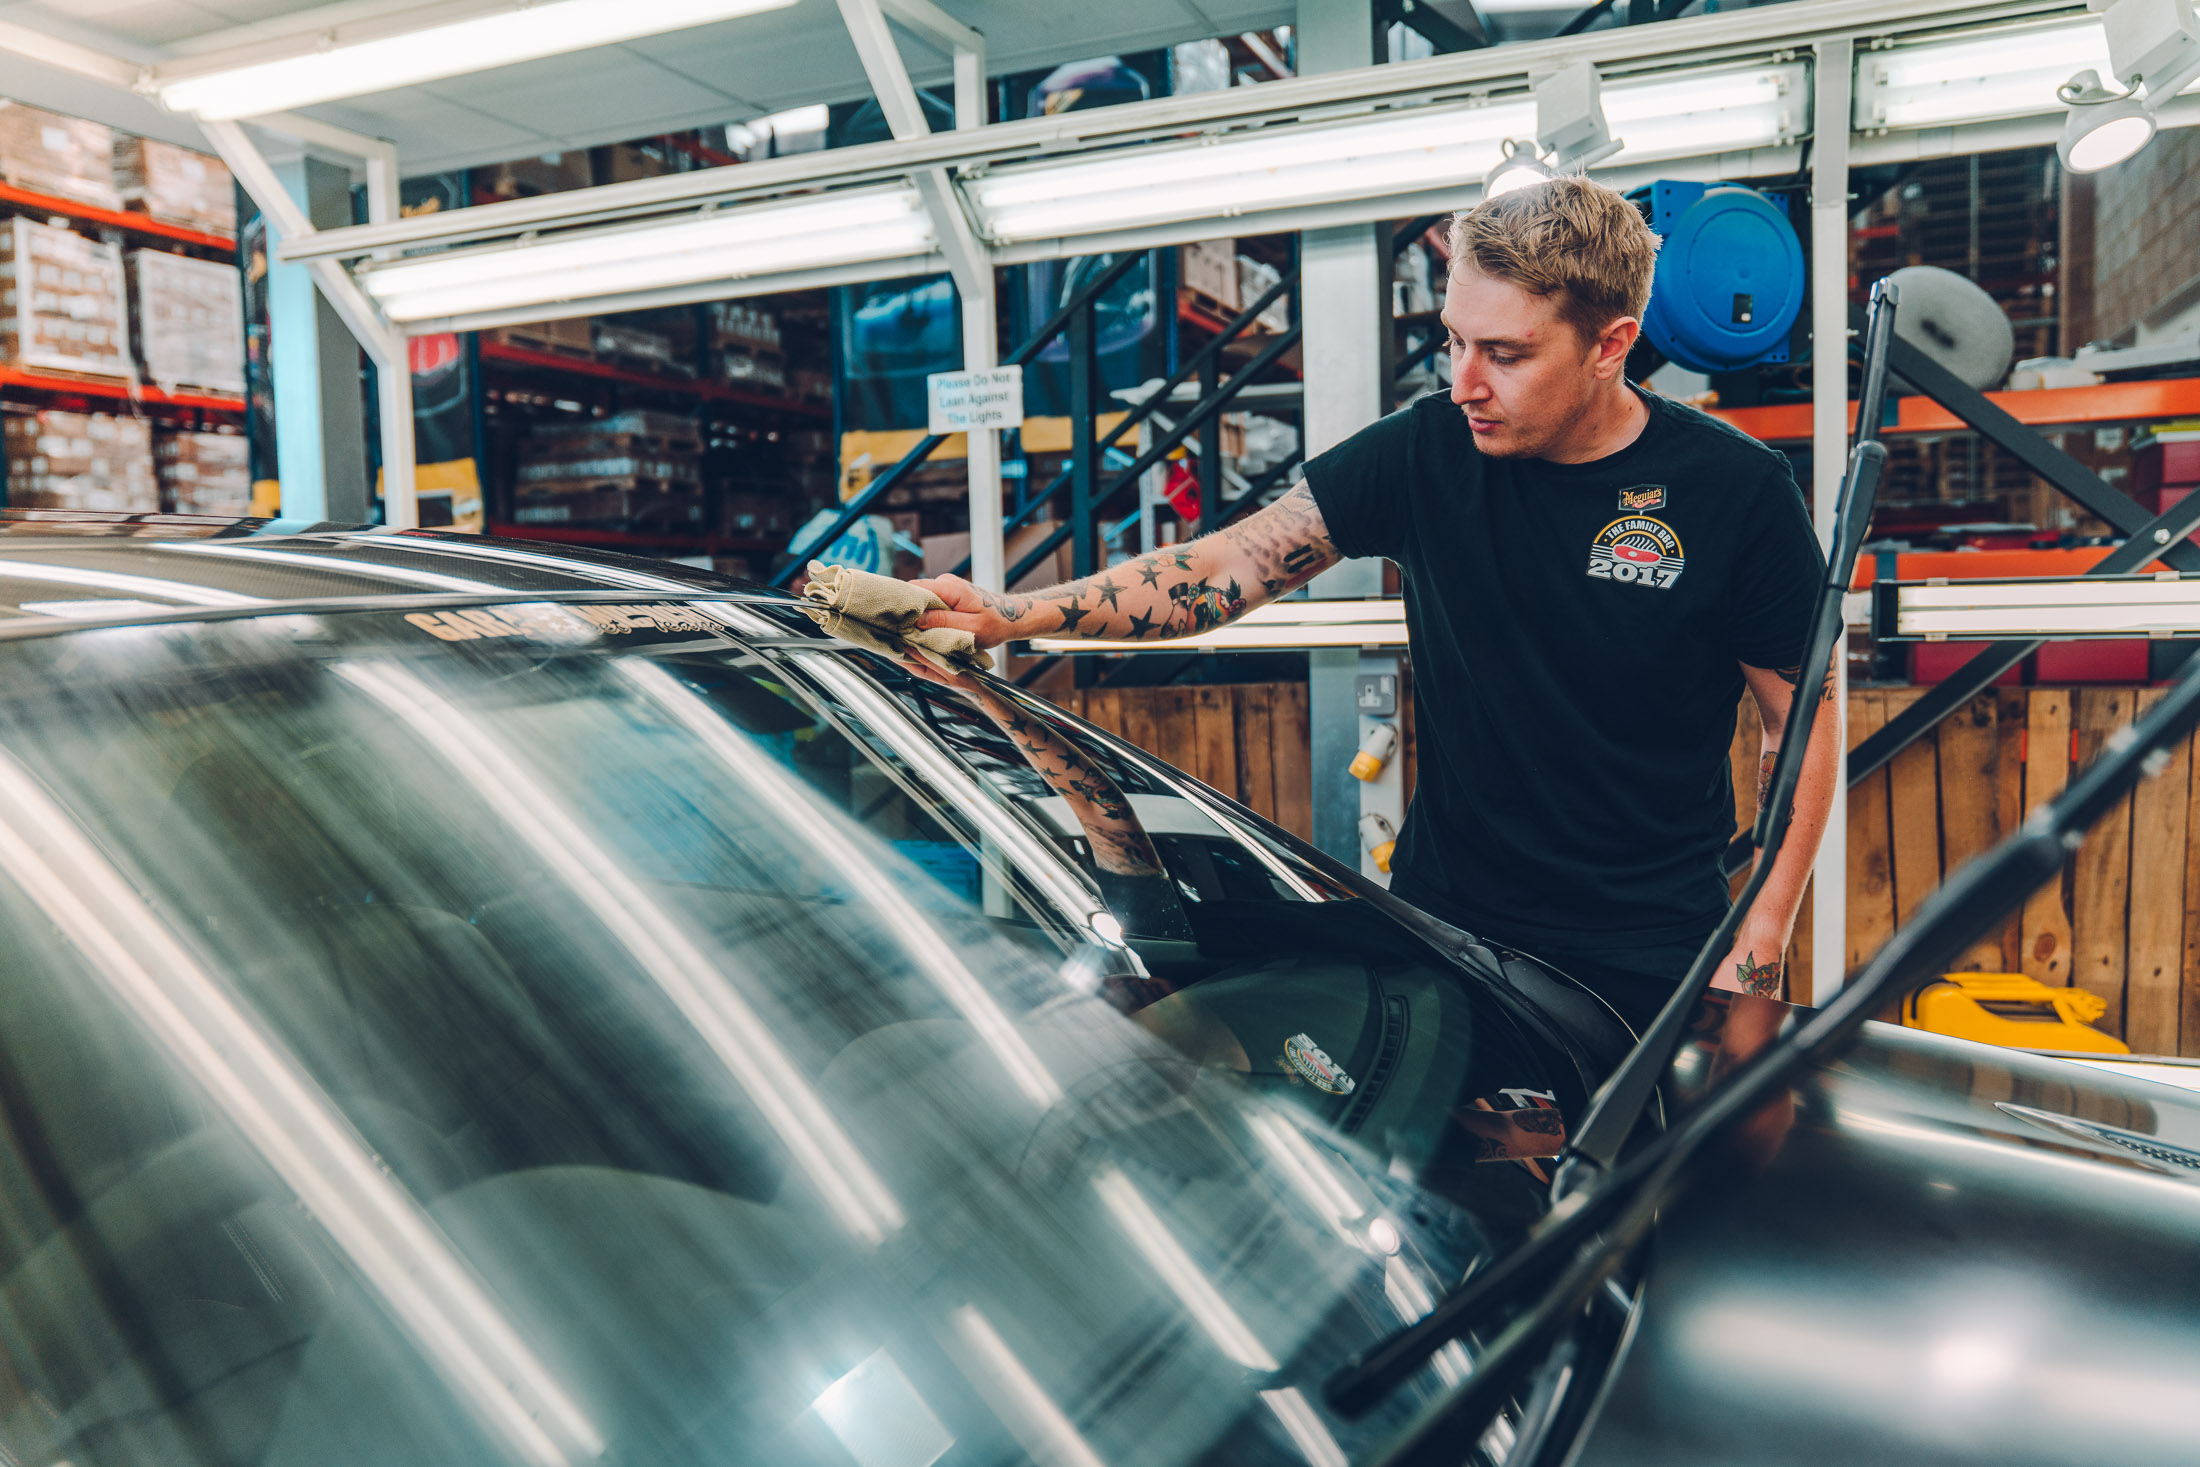
Stage 3 – Drying & finish
‘The new drying towels are really hard to wring out’ Ryan told us, and we’re glad he did because it raised a key point of the Supreme Drying Towel… they don’t need wringing out! That might sound like witchcraft, but by folding the towel before drying (either 2 or 3 times) you essentially end up with multiple drying towels from the one product. Simply load it with water, flip it over, repeat, flip again and repeat until the car is dry. It’s far more efficient than having the towel completely folded out and dragged along the surface.
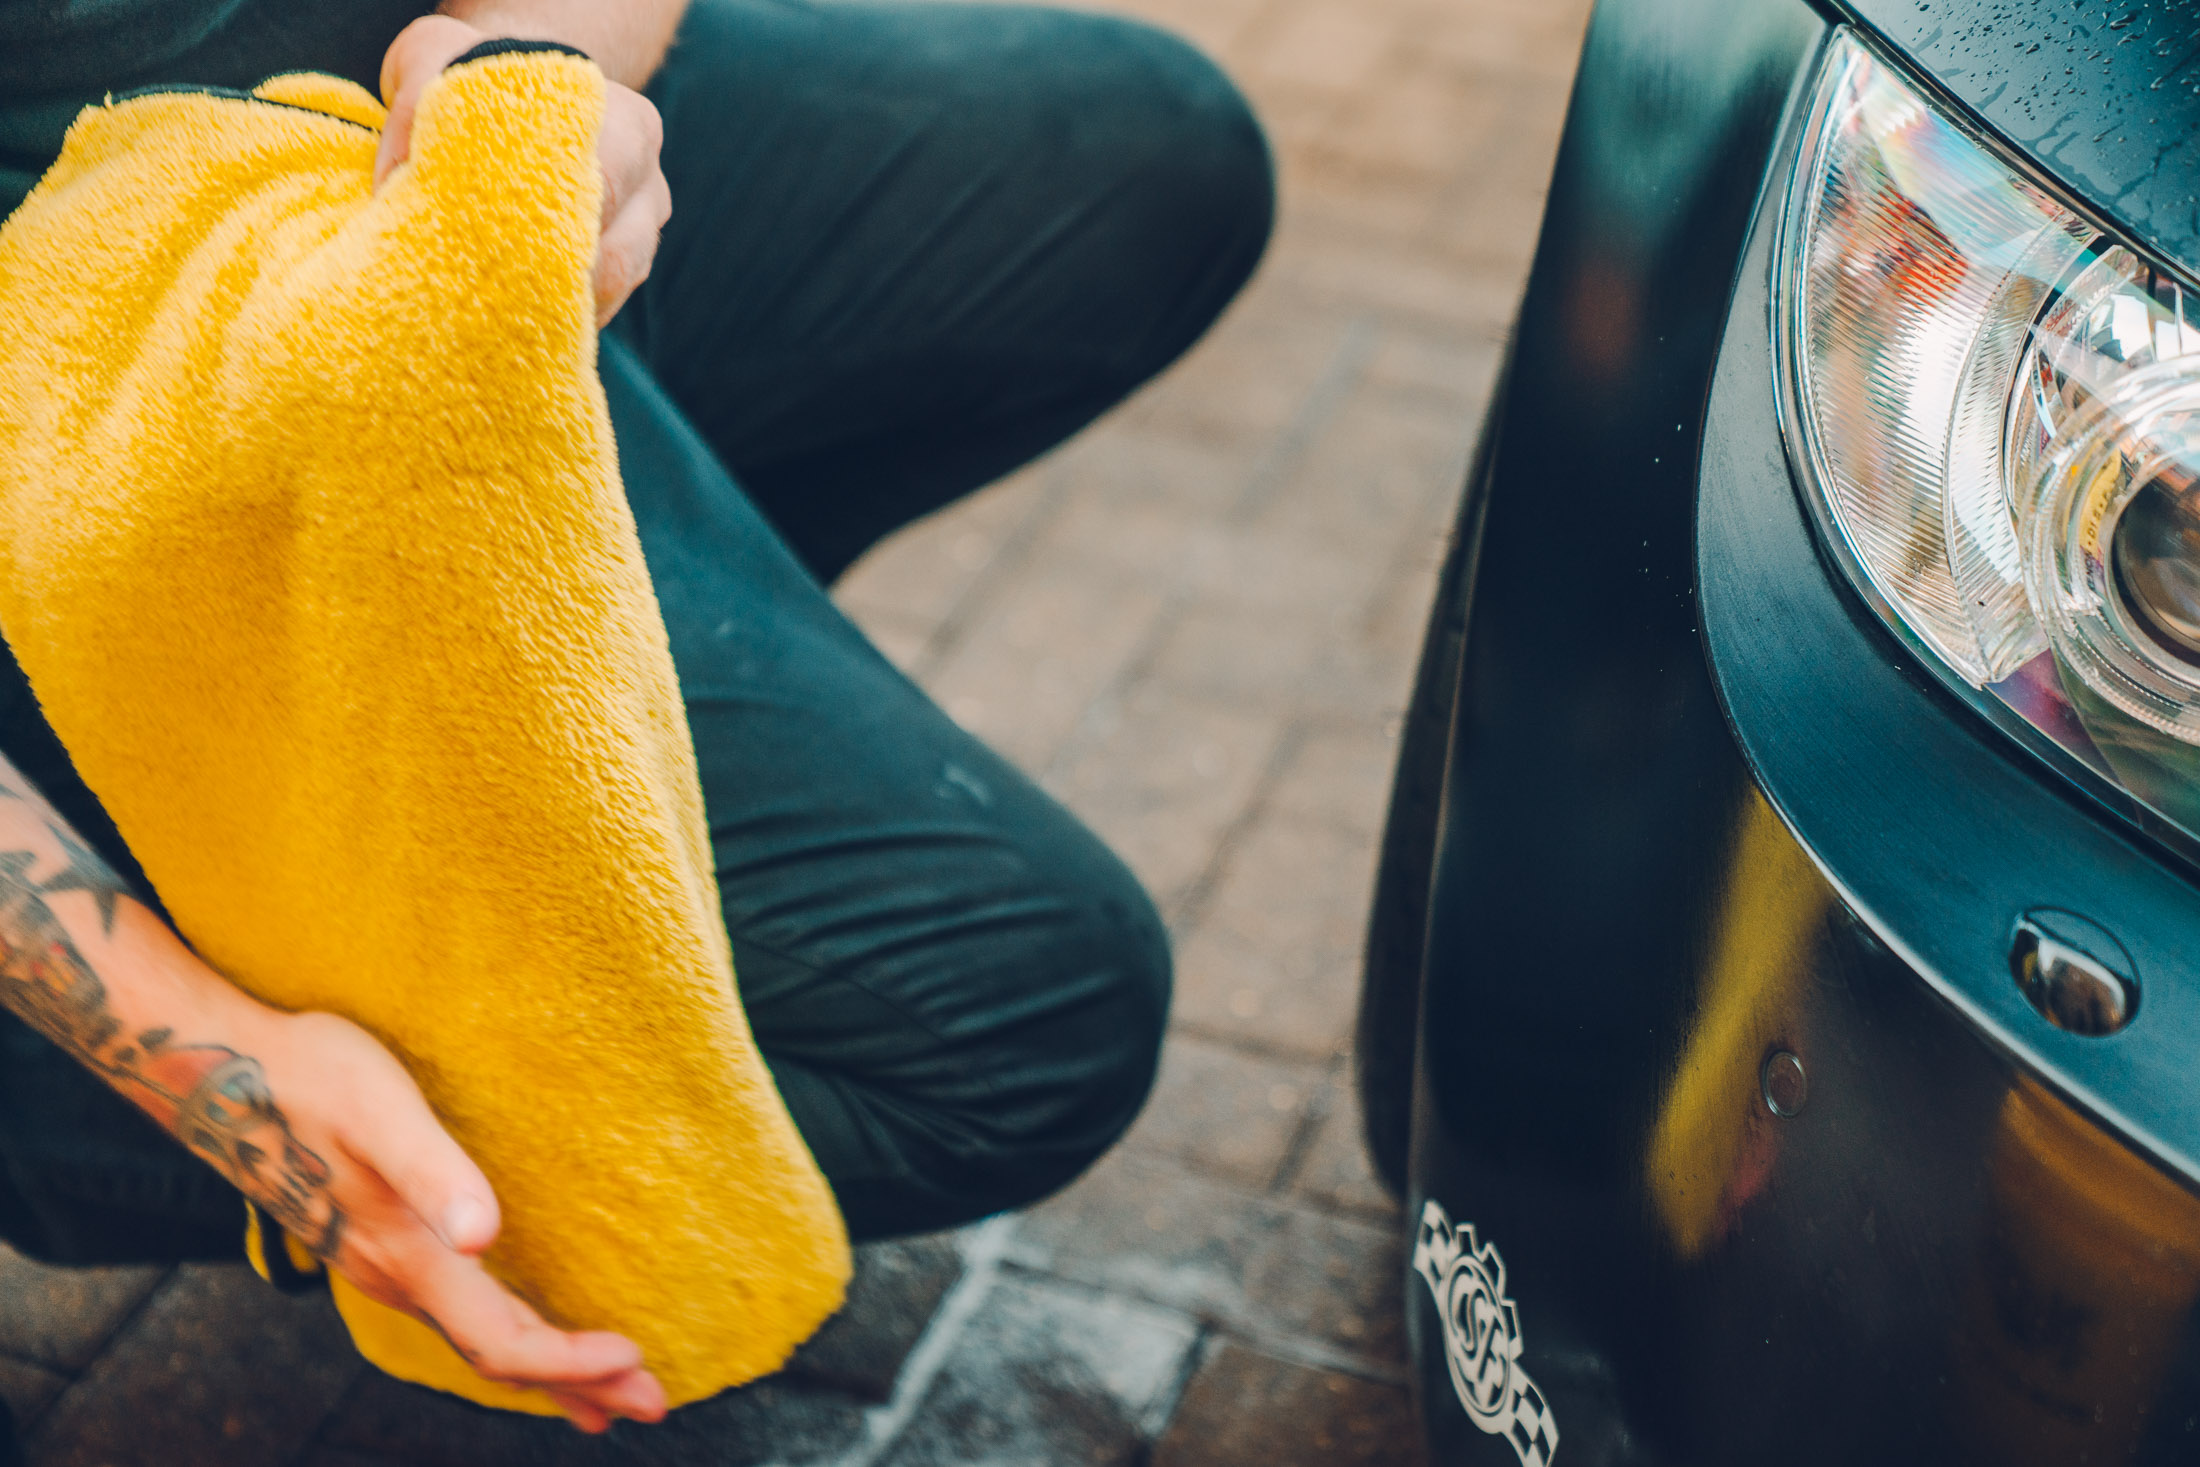

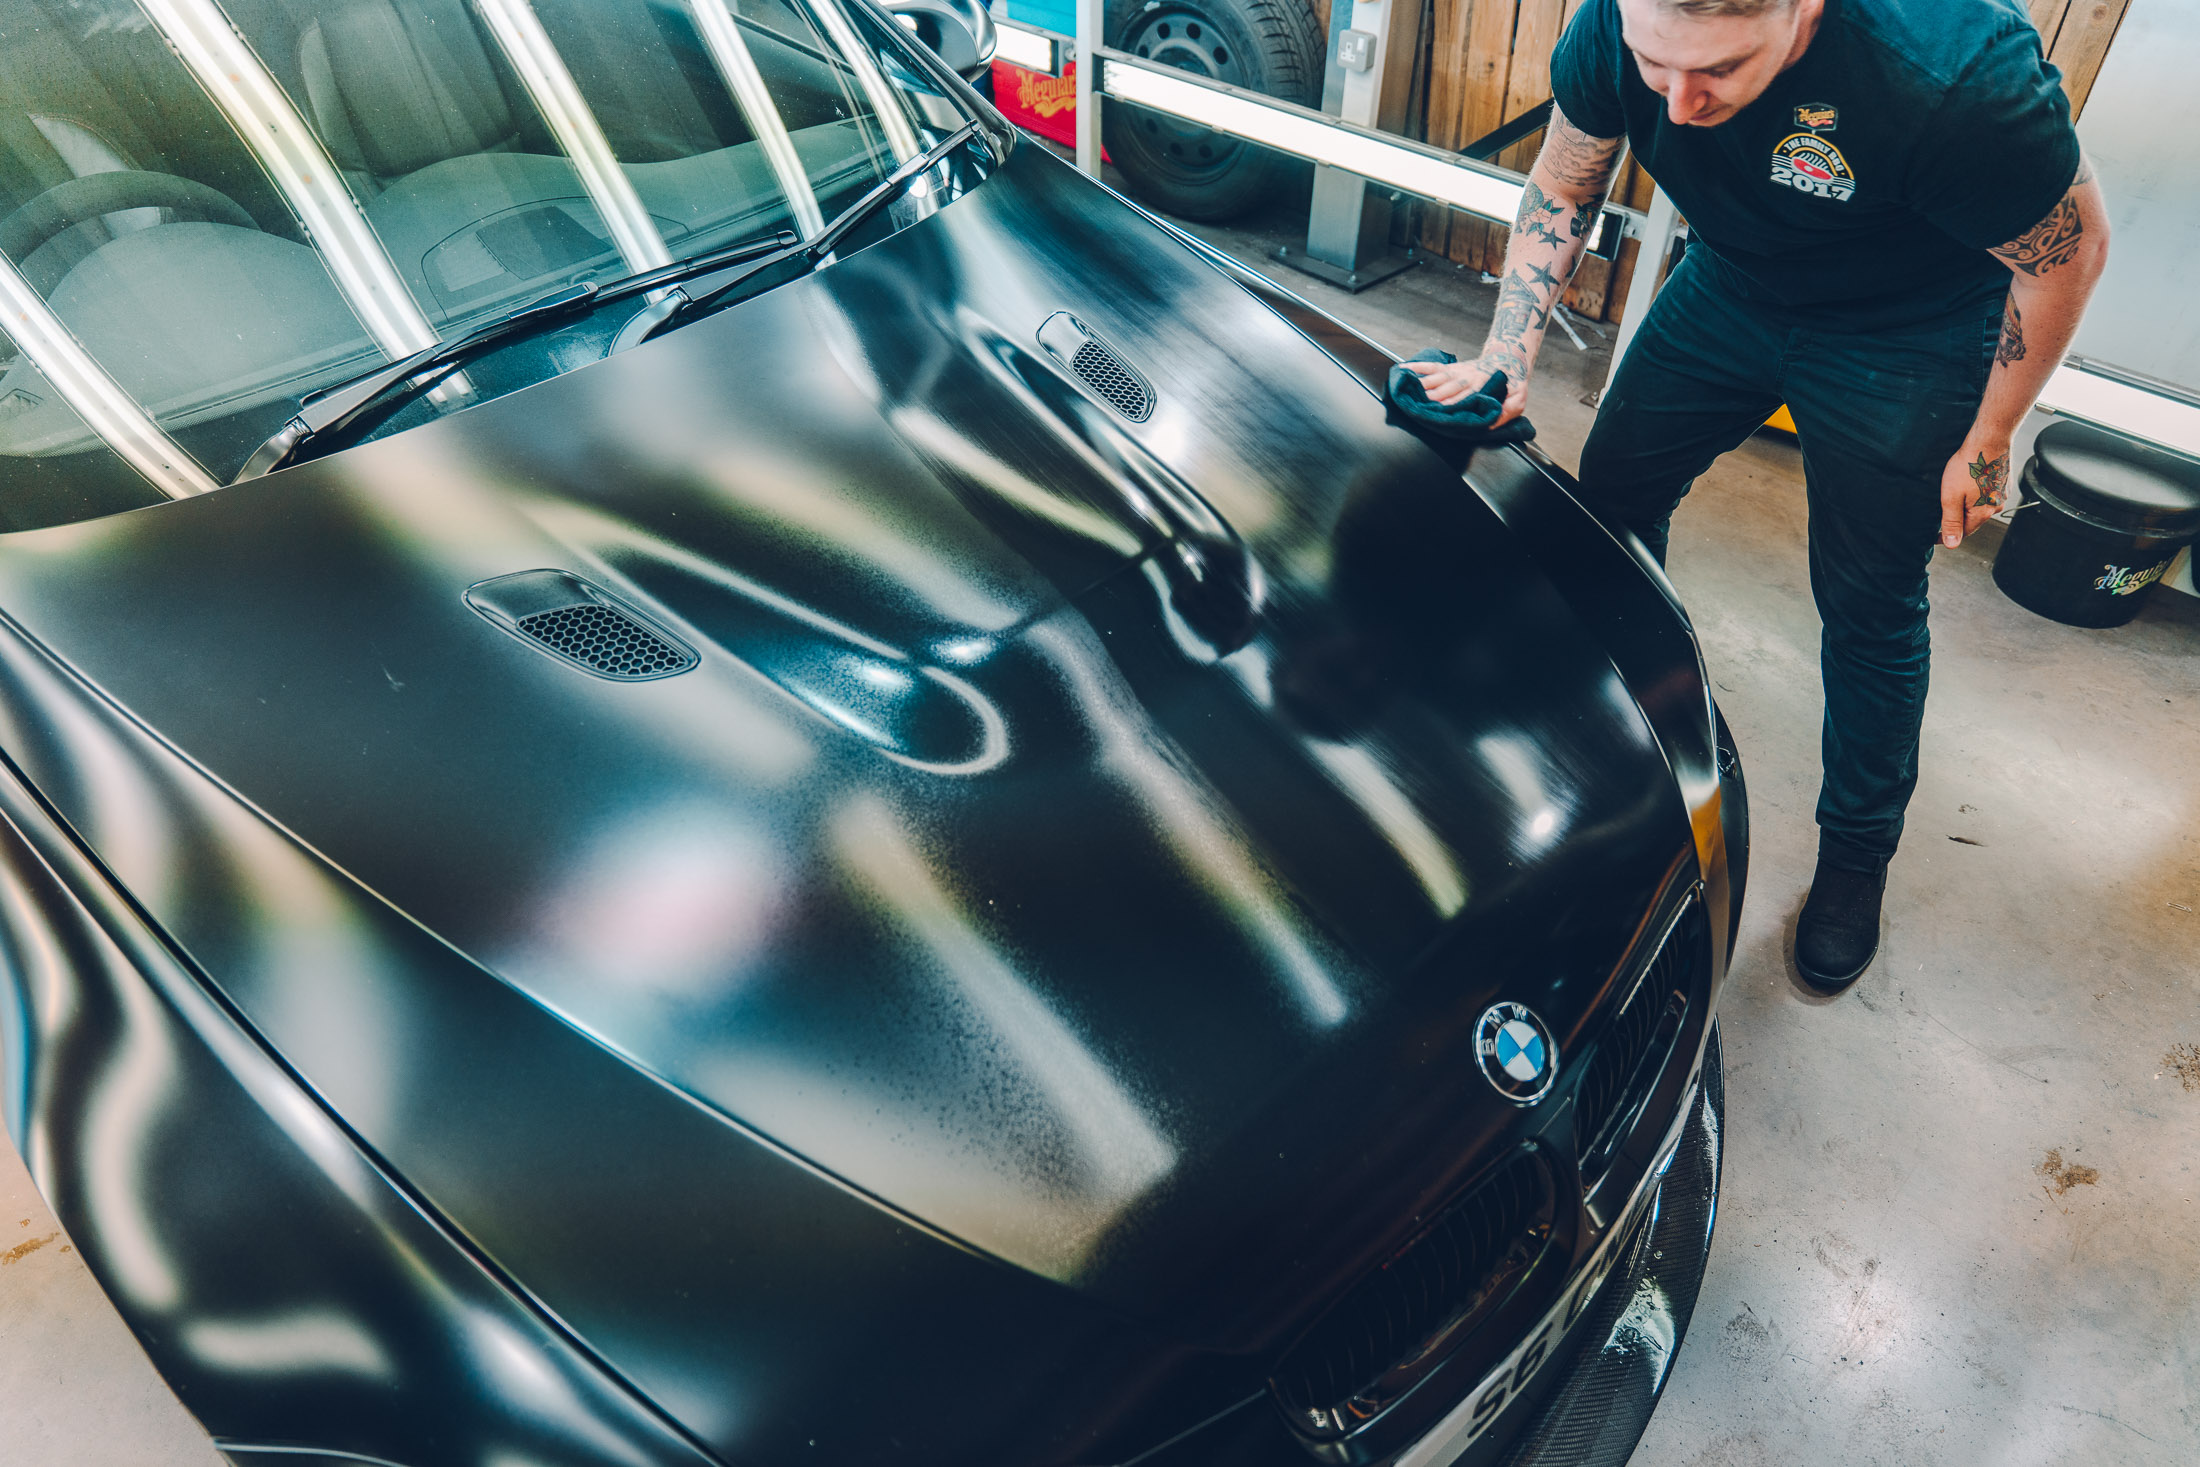
M3 dried, we moved it within the Detailing Bay to finish the exterior using Mirror Bright Detailing Spray. Why this particular spray instead of say Ultimate or Wash & Wax? Put simply, Mirror Bright Detailing Spray is predominantly designed for interior surfaces (although safe and effective to use on paintwork) and because of this it doesn’t leave a glossy sheen behind, perfect for satin & matte paintwork.
There’s no fancy application, either. Spray a fine mist over a panel and remove it with a clean microfibre shortly after. Satin or matte paintwork has a tendency to look quite patchy with a typical glossy detailer, so Mirror Bright is a real game changer for Ryan’s M3.
Stage 4 – Fast & long-lasting protection
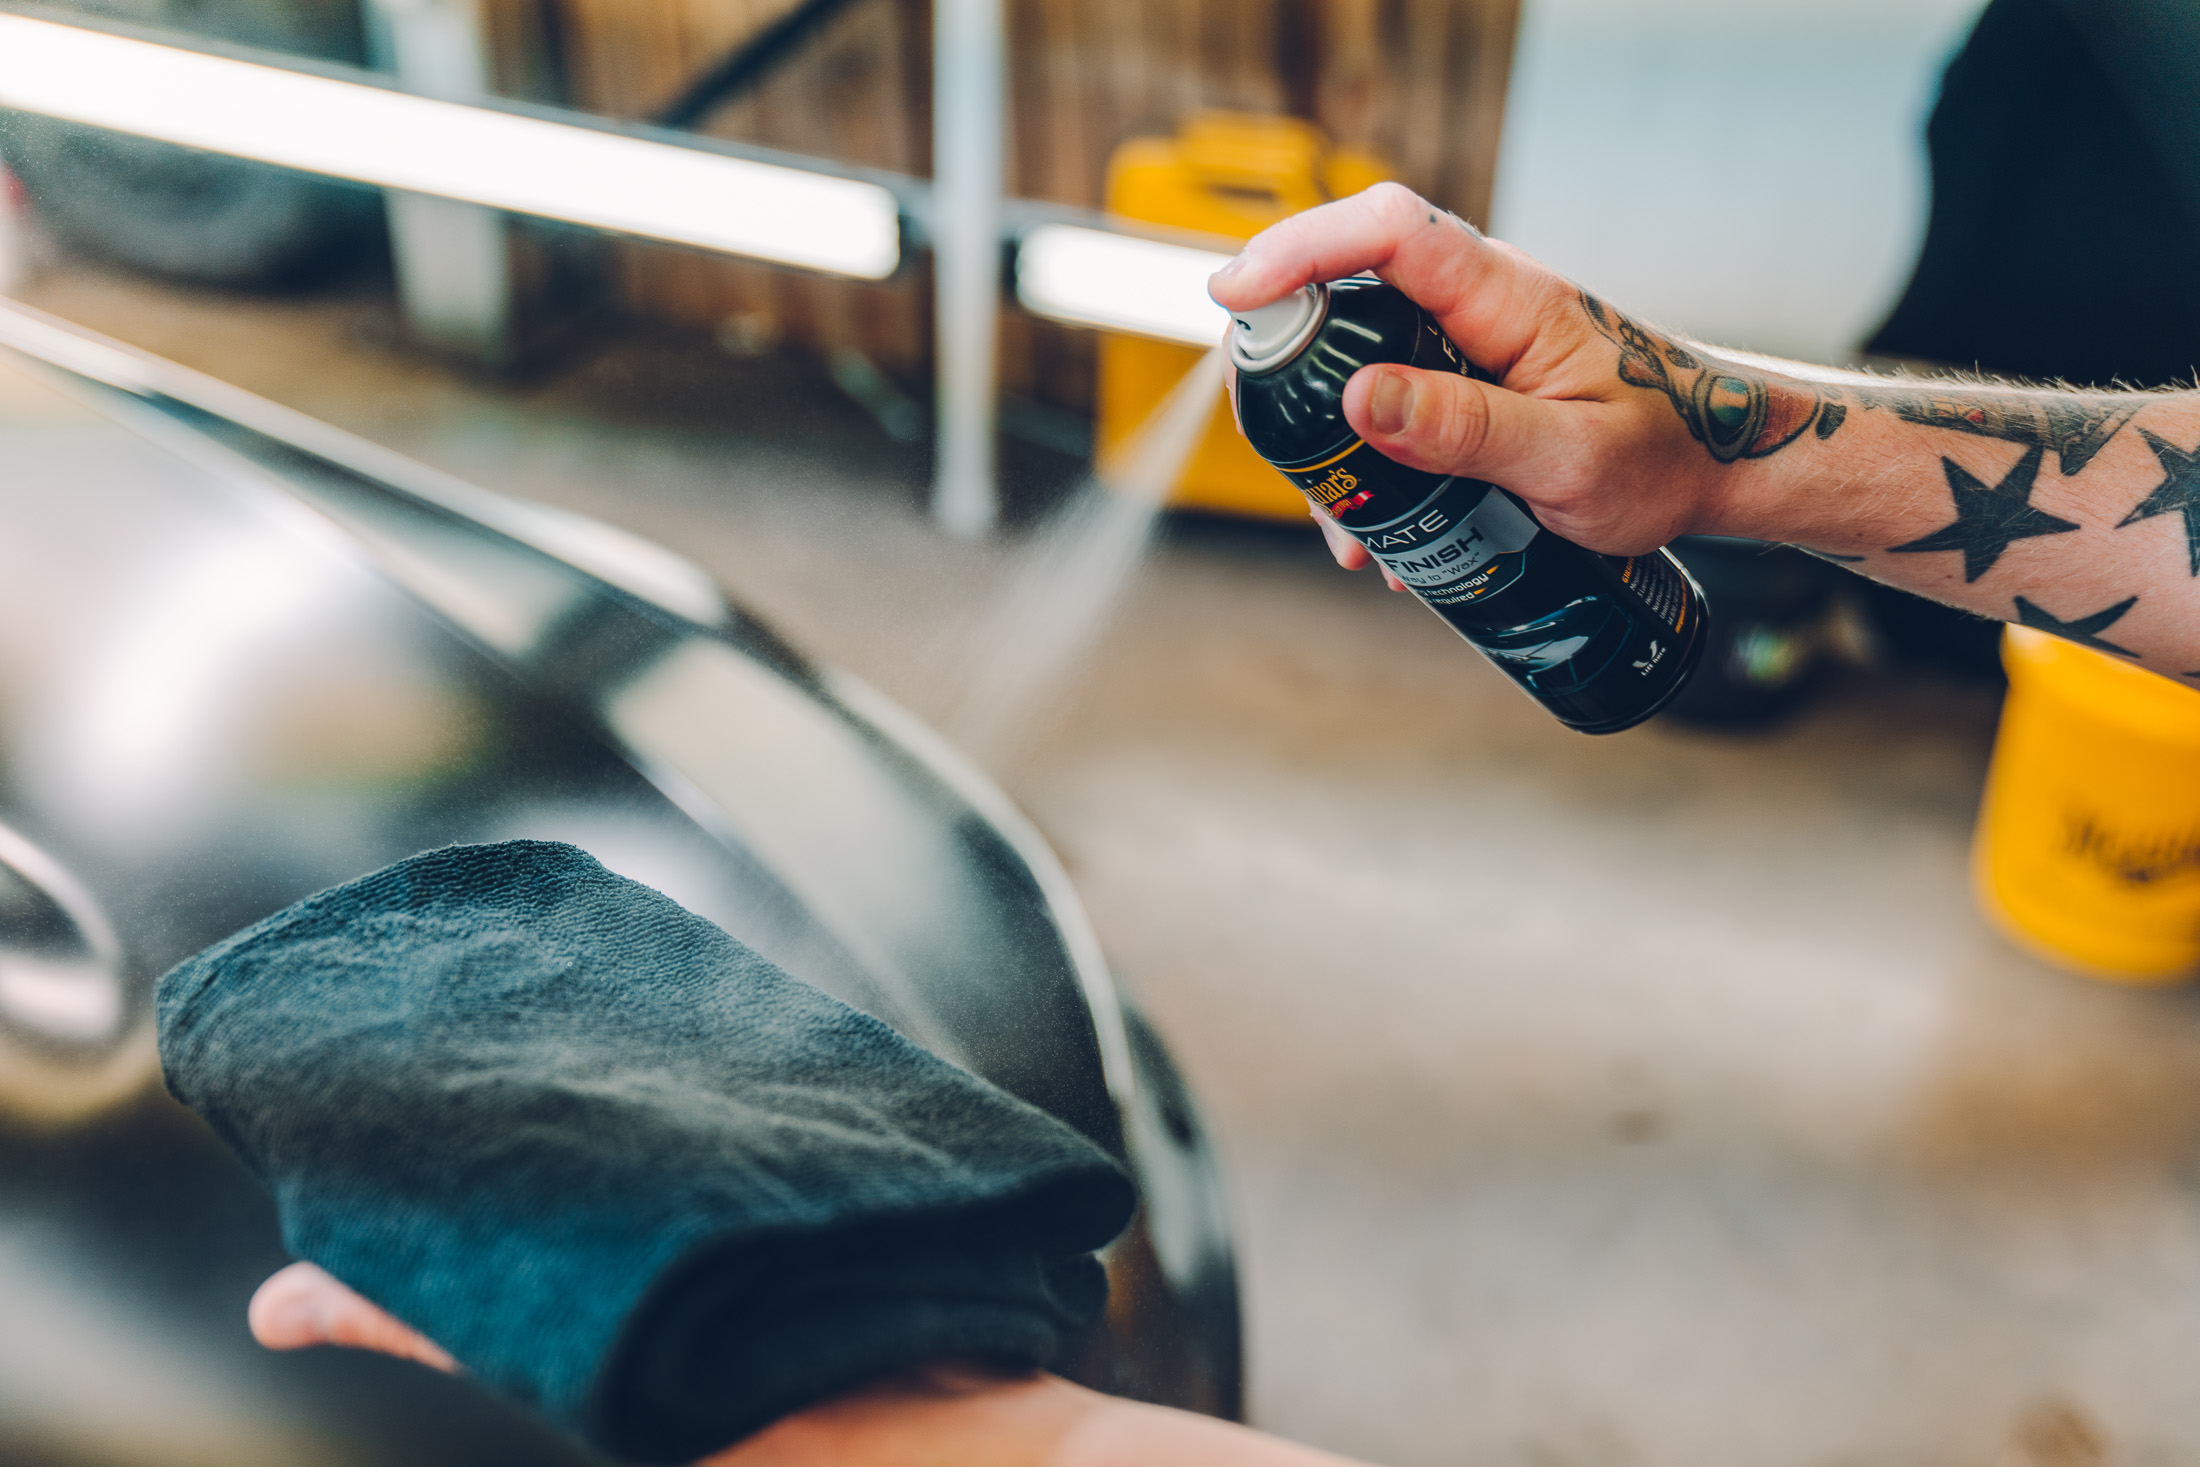
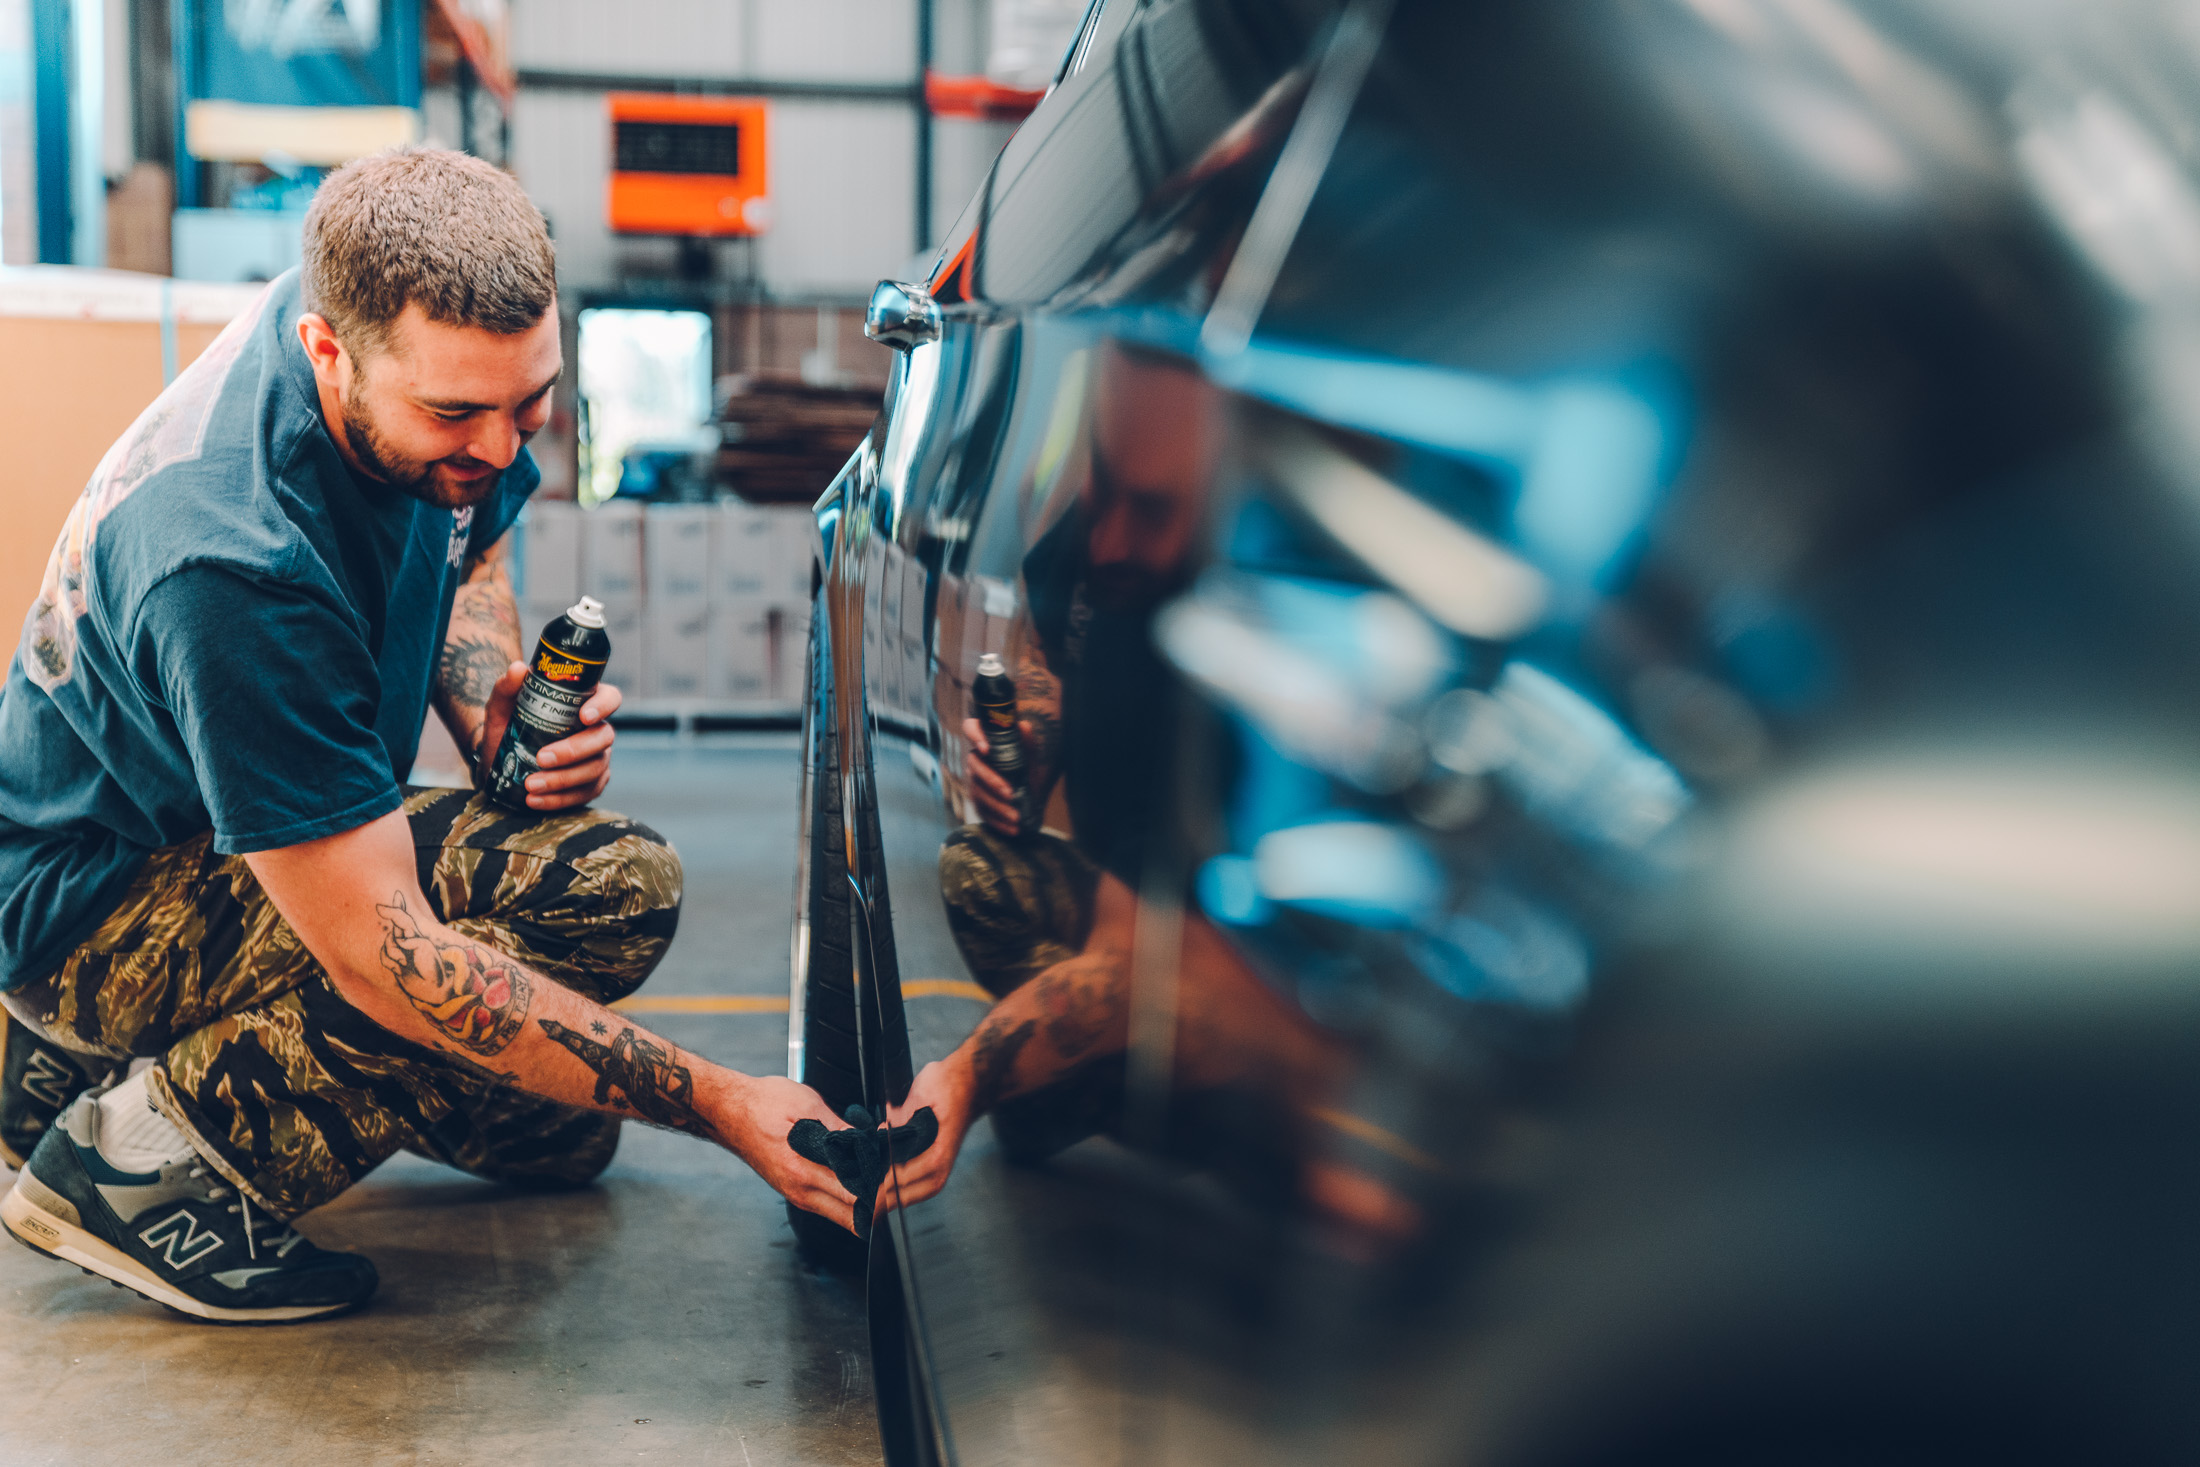
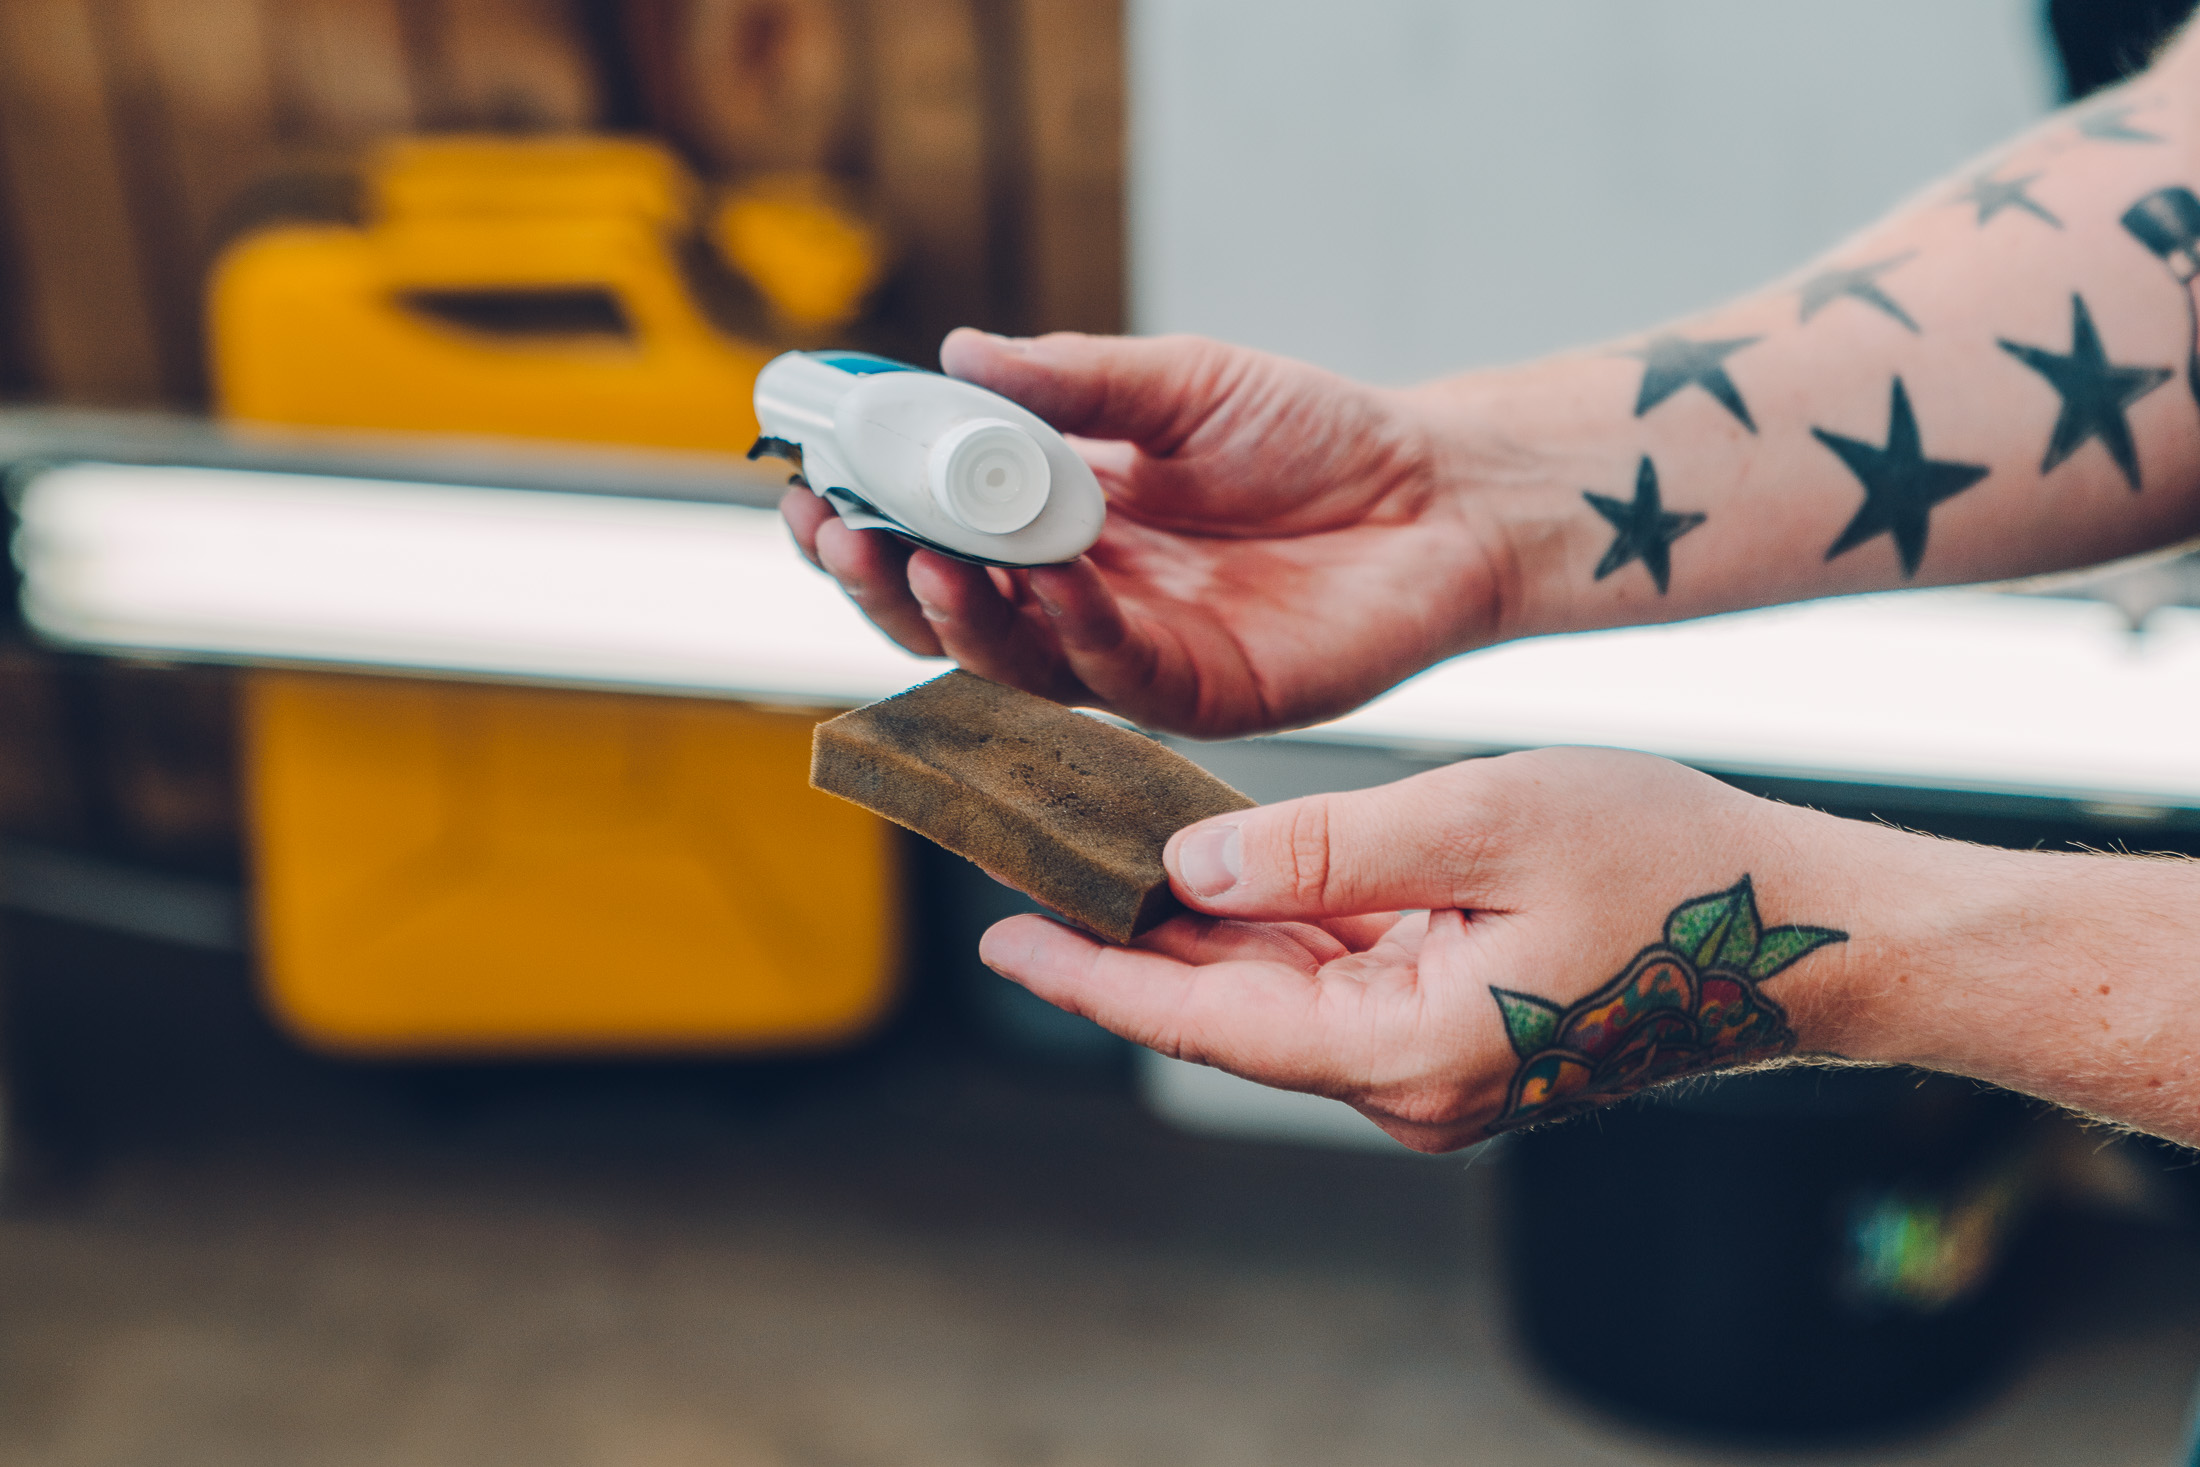
It’s easy to gloss over the waxing stage having invested so much time within the initial cleaning phase, so for those who require a quick and simple solution Meguiar’s Fast Finish is quite literally everything you could ever dream of.
This is one of our favourite products right now and it quite literally does what it says on the can. Fast Finish comes in an aerosol can and is applied by first spraying it onto a clean microfibre before applying directly onto the bodywork. What’s more, Fast Finish dries clear so there’s no need for additional work once applied – simply wait for it to clear and you’re done.
Don’t think that’s at the expense of any protection, though. We’ve found Fast Finish lasts wash and wash and provides an incredible level of beading on all paint finishes. If you’ve got a metallic paint finish it’ll also make that colour visibly deeper and richer, too. Isn’t science great?
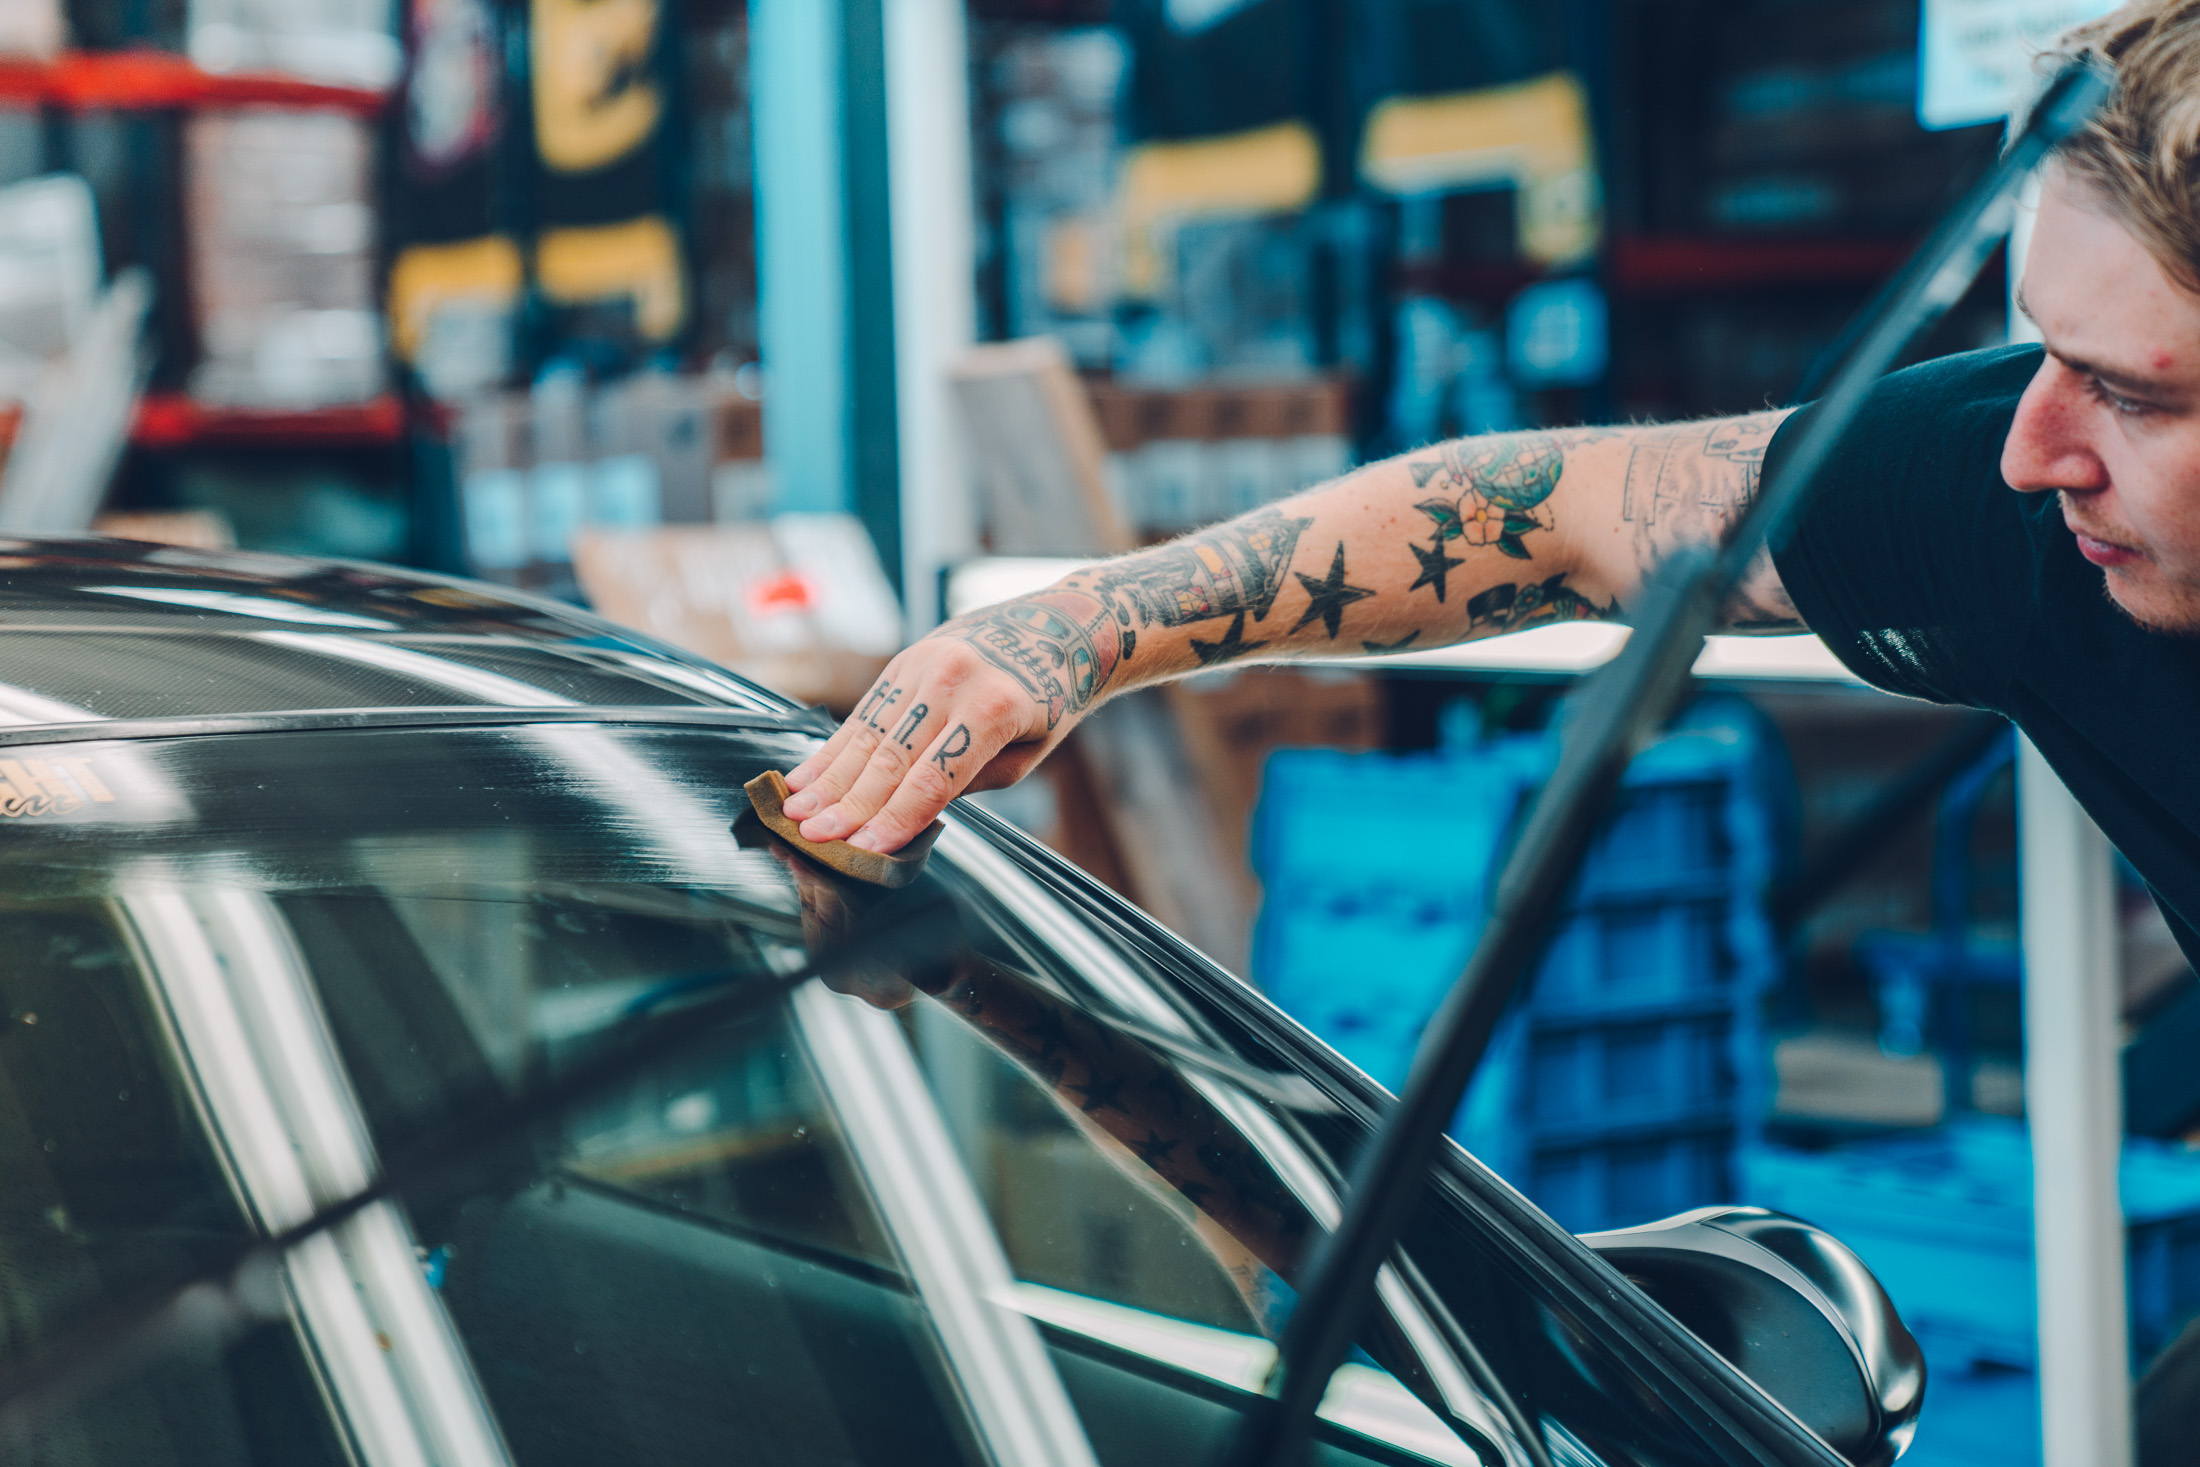
Stage 5 – Glass compound & sealant
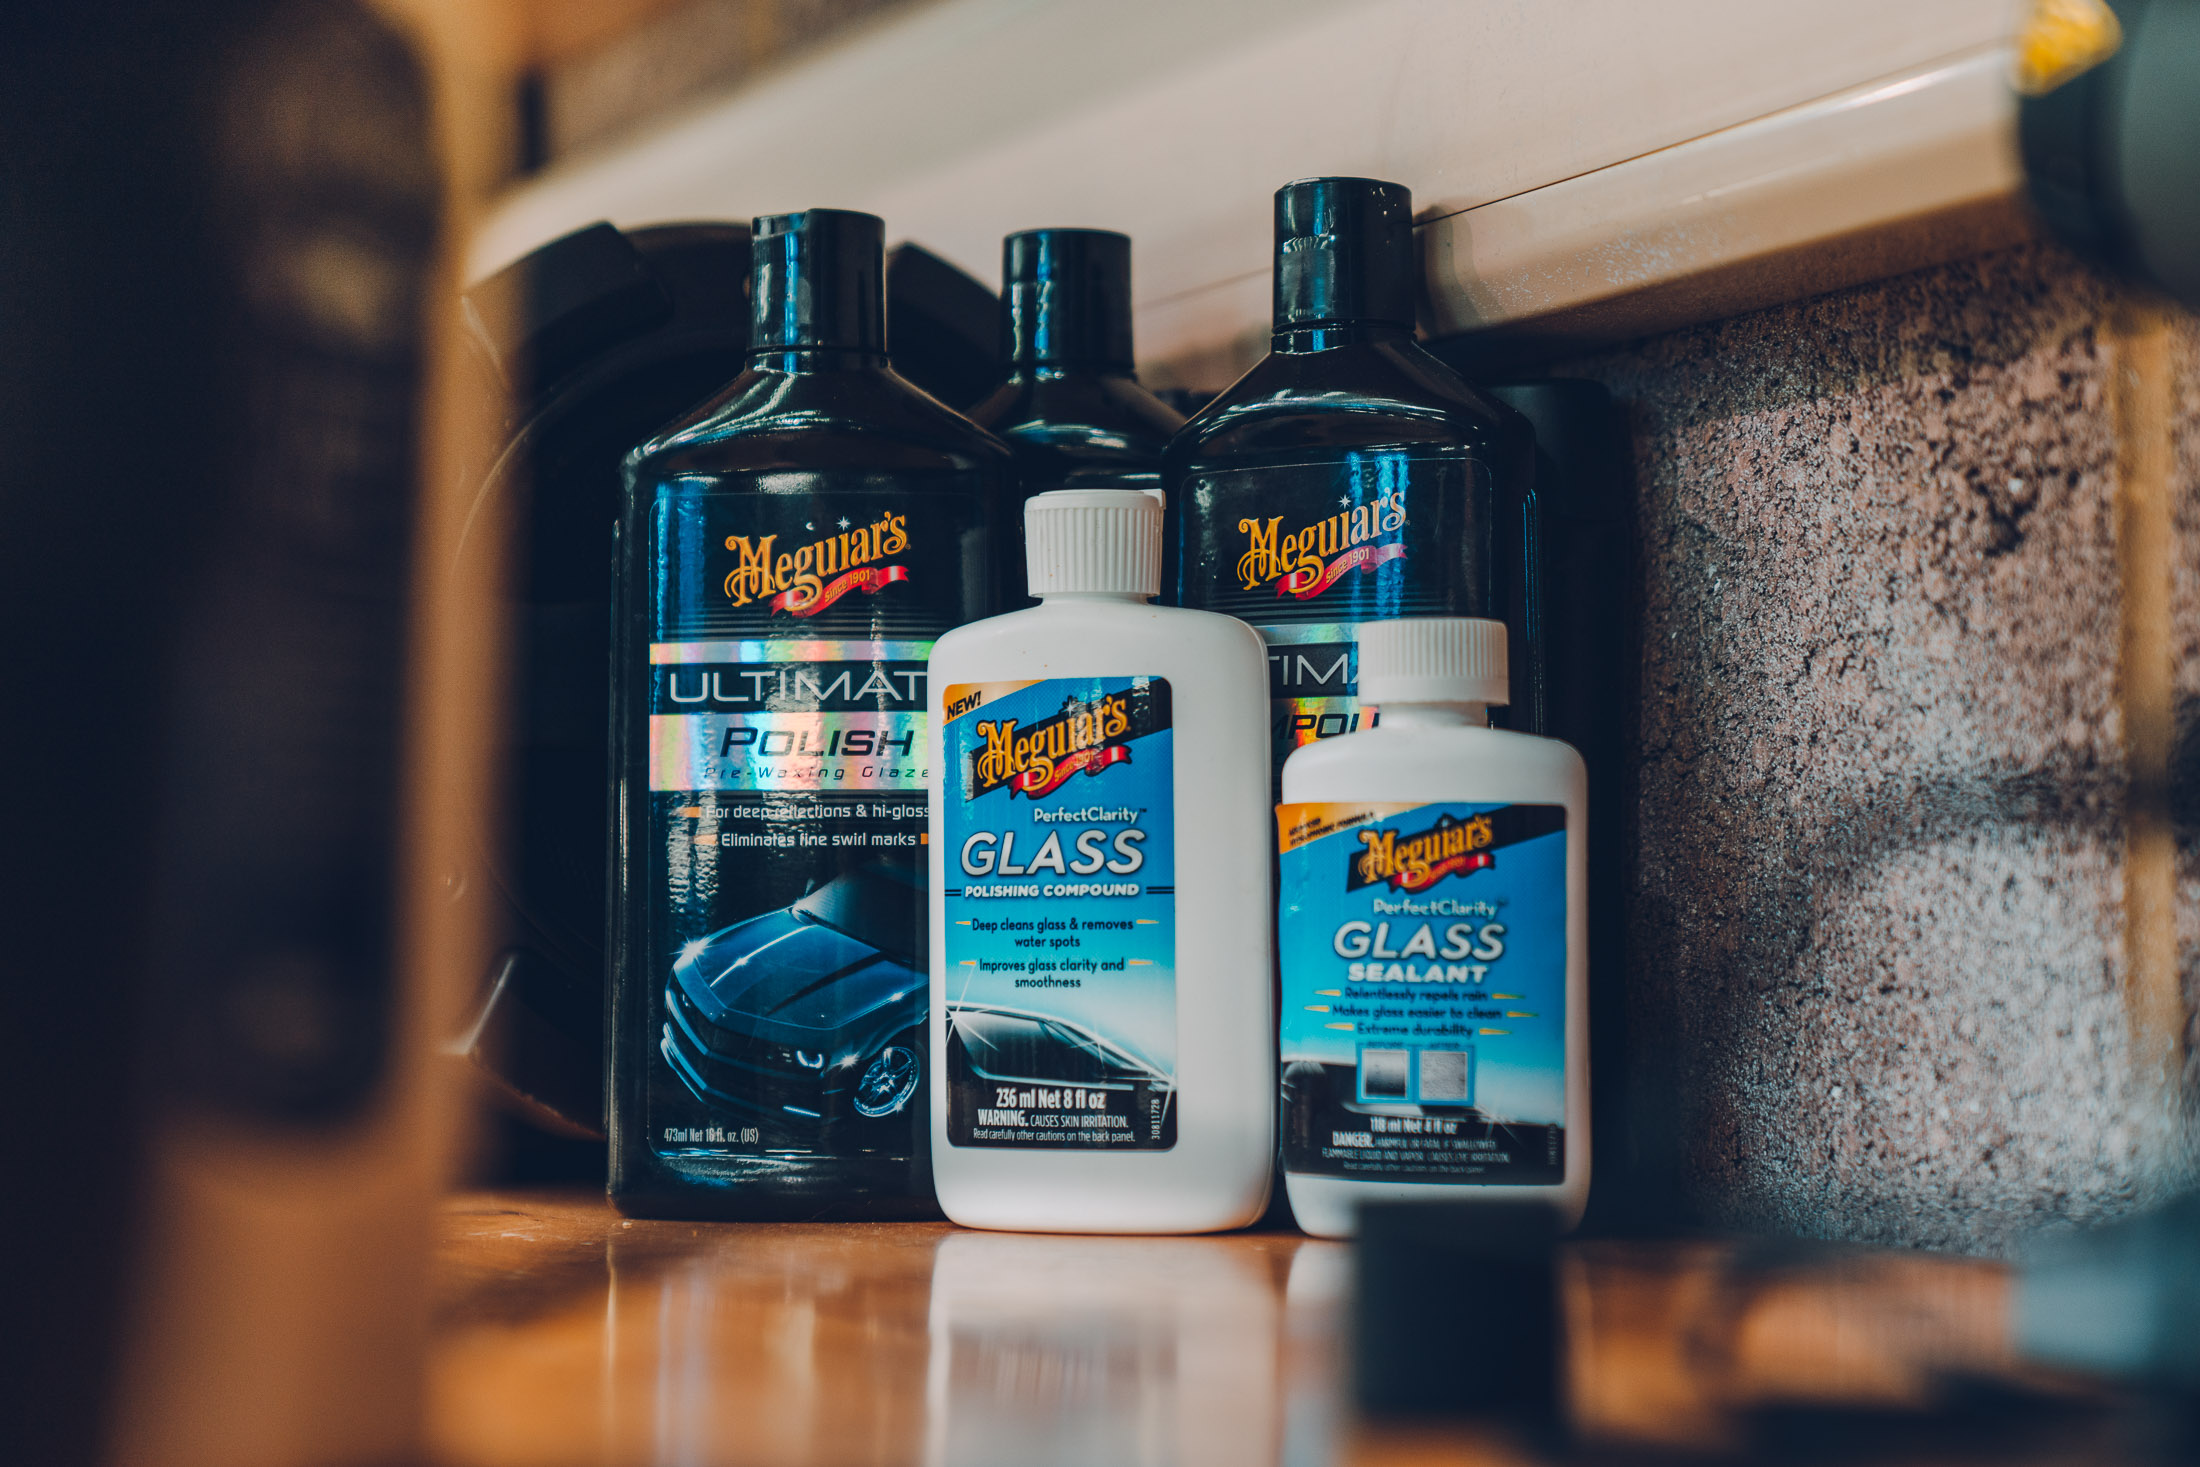
We covered bug & contaminant removal from the exterior earlier, but what about the bit you look through – the glass? Meguiar’s have developed a compound & sealant solution specifically to address this, and while that sounds fancy it’s best approached the same way you would cleaning your paint.
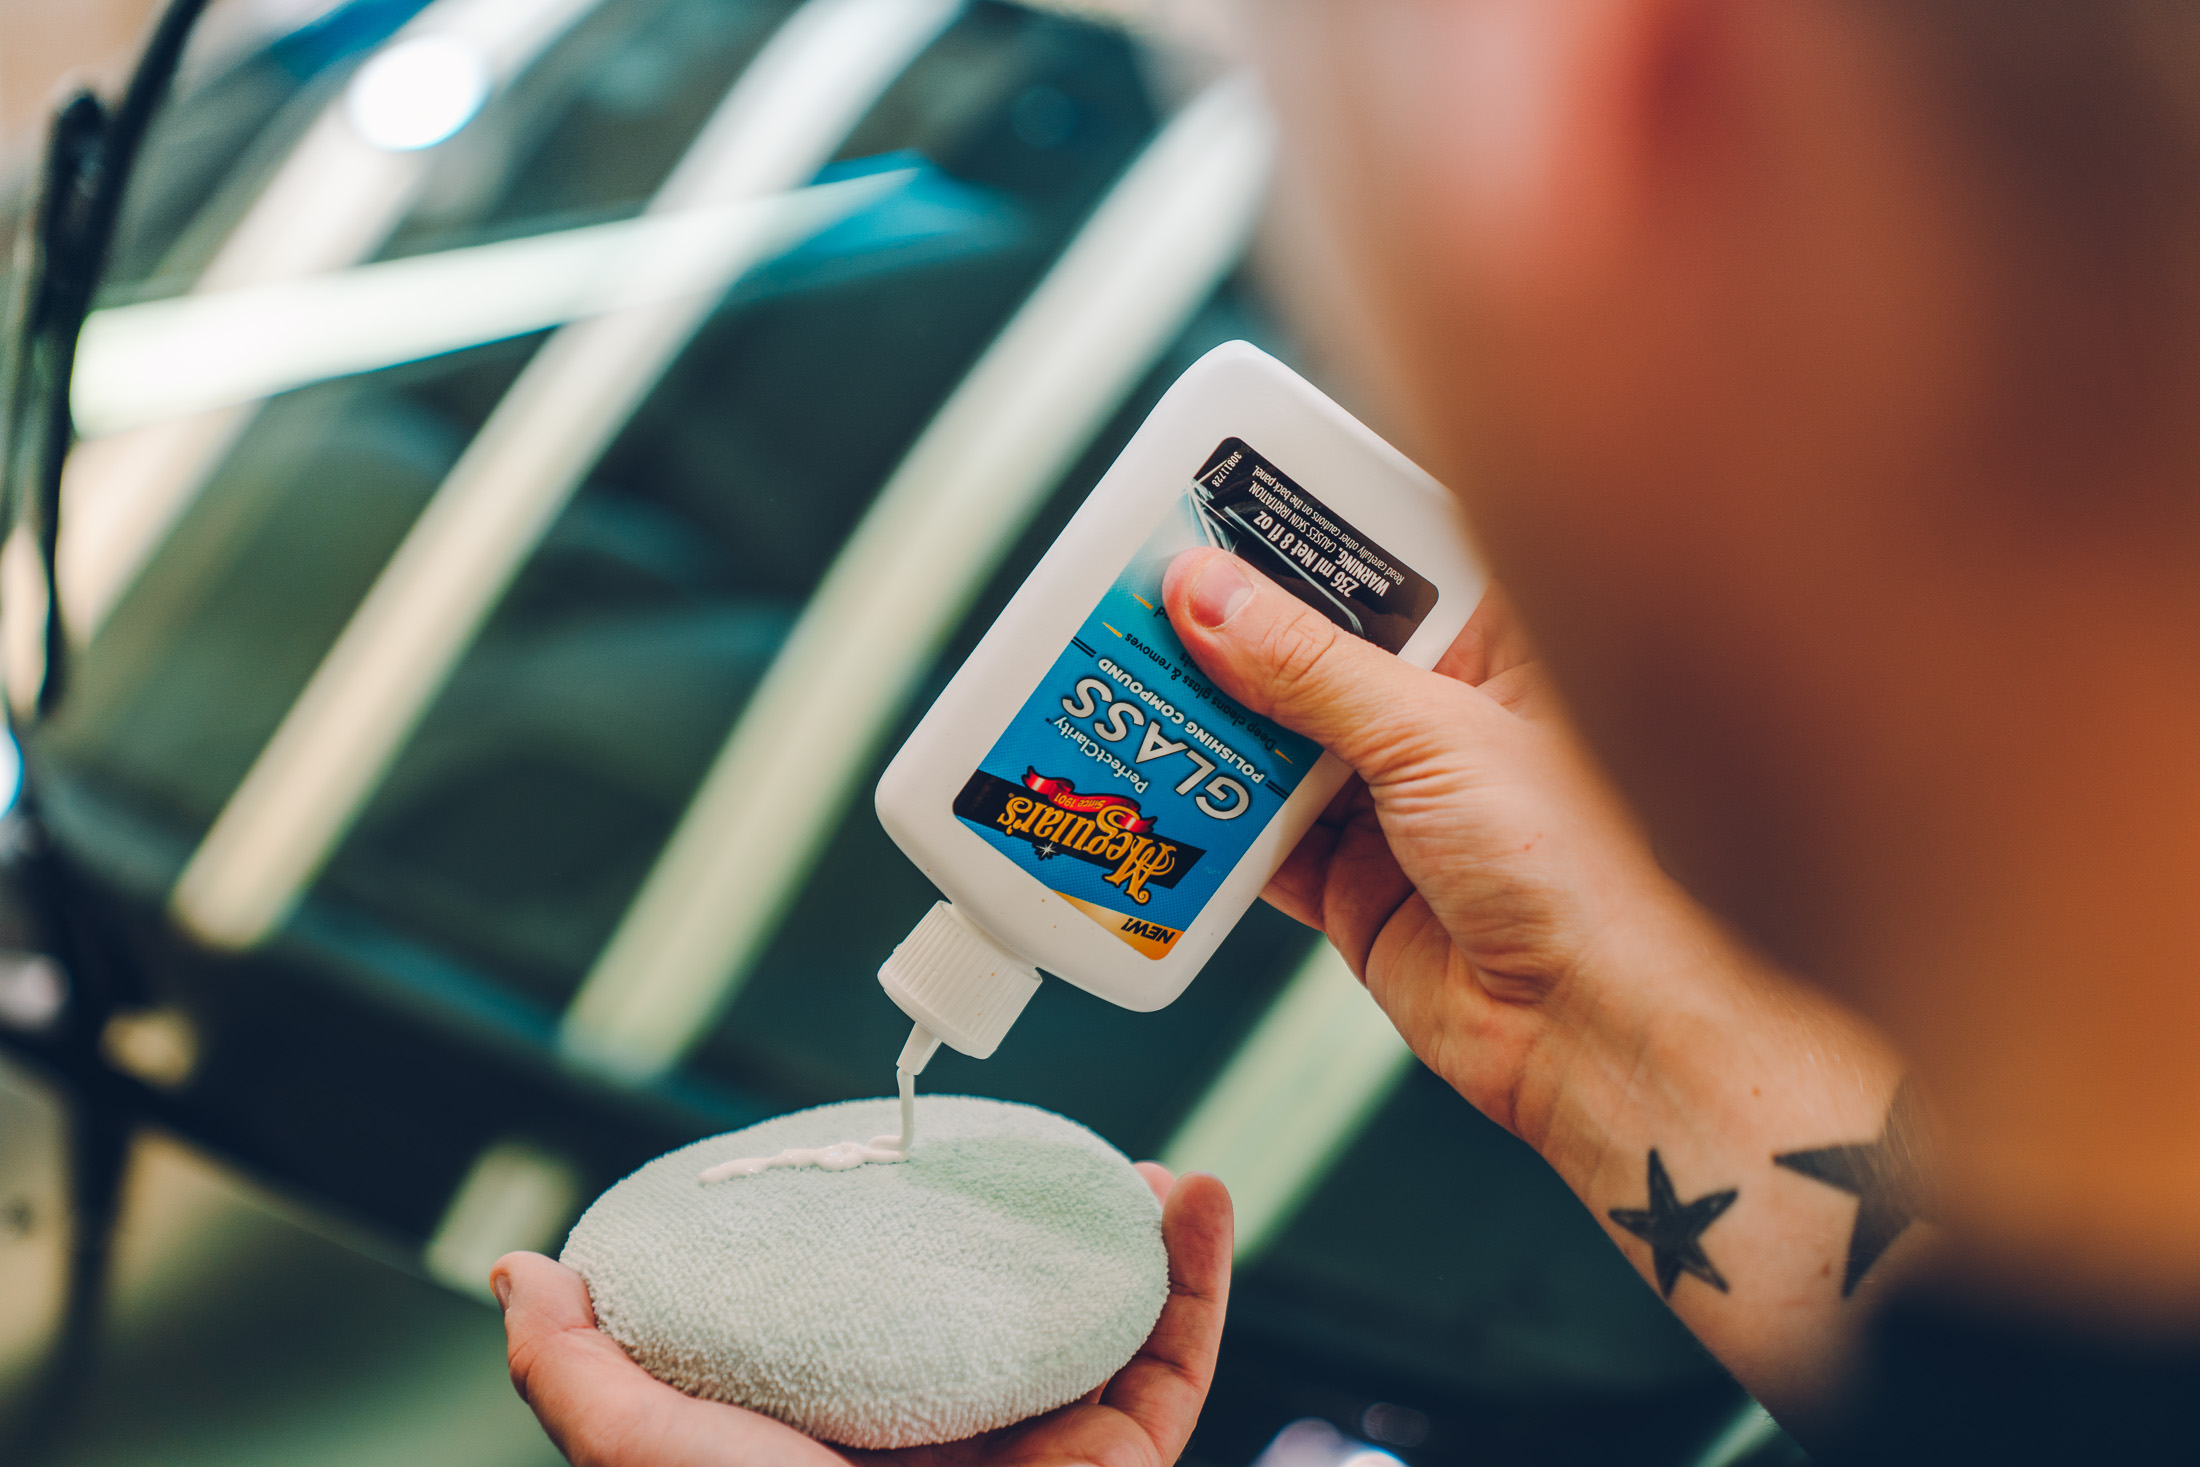
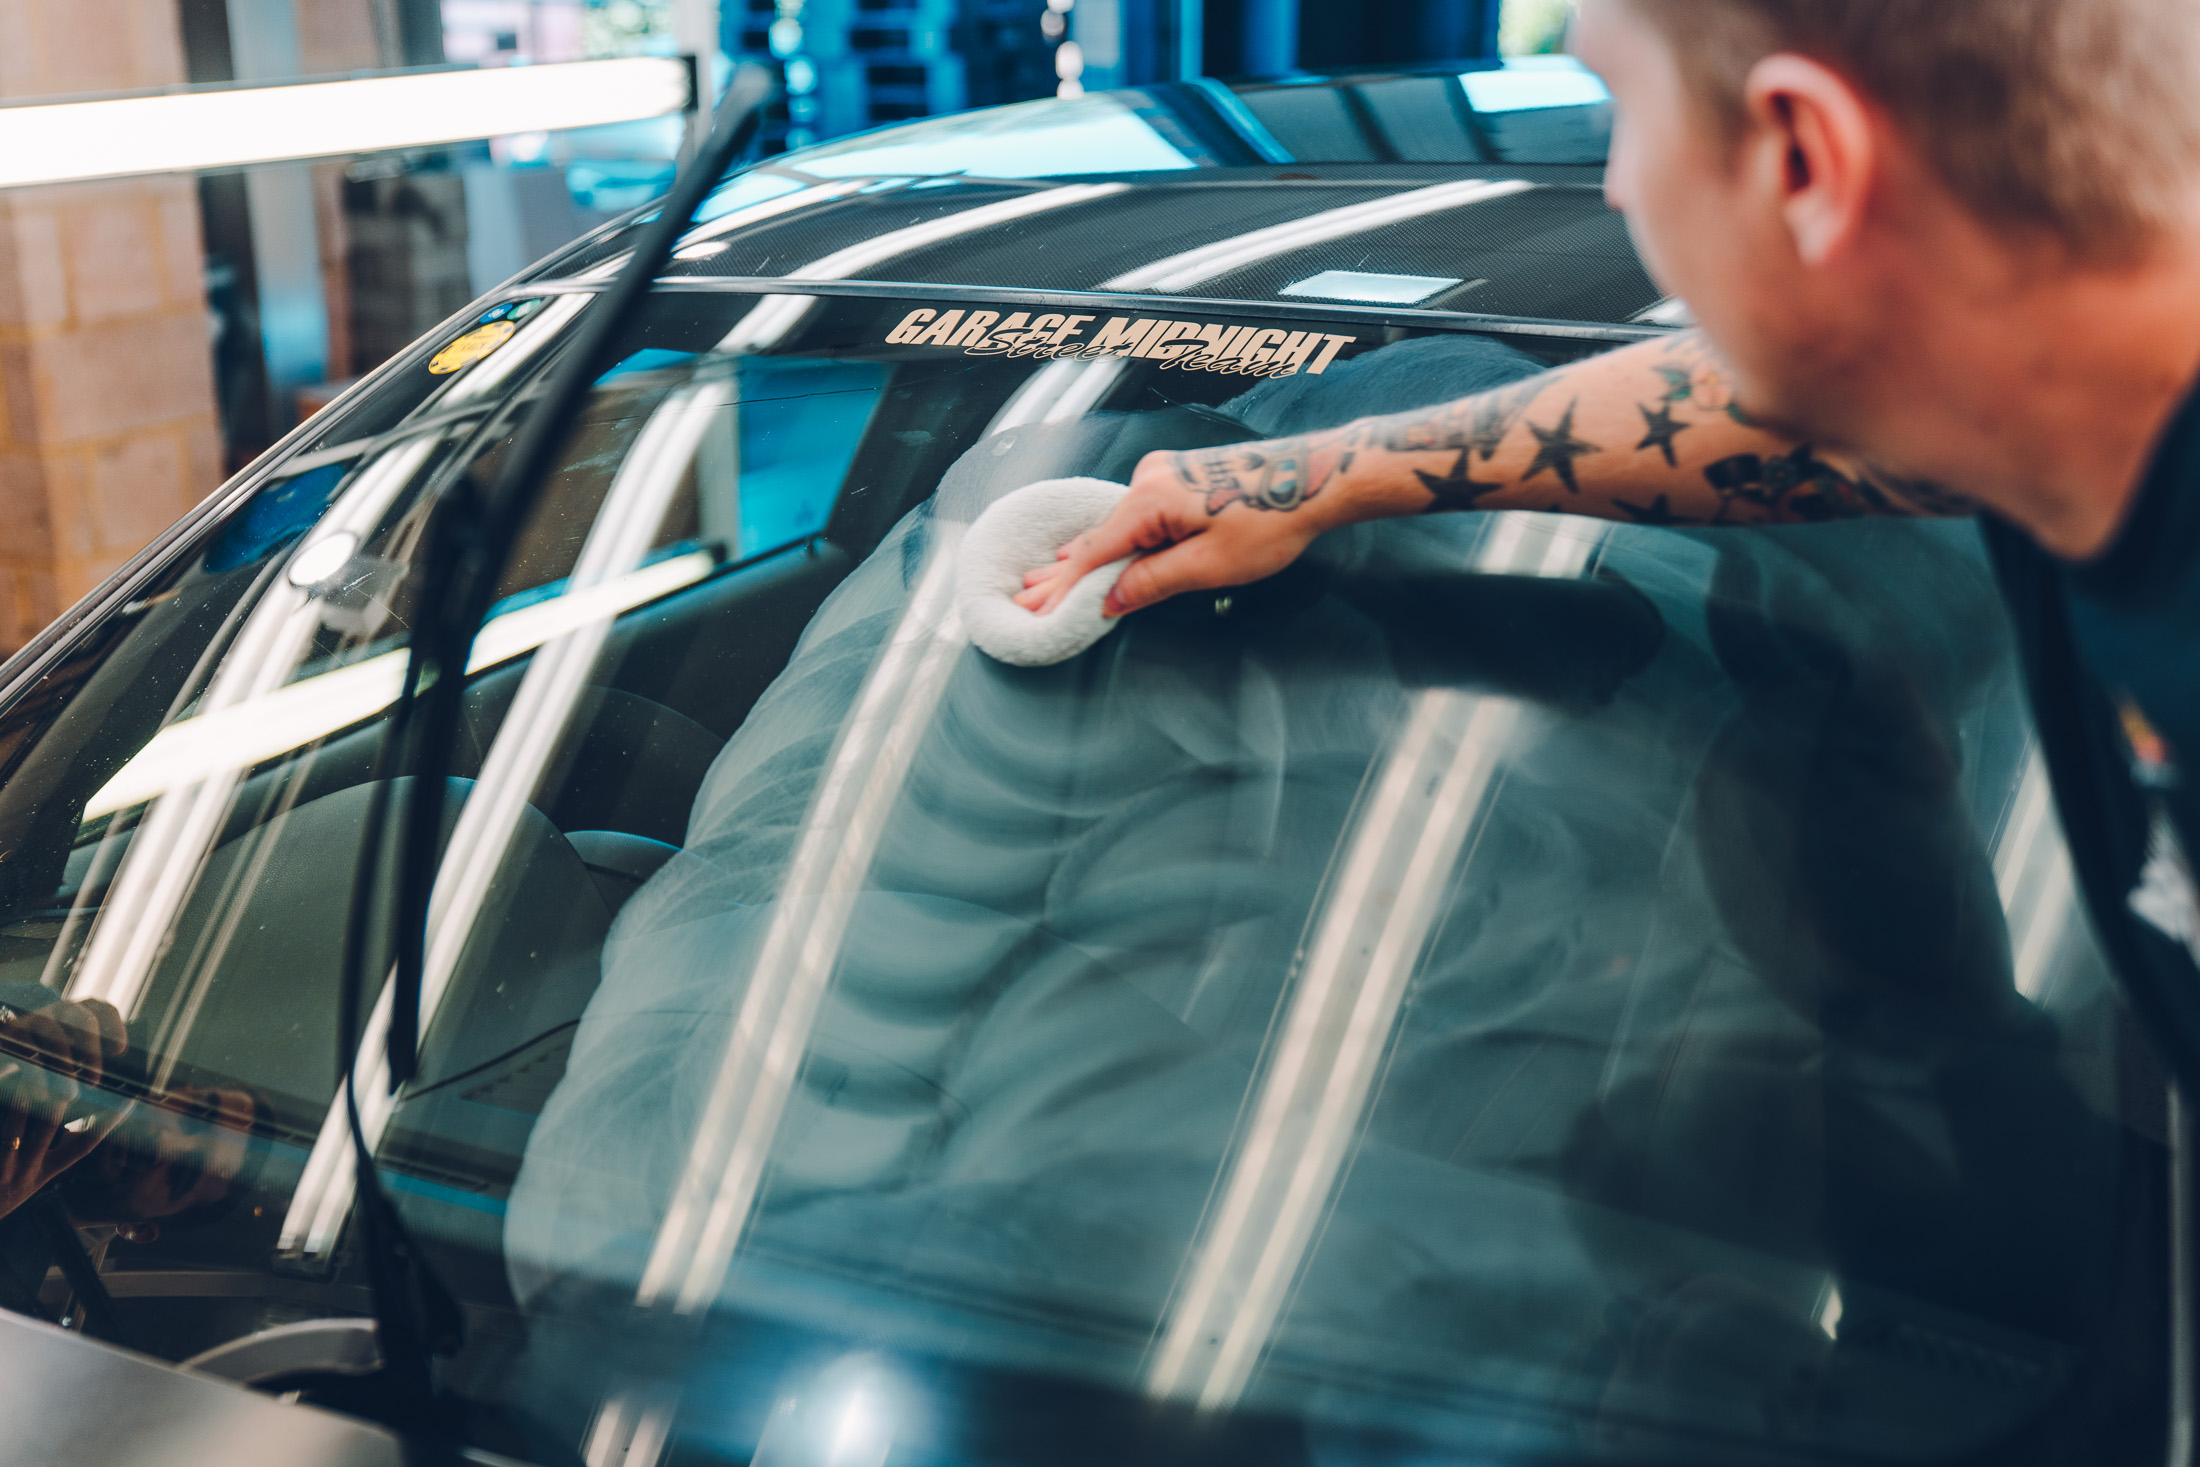
Firstly, Meguiar’s Perfect Clarity Glass Compound is applied to an applicator pad and worked in a circular motion on the glass just as if you were using Ultimate Compound on your paint. This product polishes and cleans the glass at the same time and is easily removed with a clean microfibre.
Now comes the really fun bit, Meguiar’s Perfect Clarity Glass Sealant. Another favourite of ours, Glass Sealant not only protects your glass making it harder for bugs and contaminants to stick to it (and easier to then remove), but it also produces LOADS of beading. So much so during a rain shower your windscreen remains almost perfectly clear without the need for using your wipers.
Using the foam applicator pad provided, Perfect Clarity Glass Sealant is applied onto the pad and applied in a crosshatch motion, first going downwards and then across. Glass fully covered, leave it to cure for 10-minutes before removing with a clean microfibre loaded with water.
Got it? The final step is to apply it once again (but just in a downwards motion this time) and then remove it once again with a water-loaded microfibre but removed immediately now rather than waiting.
Windscreen sealed, the M3 was complete and ready for the open road once again. It’s worth noting that, the five steps above (and products used) were specifically tailored towards what Ryan required from a cleaning solution – no gloss for the satin paint, safe on motorsport wheels/brakes and a quick & easy application.
The same process may not be ideal for your level of cleaning or car, but we encourage you to experiment with the Meguiar’s range to determine which process is best for you. Got any questions or need any advice? Hit us up on @meguiarsuk on Instagram & Facebook and we’ll be happy to answer ‘em for you.


